3 Easy Fall-Inspired Cards with Zero-Waste Dies
by Mindy Eggen October 14, 2026

Key Takeaways
Maximize Craft Supplies: One 6" x 6" stenciled panel generates enough zero-waste floral die cuts to build 3 distinct clean and simple cards.
Soft No-Line Look: Skipping the stamped outline and blending ink straight through layering stencils creates a soft, hand-painted aesthetic.
Autumn Palette Selection: Build depth using a 4-layer ink blending strategy—warm sages for leaves, honey and butterscotch tones for petals, and deep amber/opal accents.
Dimensional Layouts: Combine flat liquid glue for stems/polka dots with foam tape on focal flowers and die-cut sentiments to create dynamic visual layers.
Hello friends! It's Mindy, and I'm back with some fresh fall-inspired card inspiration! Today, I'm revisiting a versatile set in your craft collection, giving it a cozy autumn twist, and demonstrating step-by-step how to create three different clean and simple floral card designs.
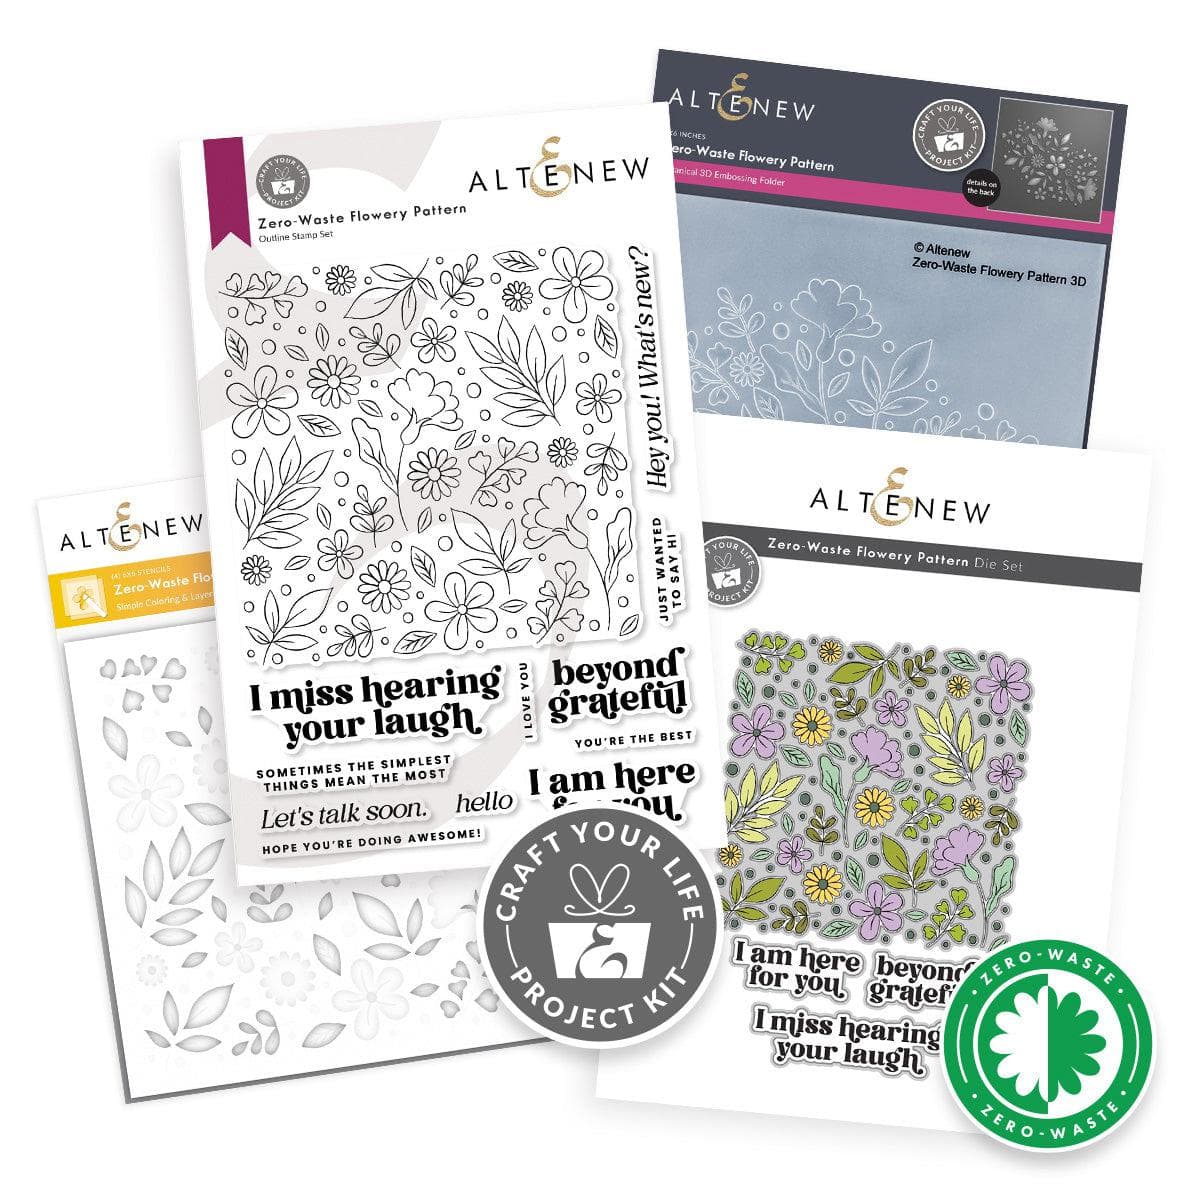
We are working with the Craft Your Life Project Kit: Zero-Waste Flowery Pattern from Altenew. These all-in-one project kits are packed with creative possibilities, including stamps, layering stencils, coordinating dies, and an embossing folder. For today's tutorial, I'm focusing on the coordinating zero-waste die plate and showing you how to stretch your supplies by creating multiple cards out of a single stenciled panel.
One of the best features of this Altenew kit is its flexibility. You can stamp the main floral image first and use the layering stencils to fill in color, or you can skip the stamped outline entirely to achieve a soft, modern no-line coloring look. That softer, painterly approach is exactly what we're tackling today!

Step-By-Step Fall Ink Blending with Altenew Layering Stencils
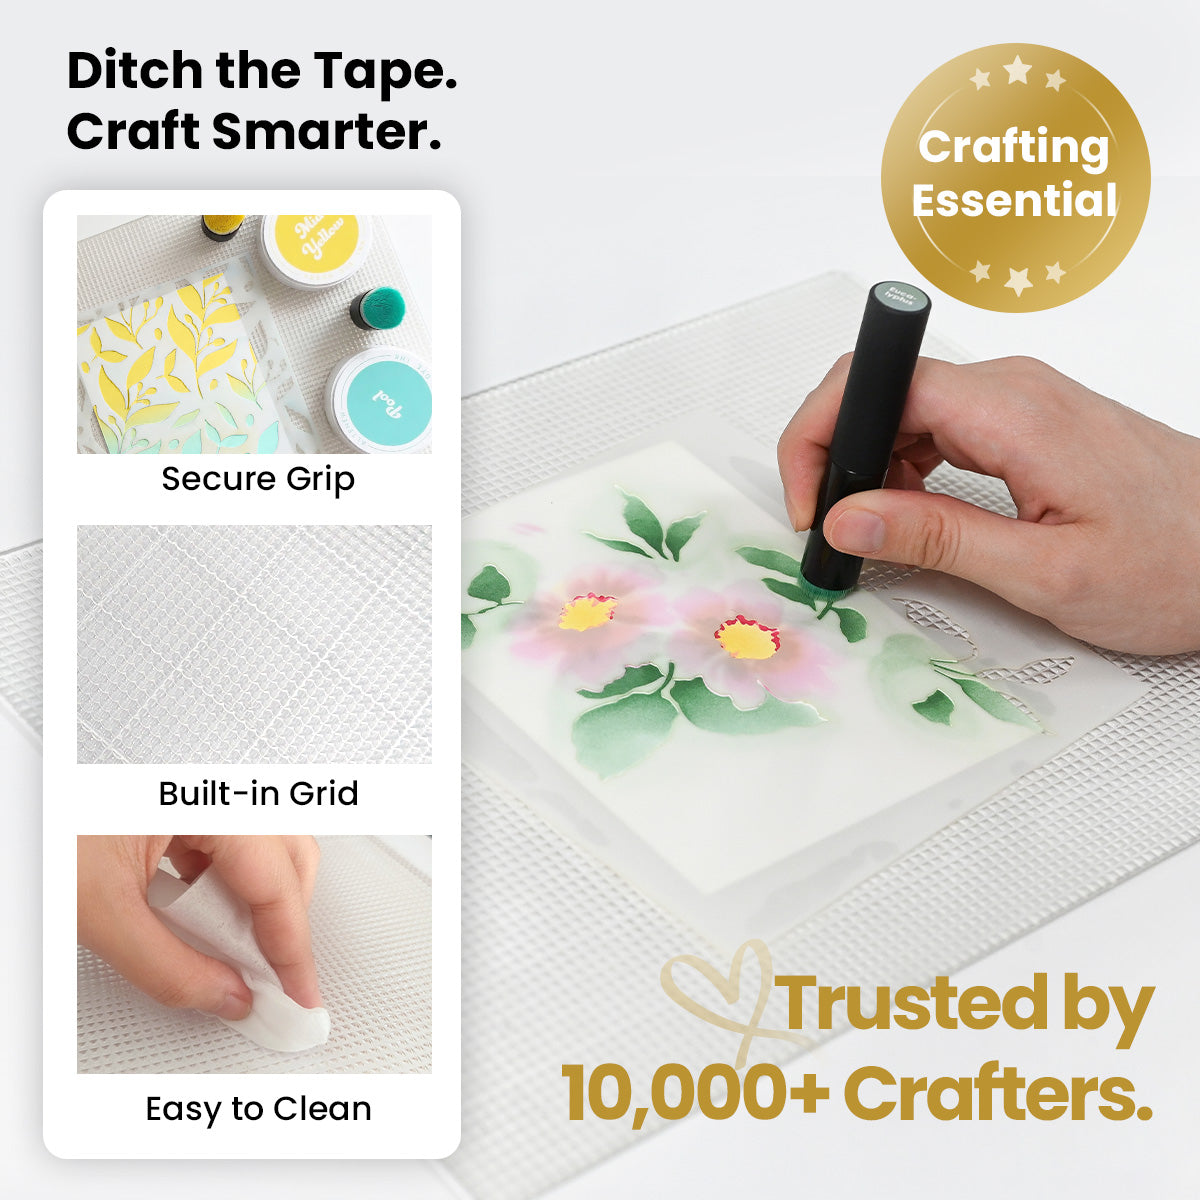
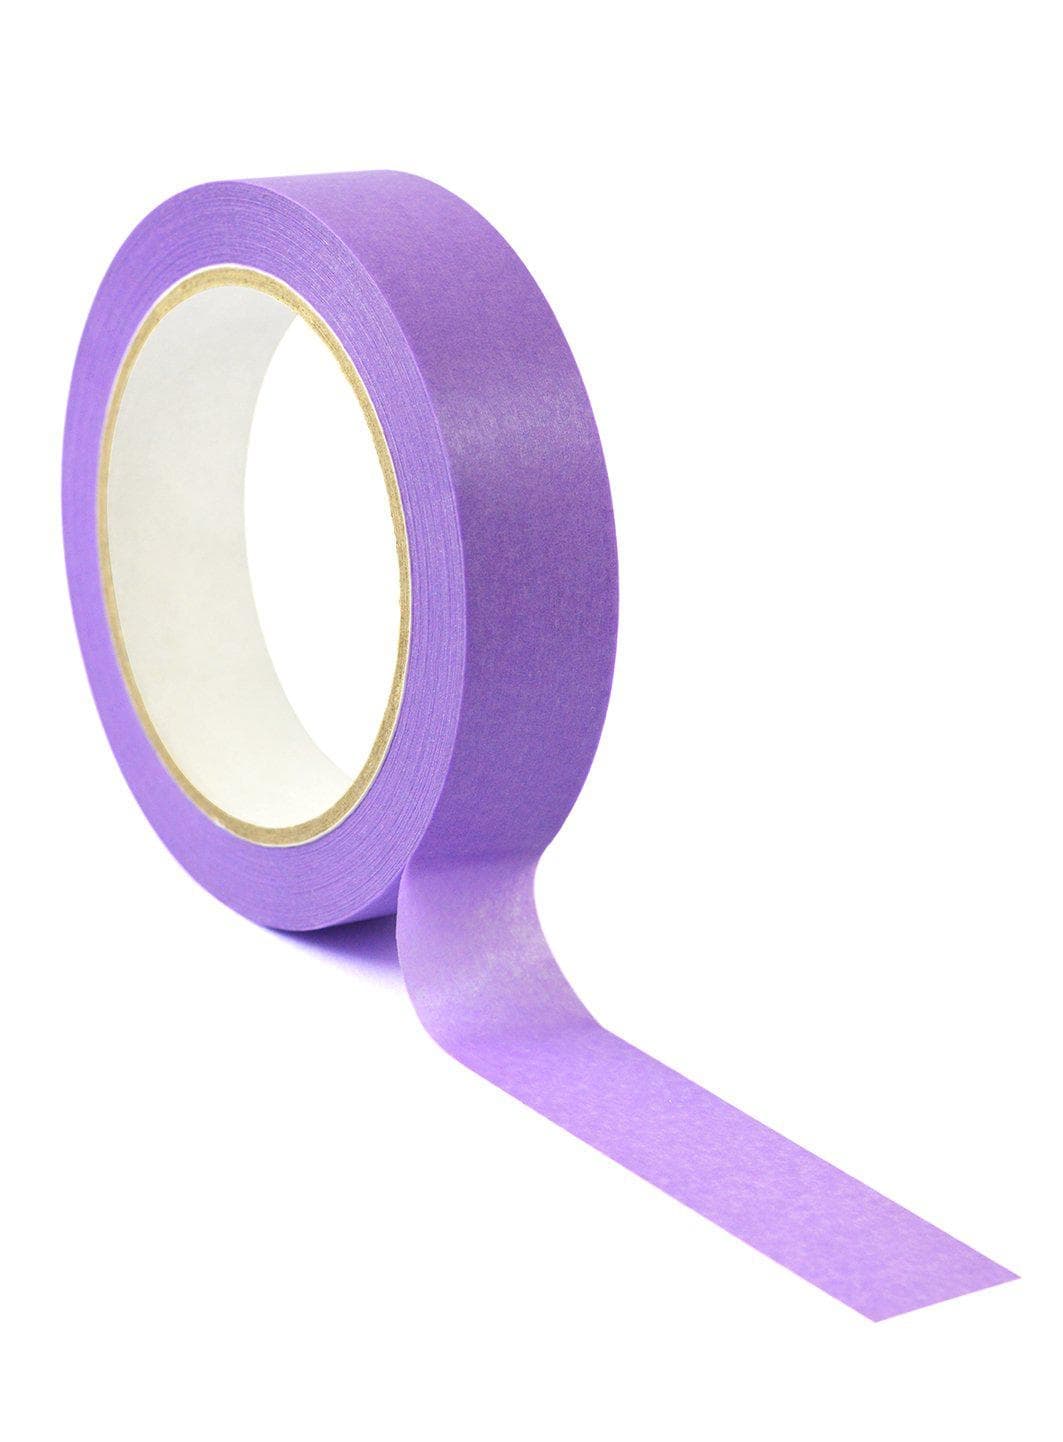
To begin our fall-inspired cardmaking project, start with a piece of smooth white cardstock trimmed to 6" x 6", which aligns perfectly with the size of Altenew’s layering stencils. Secure the cardstock onto a 9" x 12" sticky grid mat and lock the first stencil layer into place using Satin Masking Tape to prevent shifting during blending.
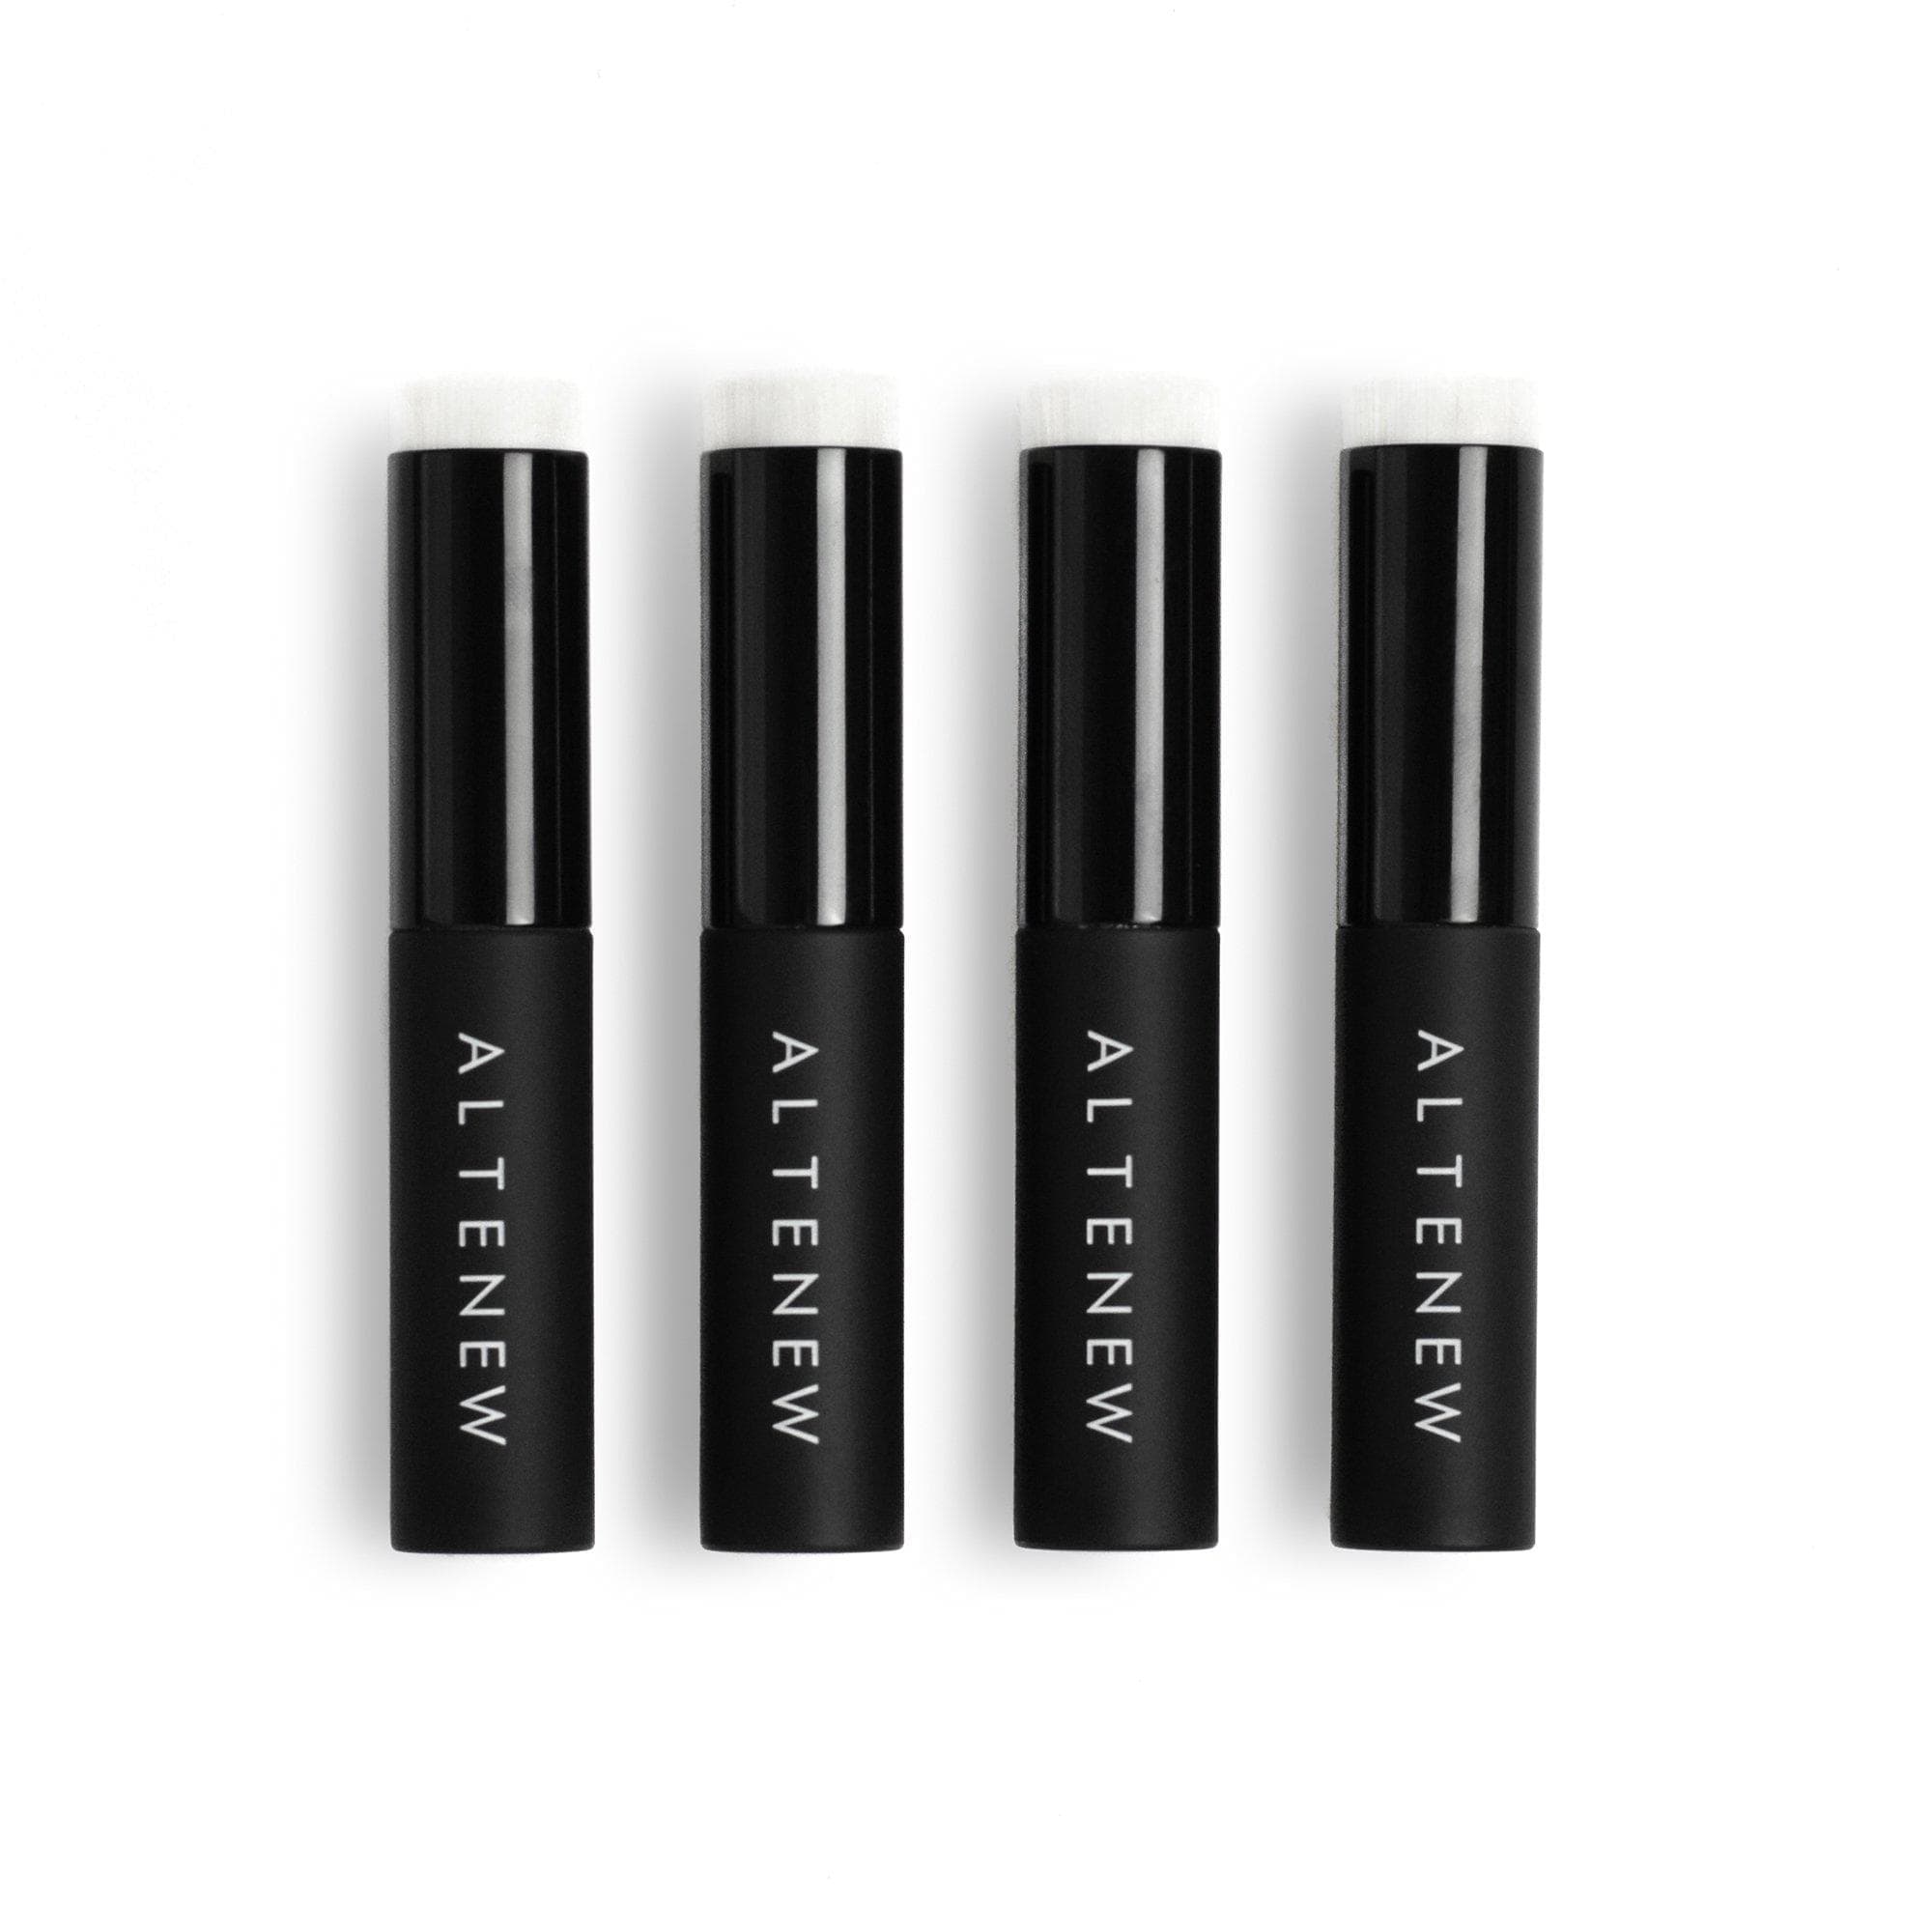
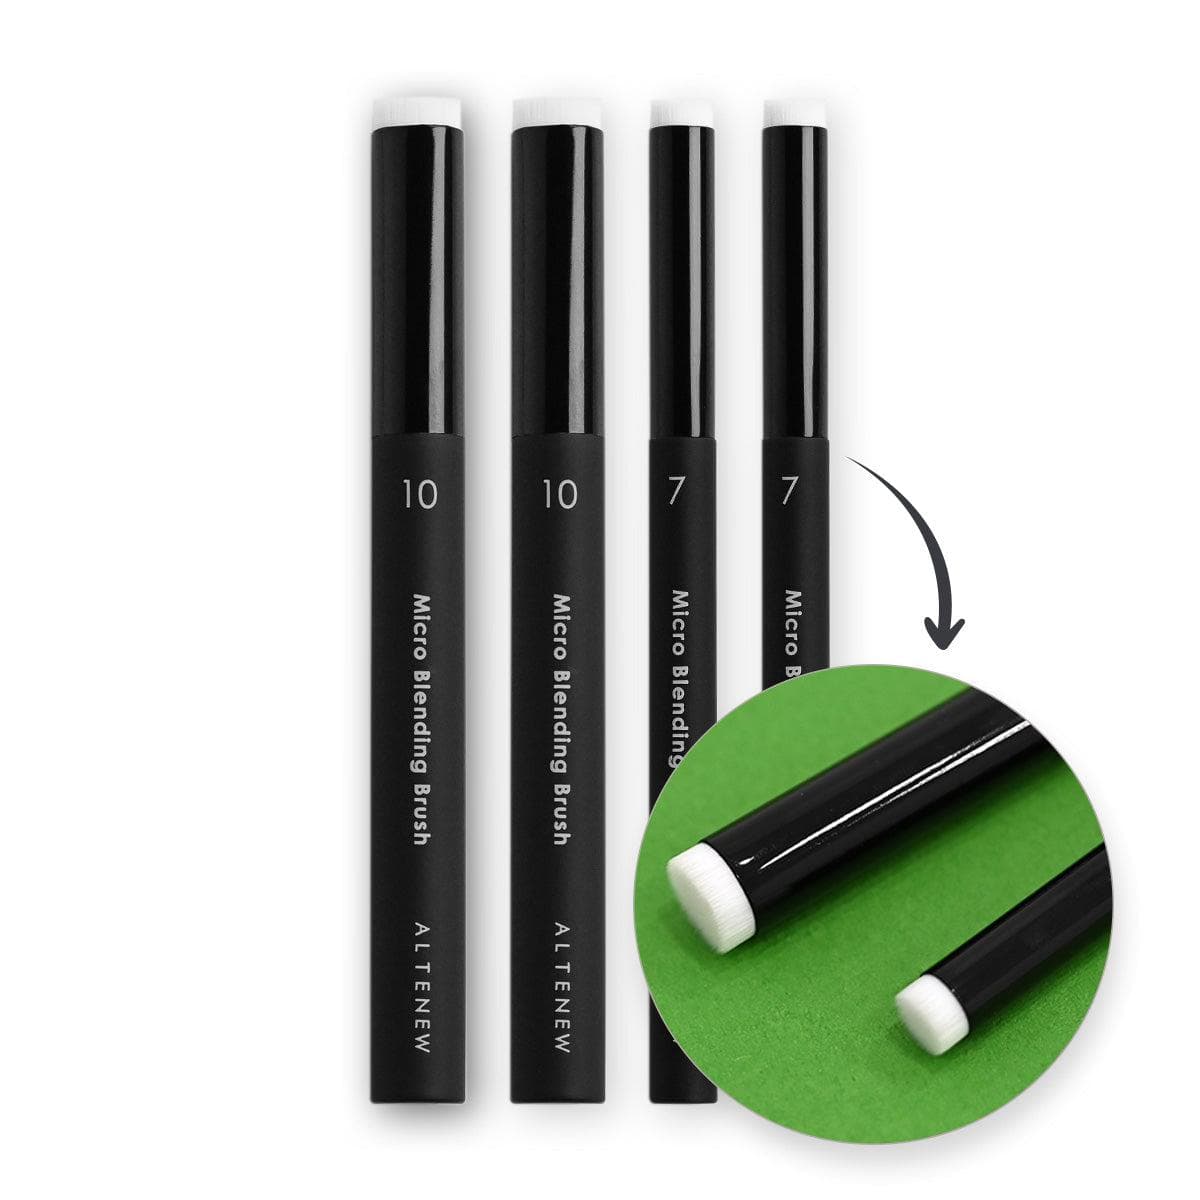
For this project, we are aiming for a rich, warm fall palette featuring golden yellow blossoms and muted, earthy greenery. By combining a few complementary shades of dye ink and switching between small, mini, and micro blending brushes, you can effortlessly achieve realistic depth and dimension.

Layer 1: Blending Earthy Autumn Greenery
The first stencil layer lays down the foundation for all the leaves and stems across the 6" x 6" layout.
Base Layer: Using a small blending brush, apply a light, even wash of Misty Sage over all the foliage areas. This provides a soft, muted sage base.
Shading: Switch to a mini blending brush and sweep Mossy Meadow onto just one side or the base of select leaves and stems. Concentrating darker ink on selective areas builds instant shadow without overwhelming the soft blend.
Deep Accents: For the final foliage detail, use a micro blending brush to apply Green Opal to select stem bases and deep shadows.
Tip: You don't need to apply every ink shade to every single leaf. Subtle color variations across the panel make the finished arrangement feel organic.
Layer 2: Inking Warm Golden Floral Petals
The second stencil layer focuses on the sweeping floral blooms.
Soft Foundation: Use a small blending brush to lay down a gentle wash of Golden Honeycomb over every petal. Keep a light hand and use circular motions to keep the background soft and line-free.
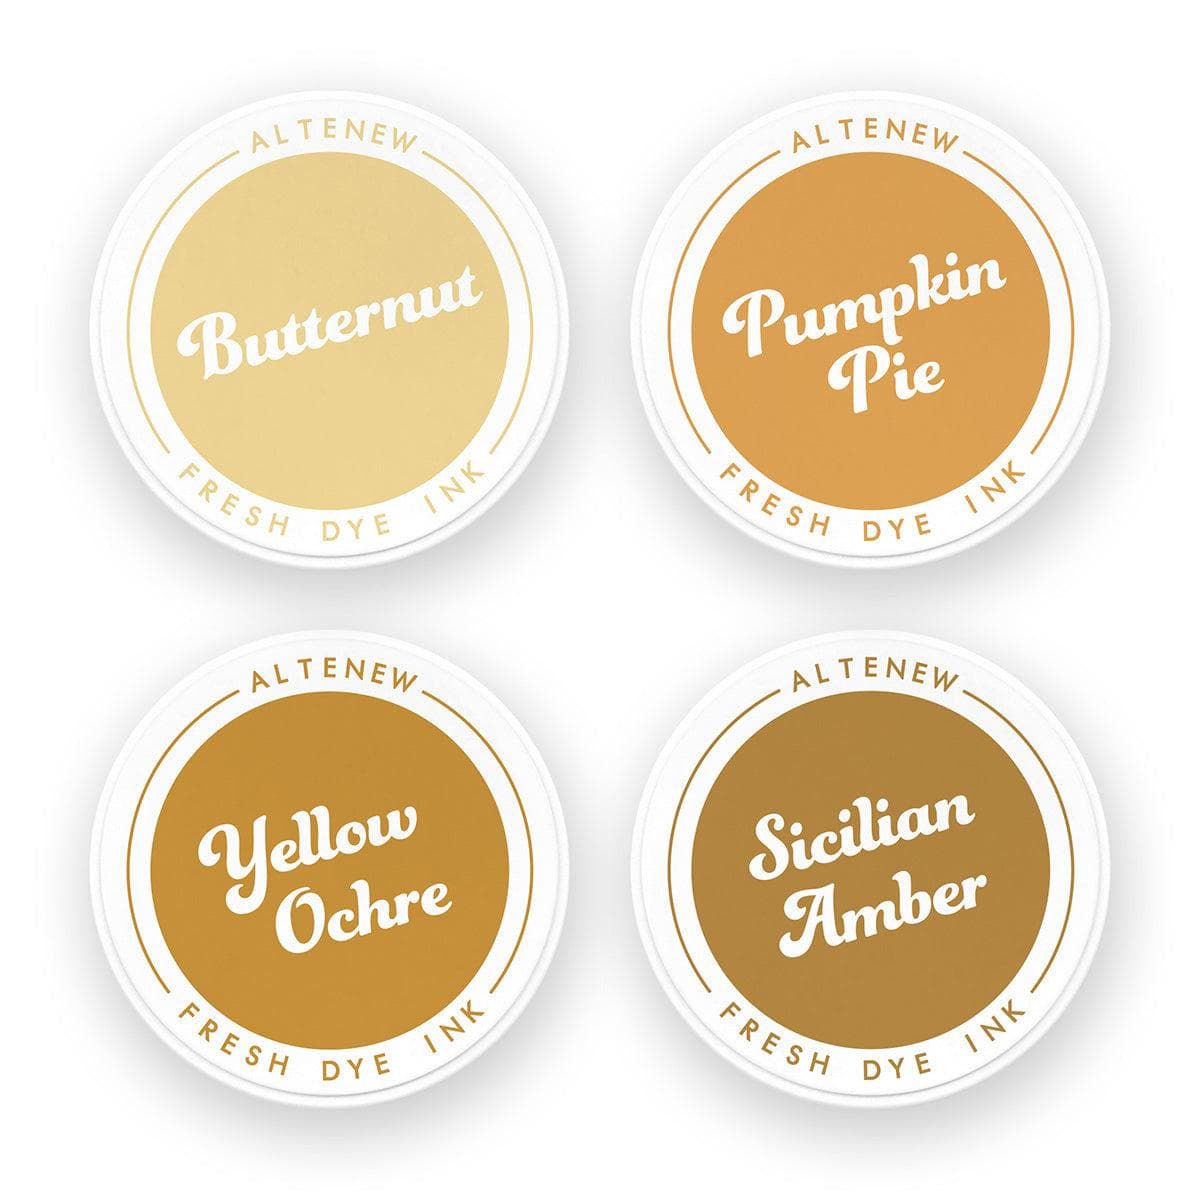
Warm Highlights: With a mini blending brush, shade Melted Butterscotch into the petal bases and inner folds. Building these rich golden-amber tones creates cozy autumn warmth while keeping the design clean and bright.

Layer 3: Accentuerating Flower Centers and Polka Dots
The third stencil layer introduces structural focal points and decorative filler elements.
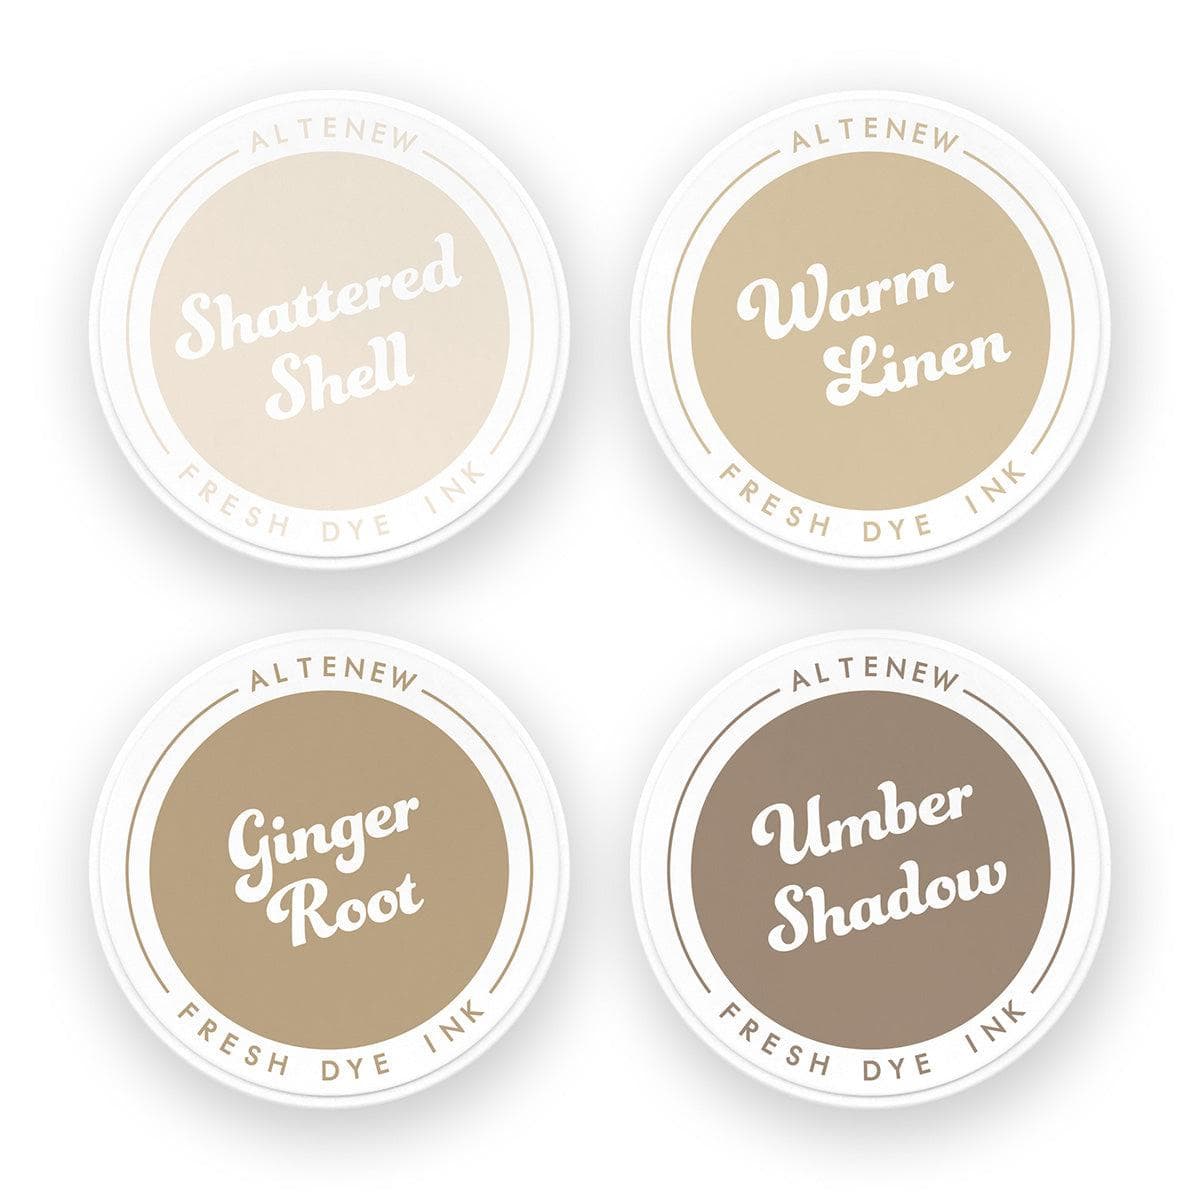
Background Elements: Blend Warm Linen across the tiny scattered polka dots to add a subtle, neutral backdrop detail.
Flower Centers: Apply Ginger Root to the center of each blossom using a mini blending brush to bring rich, earthy warmth to the heart of the flowers.
Layer 4: Final Fine Details and Highlights
The fourth and final stencil layer completes the design with precise focal highlights.
Use Green Opal through the stencil to crisp up the fine stem detail work.
Blend Sicilian Amber over the petal detail slots to give the flowers an intricate, multi-dimensional finish while preserving the overall no-line look.

How Zero-Waste Dies Stretch Your Cardmaking Supplies
Once your ink blending is finished, line up the full-panel coordinating die plate over your stenciled artwork and run it through your die-cutting machine.
This is where the genius of Altenew zero-waste dies shines! Instead of cutting out individual images one by one with separate dies, a single pass through the machine instantly yields a full, perfectly cut assortment of coordinated flowers, leaves, stems, and background dots with zero wasted cardstock space.
While you could easily cluster all of these die-cut pieces onto one giant mini-album or slimline card, spreading them across multiple cards stretches your supplies much further.

Assembling 3 Clean & Simple Autumn Floral Cards
For the card bases and focal panels, prepare three standard A2 white cardstock panels measuring 4 1/4" x 5 1/2".
Before gluing anything down, take time to arrange and preview your composition on each card front. Playing with placement before applying adhesive allows you to experiment with balanced asymmetrical layouts, cascading borders, or central focal points.
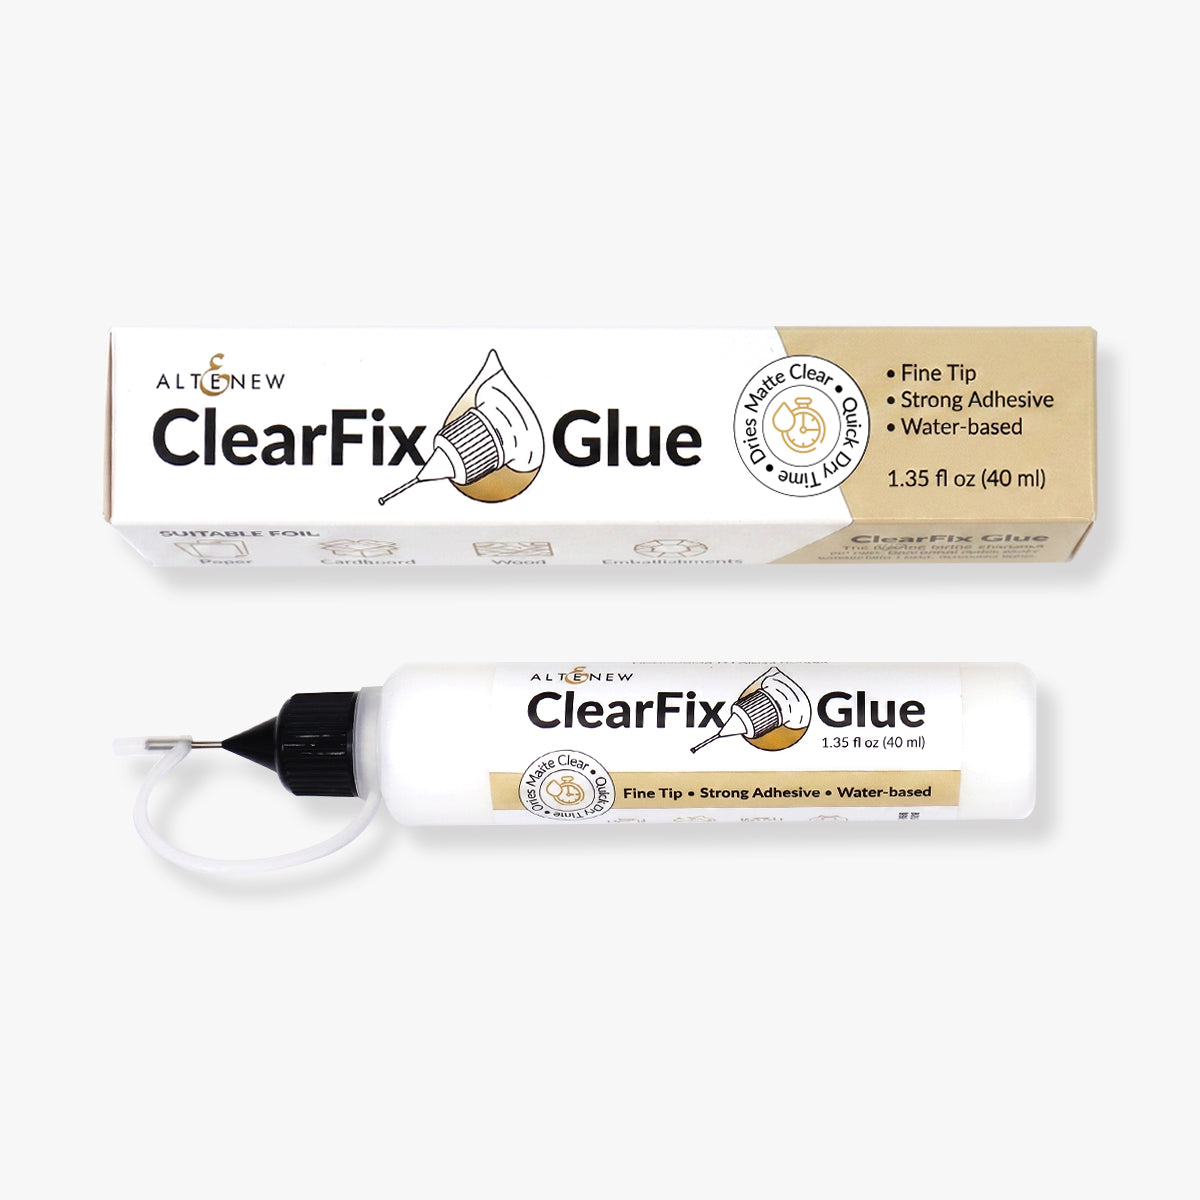
Direct Adhesion: Secure flat background elements—such as stem clusters, small single leaves, and delicate polka dots—directly onto the A2 card fronts using precision liquid glue.
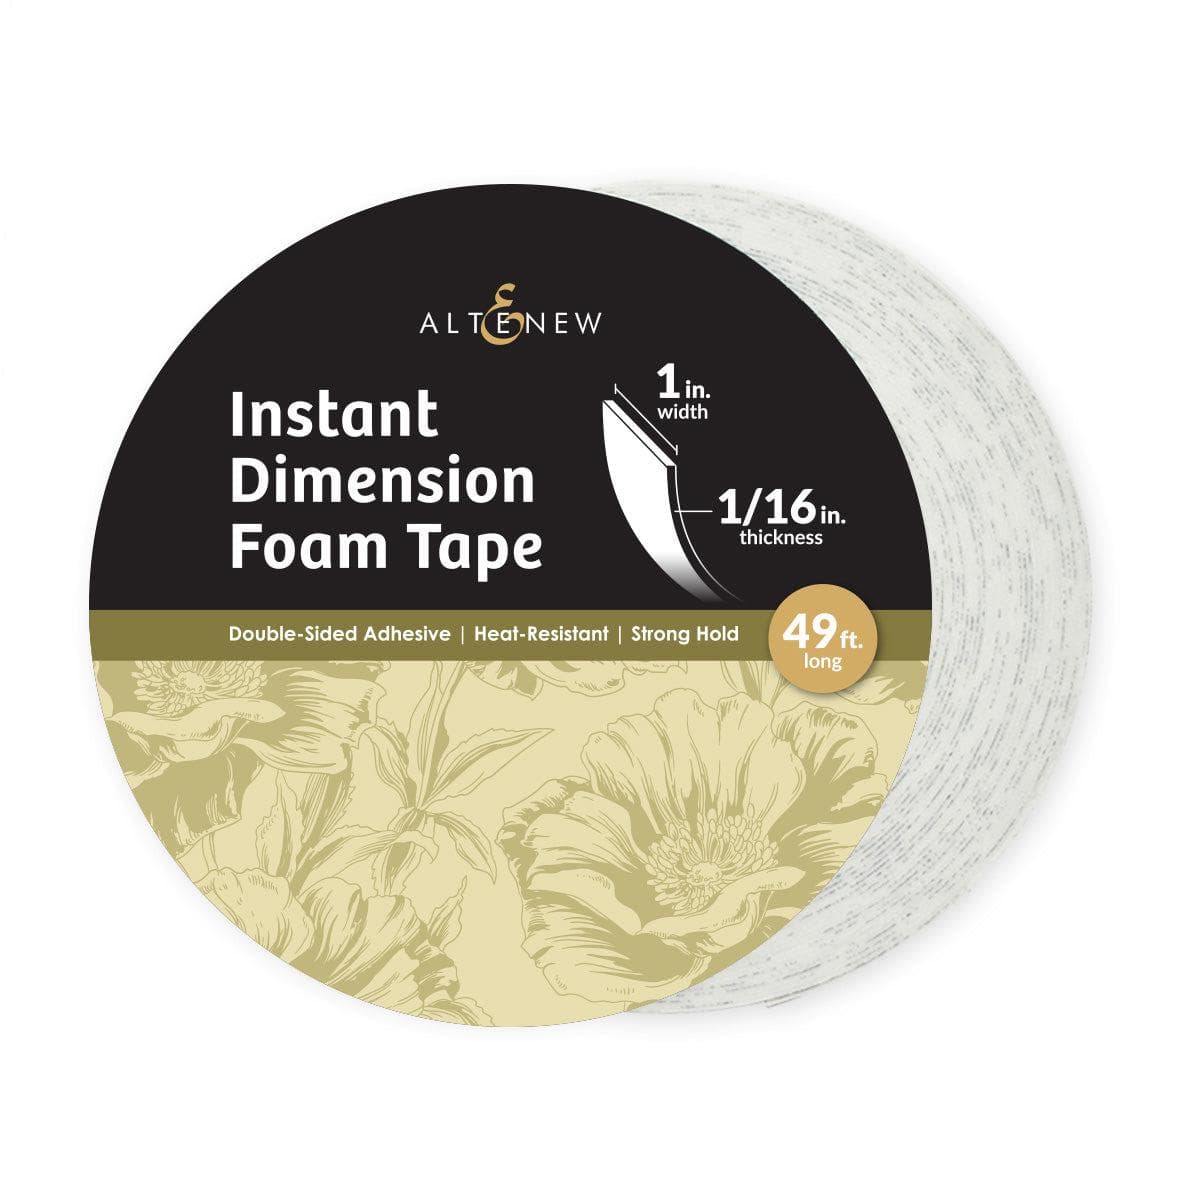
Dimensional Layering: Add foam tape or foam squares behind the main flower heads. Pop them up over the flat stems to create realistic drop shadows.
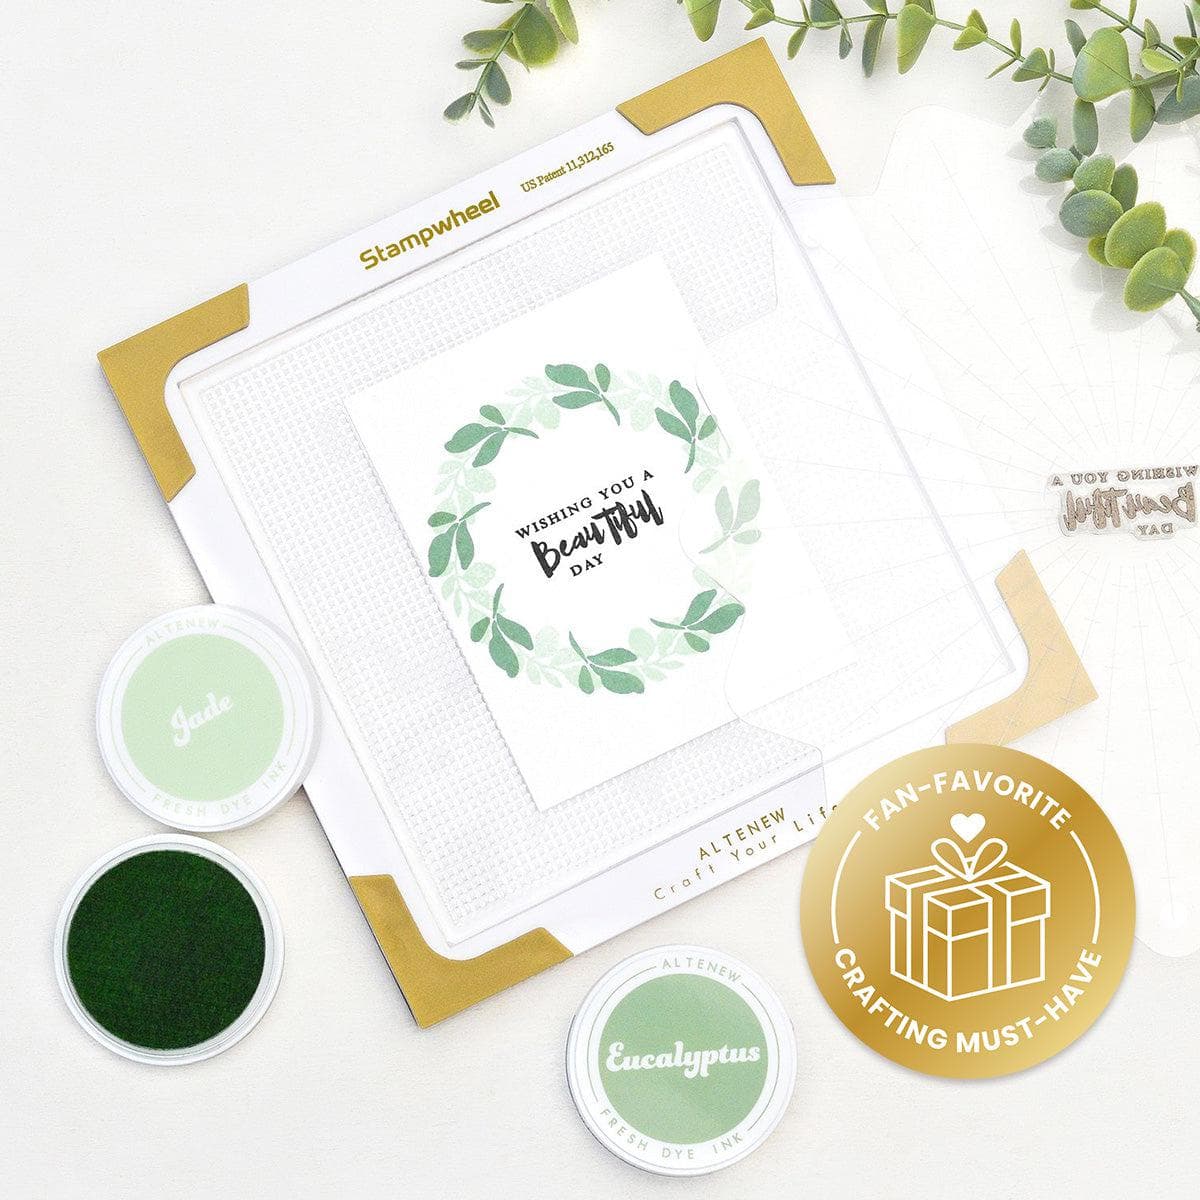
Stamped Sentiments: Position your choice of sentiments into the Altenew Stampwheel and stamp them onto white cardstock using crisp Obsidian Pigment Ink. Die-cut the greetings with the coordinating sentiment dies and mount them onto the card fronts using foam tape.
In just a few straightforward steps, you convert a single 6" x 6" stenciled layout into three distinct, professional-quality A2 greeting cards!
The Story Behind Zero-Waste & Layering Dies
Did You Know?
The Origin of Zero-Waste Dies: Traditional standalone steel dies often leave behind thin strips and awkward gaps of unused cardstock, resulting in excess paper scrap. Zero-waste coverplate and pattern dies were specifically engineered by papercraft manufacturers to utilize 100% of the die-cut footprint. Every interior line acts as a cutting edge, converting what would traditionally be background filler into usable accent die cuts, confetti elements, or decorative polka dots!

Alternate Color Palettes & Creative Variations
While crisp white backgrounds keep these cards clean and modern, you can easily adapt this workflow to fit different styles and seasons:
Warm Neutral Backdrops: Mount your zero-waste floral cuts onto cream, kraft, soft sage, or rich espresso cardstock for a dramatic, moody autumn look.
Spring Palette: Swap the gold and sage inks for blush pinks, soft corals, and fresh mint greens.
Summer Vibrancy: Experiment with bright magenta, golden yellow, and vivid teal.
Winter Palette: Blend icy blues, deep navy, and metallic silver accents for festive winter cards.
Rethinking your ink color choices and die-cut arrangements breathes immediate new life into tools you already own!
Frequently Asked Questions
What is an Altenew Zero-Waste Die?
An Altenew Zero-Waste die is a specialized die plate designed to cut an entire sheet or panel of paper into individual usable die cuts without leaving behind useless background scrap paper.
Do I need to stamp before using layering stencils?
No! While many Altenew Craft Your Life Project Kits include coordinating outline stamps, you can skip the ink outline completely and stencil directly onto cardstock to achieve a soft, realistic "no-line" painted look.

Thanks for Joining Me!
I hope today’s project inspires you to pull out your favorite layering stencils and die sets to experiment with fresh color combinations! The Altenew Zero-Waste Flowery Pattern Craft Your Life Project Kit makes it effortless to yield multiple handmade cards efficiently while keeping waste to a minimum.
Three unique card designs, three clean layouts, and just one single stenciled panel! Thank you so much for crafting along with me today, and happy cardmaking!


Ready to add this versatile set to your craft stash? For 2 days only (October 14–15, 2026), enjoy 20% OFF the Craft Your Life Project Kit: Zero-Waste Flowery Pattern at Altenew!
Whether you want to recreate these cozy autumn cards or experiment with your own seasonal palettes, now is the perfect time to grab this all-in-one kit at a discount. Don't wait—this flash offer ends October 15!
SUPPLIES
|