How to Create Bold DIY Cards with Colored Cardstock
Key Takeaways
Prevent Paper Warping: Use a high-tack, dry adhesive like Ultra Sticky Double Sided Tape (1/4" width) instead of liquid glue when adhering colored cardstock strips to prevent the paper from buckling or warping.
Achieve Precise Cuts: Use a dedicated strip die-cut rather than a paper trimmer to ensure perfectly identical widths and clean edges across all cardstock strips.
Design Cohesive Card Sets: Use a fixed color palette—such as Crafty Necessities in Evening Gray, Teal Cave, Dark Night, Vineyard Berry, and Chamomile—to keep a multi-card gift set cohesive while varying layouts to make each card unique.
Create Visual Dimension: Enhance background panels by altering dimensions using Instant Dimension Foam Tape, mixing contrasting die-cut shapes (like Nesting Circles), and layering textures like vellum and Brushed Gold Metallic Cardstock.
Hide Vellum Adhesive: When mounting vellum shadow layers, cut down small pieces of foam tape and place them directly behind the solid cardstock die-cut letters to completely hide the adhesive from the front of the card.
Hello Altenew friends and fans! I hope you are in the mood for some Crafty Necessities Colored Cardstock fun! I discovered a unique color combo by chance actually, and thought I'd step outside of my usual color palette comfort zone and go ahead and use this bold mix for today's handmade cards.
I store my Crafty Necessities Colored Cardstock in a Kallax bookshelf, and normally they are neatly arranged in color order. However, I'm not always great at putting my crafting supplies back into order (especially my colored cardstock) right away when I'm finished using them... So, what I do is put them on the next shelf down, until I get my ducks in a row and decide to tidy my craft room.
This happy accident is exactly where I saw the unexpected color combo I'm going to use today. There were a bunch more paper sheets in that pile, but the specific ones I pulled out are:
It's a wild combination, but it is SO BOLD and beautiful!
How to Slice and Strip Your Colored Cardstock
When playing with cardmaking techniques, stripping your colored cardstock is a fantastic way to utilize scraps. You can cut your Crafty Necessities Colored Cardstocks into different widths, either using a specific die-cut or a sharp paper trimmer.
For this project, I used an old, discontinued 1/2" wide strip die-cut. I decided to use it because it gives nice, clean edges and ensures each paper strip will be exactly the same width. That's not something I can always guarantee when I use a standard paper trimmer, which is admittedly a tad quicker if you just want to chop, chop your colored cardstock and go.

Gathering Your Cardmaking Supplies
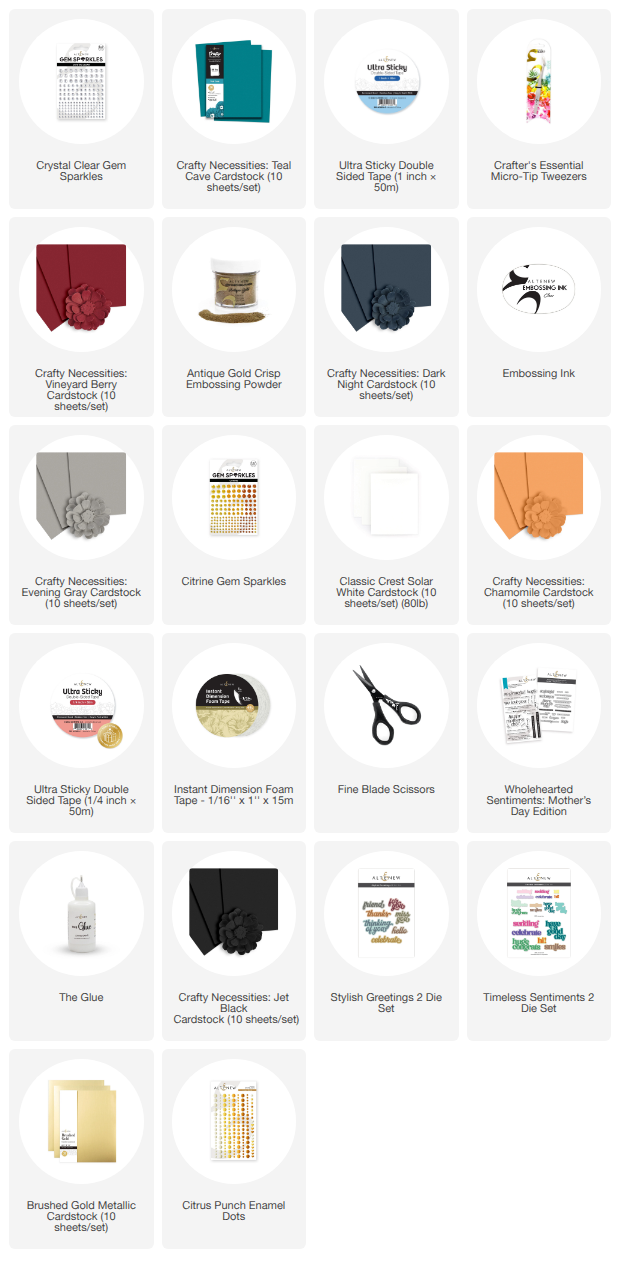
With three strips of each Crafty Necessities Colored Cardstock at the ready, it was time to assemble the rest of my crafting tools:
The Glue (Liquid Adhesive)
Once everything was laid out, it was time to puzzle the pieces together! I wanted different layouts and orders for the colored cardstock strips so that not every single background panel ended up looking identical. This part of the paper crafting process is always the most fun.

Designing the DIY Card Panels: Same Color Scheme, Different Layouts
I initially put together two striped designs on white cardstock panels. Then, as I was assembling the third one, I decided to switch things up a little to add some variety.
Instead of a white background panel for the final card, I decided to use a solid panel of Crafty Necessities Colored Cardstock in Chamomile. I also strategically placed the bright yellow paper strip right in the middle of the darker shades so that it would balance out the panel a bit.
Cardmaking Tip: Using a consistent line of colored cardstock like this is a great way to maintain a cohesive color scheme, while still giving you room to change things up so that each handmade card is unique and stands out on its own.

Easy Ways to Vary Your Background Layouts:
Trim the Panels: Trim each background panel down a little bit before adding it to a card base so that you get that lovely white frame around the edges.
Play with Dimension: Attach some panels flat with Ultra Sticky Double Sided Tape, and raise another using Instant Dimension Foam Tape.
Mix up Sentiments & Embellishments: Finish each card off in different ways. If you are gifting a card set to someone, this is a great way to keep your gift looking cohesive, yet each card remains a unique piece of art.
My preferred way to add strips of Crafty Necessities Colored Cardstock is by using Ultra Sticky Double Sided Tape (1/4" width). It completely stops the paper strips from warping, which sometimes happens when you use a wet liquid glue on cardstock backgrounds.
Adding Die-Cut Sentiments and Finishing Touches
I wanted each one of these cards to be different and fun—and what's more fun than adding layers, texture, and visual interest? With the help of the Nesting Circles Die Set, I die-cut circular windows right out of two of my striped panels. I also cut out a circle out of translucent vellum and one out of Brushed Gold Metallic Cardstock.
One of the panels—the one with the Chamomile colored cardstock background—I left with an open window hole in it, as I had a specific plan for that layout. I think maybe the background was originally a bit too yellow? Leaving the hole open with the crisp white of the card base showing through really helped balance the design. This is a major turnaround for me, considering I usually need heavy color and texture on any white surface!

Mixing and Matching the Layers
For the other two panels, I mixed and matched the die-cut circles. I played with the striped circles made from our Crafty Necessities Colored Cardstock, the vellum, and the gold metallic paper. I actually even turned one of the circles around so that the colored cardstock strips do not match up with the background, hence adding more contrast and interest! On both of these designs, I added some Instant Dimension Foam Tape to raise the circles up and build beautiful layers.

Choosing the Perfect Stamp & Die Sentiments
For the sentiments, I used a mix of gorgeous sets:
Wholehearted Sentiments: Mother's Day Edition (Heat embossed and cut with coordinating dies). I did not stack these sentiments because the card already had quite a lot of height thanks to the foam tape under the circles.
Stylish Greetings 2 Die Set (Cut out of Brushed Gold Metallic Cardstock). I skipped the shadow layer for these and simply adhered the delicate script letters to the card with the help of The Glue. The super fine-tip nozzle on this adhesive is worth its weight in gold for these small die-cuts!
Timeless Sentiments 2 Die Set (My absolute favorite!). I am slightly obsessed with this die-cut set. For this card, the sentiment is backed with a vellum piece for the shadow layer, and the letters are cut out of Crafty Necessities Colored Cardstock in Jet Black.
I really wanted to use this black sentiment on the Chamomile background card with the white circle window. I added it with some Instant Dimension Foam Tape that I cut down into tiny pieces and hid behind the vellum, right over the places where the black letters sit so the adhesive doesn't show through the front.

The Finishing Bling: Complementing the Cardstock
Finally, it was time for some paper craft embellishments—AKA the bling! I have been surprisingly restrained with these actually, but I did add a little something-something to each card. I wanted to select gems that would perfectly compliment the tones of the Crafty Necessities Colored Cardstock.
Card 1: A few little enamel dot stars from the Citrus Punch Enamel Dots.
Card 2: A few yellow sparkles from the Citrine Gem Sparkles.
Card 3: A good smattering of Crystal Clear Gem Sparkles on the final design.
Well, that's it from me for today! If you want to see how these techniques come together visually, be sure to check out the accompanying YouTube video where you will get to see a bonus card tutorial!

With love and light, color and creativity from your girl,
Erica

National Say Something Nice Day Special Offer:
Get 35% off Jumbo Garden Picks Layering Die Set from June 2, 2026 at 12:01 AM EDT until 11:59 PM EDT. Shop here: https://oltonew.shop/products/jumbo-garden-picks-layering-die-set