Bringing Paper Flowers to Life with Craft-A-Flower: Forget-Me-Not Layering Die Set
Key Takeaways
Altenew Craft-A-Flower Forget-Me-Not Die Set: A layering die set featuring unique, built-in keyhole shapes that act as foolproof alignment guides to easily build realistic, 3D paper flowers.
Organized Die-Cutting: Keep tiny flower centers attached to the main cardstock panel during ink blending to prevent losing small pieces.
Gradient Ink Blending: Use vibrant Altenew Fresh Dye Inks (Glacier Caves, Shades of Purple, and Summer Afternoon) to add realistic depth, warmth, and color dimension to white cardstock.
Textured Backgrounds: Pair detailed floral die-cuts with a subtly textured background using the Leafy Splendor Embossing Folder and Misty Morning Cardstock.
Metallic Foil Finishes: Elevate handmade cards by adding a high-shine sentiment using the Essential Sentiments Bundle and Brushed Gold Mirror Hot Foil Roll.
Hi everyone, Aga here today! There’s something truly magical about turning simple white cardstock into realistic paper flowers that feel almost alive. If you love handmade card making, you know that adding depth is everything.
With the Craft-A-Flower: Forget-Me-Not Layering Die Set, it’s incredibly easy to create delicate blooms full of beautiful dimension and depth. These tiny forget-me-nots truly come to life, creating a soft, elegant floral design that feels both artistic and timeless. Whether you are a beginner or a seasoned paper crafter, this layering die set is a must-have for your crafting toolkit.

Step 1: Die-Cutting and Organizing the Flower Layers
To bring these paper flowers to life, I started by die-cutting all the necessary elements out of high-quality white cardstock. Because these delicate forget-me-not flowers have multiple intricate pieces, keeping organized is key to a stress-free crafting session.
To make the assembly process easier, I grouped all the layers by their unique keyhole alignment shapes. I sorted them in the correct order, from the first base layer to the very last top layer. These built-in guide shapes serve as foolproof maps for super-easy layering and help you quickly identify which die-cuts belong together.
Pro-Tip for Handling Tiny Die-Cuts: I kept all the tiny flower centers attached to the main paper panel while blending. This made the process much easier since there are many small pieces that could otherwise easily get lost or mixed up on your crafting desk!

Step 2: Ink Blending for Realistic Paper Flowers
Once everything was cut, it was time to add vibrant color. I used Altenew Fresh Dye Inks to bring a realistic, gradient look to the elements:
The Petals: For the main flower petals, I blended soft blue shades from the Glacier Caves Fresh Dye Ink Set, adding a subtle touch of Lavender Fields from the Shades of Purple Fresh Dye Ink Set for realistic tonal variation.
The Flower Centers: I used Warm Sunshine from the Summer Afternoon Fresh Dye Ink Set to bring in a soft, sunny pop of warmth.
The Leaves: To create a natural look, I die-cut the foliage from Misty Sage Cardstock and blended Moss Fresh Dye Ink onto just a few of them. This creates a beautiful contrast of darker tones, adding extra depth and dimension to the arrangement.

Step 3: Creating a Textured 3D Embossed Background
A stunning floral arrangement deserves an equally beautiful backdrop. For the card background, I used a panel of Misty Morning Cardstock.
To elevate the design, I ran it through with the Leafy Splendor 3D Embossing Folder. The gorgeous, raised leaf patterns added subtle texture that complemented the delicate forget-me-not floral design perfectly without overpowering it.

Step 4: Adding the Final Elegant Accents
With the flowers and background ready, it was time for assembly. I layered the colored die-cuts together using the keyhole guides and arranged them beautifully across the embossed background panel.
As a final touch, I added a delicate, high-end sentiment. I created this using the Essential Sentiments Bundle combined with a Brushed Gold Mirror Hot Foil Roll. The hot foiling brings a gorgeous metallic shine and an elegant finishing detail that pulls the entire handmade card together.

Get Creative with Your Floral Die Sets!
That’s it from me today! The Altenew Craft-A-Flower: Forget-Me-Not Layering Die Set makes it incredibly satisfying to watch flat paper transform into a 3D work of art.
I hope this card inspires you to get creative with your own floral designs and try adding extra layers, texture, and dimension to bring your handmade projects to life.
Thank you so much for stopping by, and happy crafting!
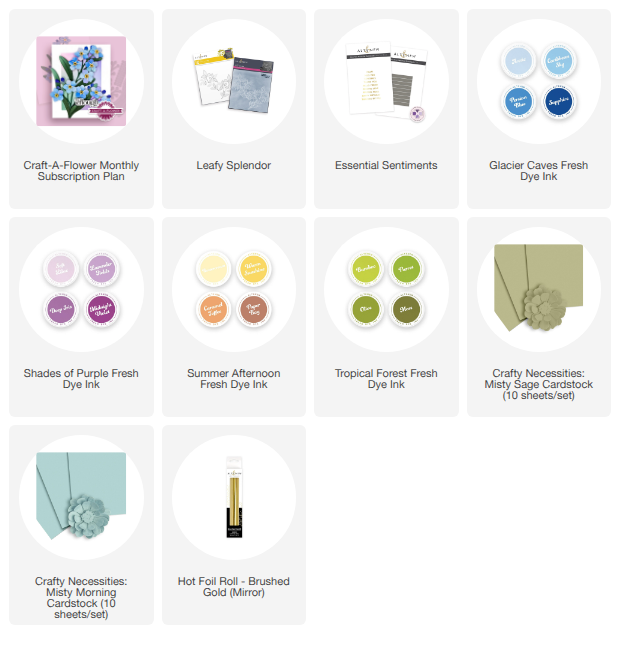
SUPPLY LIST