Ink Blended Florals: A Darling Dahlia Card Making Tutorial
Key Takeaways
Mastering Ink Blended Florals: Learn how to use white cardstock and ink blending to create custom gradients without needing a massive cardstock stash.
The Power of Contrast: See how a dark, textured background can actually make "light and airy" pastels pop.
Precision Stamping: Discover how the Stampwheel removes the stress of alignment for layered florals and crisp sentiments.
3D Texture Secrets: Tips for using the Crisscross Blooms 3D Embossing Folder to add instant, woven-style dimension to your designs.
Professional Finishing Touches: Why the "Rule of Three" and metallic heat embossing are the keys to a polished, modern card.
Hello, crafty friends! Lea here today with another edition of Light & Airy with Lea. I’m featuring the Darling Dahlia Die Set, the Crisscross Blooms 3D Embossing Folder, and the Creative Labels Clear Stamp & Die Set. This card leans into soft pastels, crisp whites, and a touch of metallic shine… all balanced against a deeper background for contrast and texture.

Mastering Ink Blended Florals with the Darling Dahlia Die Set
For the florals, I die cut all the Darling Dahlia petals and leaves from plain white cardstock, then added color with ink blending. This is one of my favorite techniques, especially for beginners or anyone crafting in a smaller space. You don’t need every shade of cardstock to get beautiful results — ink blending gives you full control over depth, gradation, and intensity. You can keep things whisper‑soft or build up richer tones exactly where you want them!
When it comes to creating a light & airy look, you don’t have to limit yourself to pale colors or only work with soft tones. In fact, this project uses a darker background — and it still feels bright and breezy. The key is in how you balance your elements. Pastels, whites, and metallics do a lot of the lifting here, keeping everything fresh and open even with that deeper grey in the mix.
For reference, I featured Strawberry, Dusty Pink and Mauve ink colors for the petals, and Mint Choc and Swamp Green for the leaves.
Ink blending also gives you the freedom to adjust your colors as you go, which is especially helpful if you’re someone who likes to tweak and refine. You can deepen the shadows, soften the highlights, or shift the undertone of a petal without starting over. It’s such a forgiving technique, and it really encourages creative play! Over time, you start to develop a feel for how different inks behave, and that familiarity makes the whole process even more enjoyable.

Creating an Interesting Sentiment
The Creative Labels set is quickly becoming an essential for me. The large sentiments are beautiful, the secondary sentiments mix and match effortlessly, and the label shapes help anchor everything in such a clean, intentional way. They add structure without ever feeling heavy, and they make it easy to build a focal point that feels polished!
Mixing heat embossing with crisp stamping offers a fresh & modern approach to building a lovely sentiment for your card. I've combined Antique Gold and Pure White embossing with the secondary sentiment stamped in Obsidian pigment ink to really make this sentiment shine!
Sentiments are such an important part of a card because they set the emotional tone, and the Creative Labels set makes that process feel effortless. I love that you can build something bold and eye‑catching or keep it understated and elegant, all with the same set of tools. The combination of heat embossing and crisp stamping adds a beautiful, layered effect that feels both modern and timeless.

Stamping & Heat Embossing
I wanted to take a moment to highlight the Stampwheel, because it truly has become one of those tools I reach for consistently. I’ll be honest — I was intimidated by it at first, which feels so silly now that I’ve actually used it! The size, the rotating platform, the sticky mat… it all looked more complicated than it really is. But once I finally sat down and gave it a try, I realized how incredibly easy and intuitive it is. Everything about the design is meant to make stamping smoother, cleaner, and more consistent, whether you’re working with layered florals, background stamps, or crisp sentiments.
What I love most is how it removes the pressure of “getting it perfect the first time.” If something needs another impression, you just rotate or re‑stamp without worrying about shifting. It opens up so many possibilities — from soft, repeated impressions to bold, layered stamping — and it makes the whole process feel relaxed and enjoyable. It’s one of those tools that grows with you, and once you get comfortable with it, you start to see just how much it can do!

🌼 Stampwheel Features
Perfect alignment for layered florals, making it easy to build soft, blended petals with consistent placement.
Even pressure across the entire surface, which helps keep those delicate sentiment details crisp.
Effortless re‑stamping, ideal for adding a second impression if you are a light stamper like me.
A sizable platform size, giving you plenty of room for bigger cardstock panels.
Stable, non‑slip base, which keeps everything secure while you work on detailed elements.
Smooth rotation, allowing you to stamp multiple elements without constantly repositioning your cardstock.

For the background, I used Industrial Diamond cardstock — a darker grey that really lets texture shine. After running it through the Crisscross Blooms 3D embossing folder, every line and intersection popped. This folder adds such a lovely woven feel, and the deeper tone helps highlight all that dimension. It’s a great reminder that “light & airy” doesn’t mean avoiding dark colors… it just means balancing them thoughtfully.
Embossing folders like Crisscross Blooms are wonderful for adding instant depth without overwhelming the rest of the design. The raised pattern catches the light in such a pretty way, especially when paired with a darker cardstock that highlights every detail. It’s a great reminder that texture can be just as impactful as color when you’re trying to create a specific mood or atmosphere in your project.
Check Out The Full Ink Blended Florals Tutorial Here!

I finished the design with a scattering of Rose Gold Stellar Sequins, which added the perfect final touch of shine without overwhelming the softer elements of the card. When I’m adding embellishments, I almost always start by placing them in small trios with my Perfect Picker tool, adjusting the spacing until everything feels balanced and natural. I’ve found that working in odd numbers is consistently more pleasing to the eye — it creates a sense of movement and harmony that even the simplest design can benefit from. Those tiny details might seem subtle, but they truly bring the whole card to life.
The finished card feels soft, dimensional, and modern, with just enough sparkle to keep things lively. If you’d like to see the full process, you can watch it all come together in the video!
One of the things I love most about sharing these projects is knowing that they might spark an idea or encourage someone to try something new. Cardmaking is such a joyful, personal craft, and there’s always room to explore, adapt, and make each design your own. Whether you’re brand new to die cutting or you’ve been crafting for years, techniques like these offer endless possibilities.
I hope this inspires you to try ink blending your die cuts — especially if you’re looking for a flexible, space‑friendly way to add color. Wishing you a wonderful day… happy crafting!
Warmly,
Lea
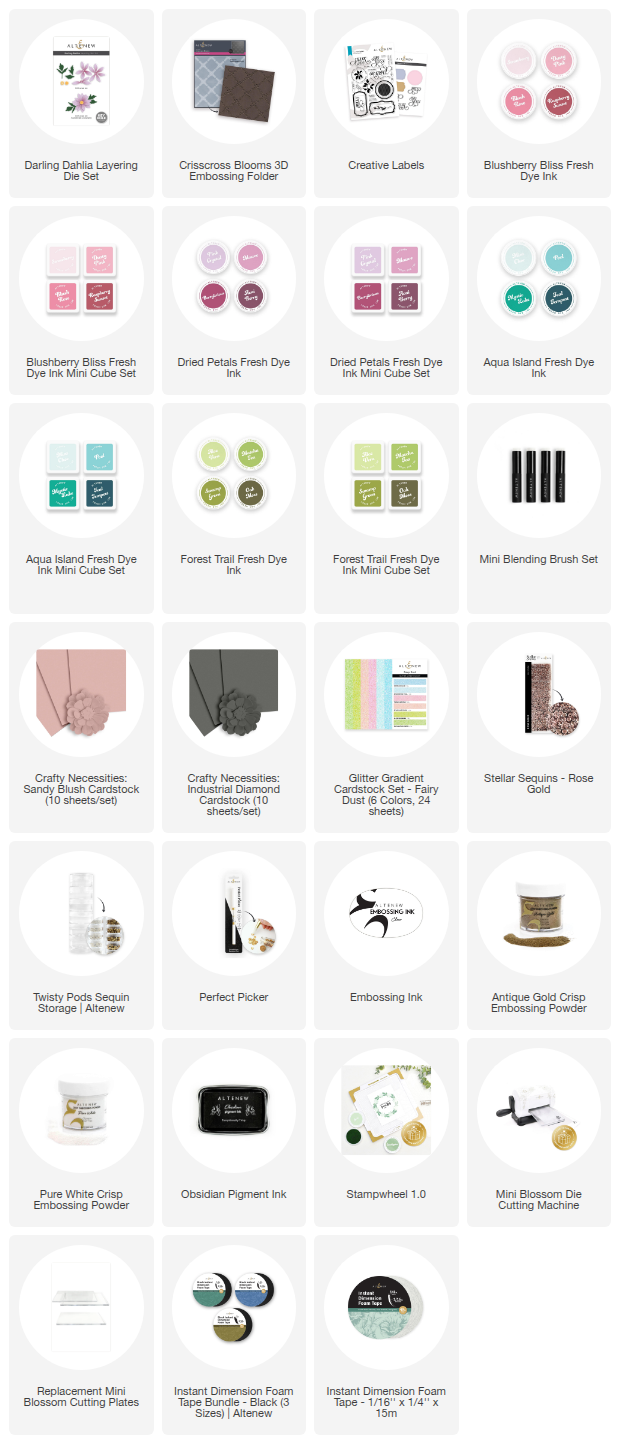
Ink-Blended Floral Card Supplies