November 2026 Guest Designer of the Month
by Altenew LLC November 16, 2026


Get to Know Our Guest Designer - Michelle
Hello! It’s Michelle Lupton here today, and I am thrilled to be featured on the Altenew blog as your Guest Designer of the Month and guest designer. It has been an incredible creative journey—I was so excited to finish my Altenew Educator Certification Program earlier this year, and I have been truly honored to serve as an Altenew Ambassador throughout the year as well. Naturally, this means I have made a lot of handmade cards using Altenew products this year, and I’m certainly not mad about it! LOL!
For those who haven't met me yet, I am an Australian crafter who works from home and crafts from the exact same desk—which can sometimes be a little problematic for my day job when I have so many colorful crafty goodies surrounding me! I have been a passionate cardmaker for almost 30 years, though I have really been a crafter all my life.
At heart, I consider myself a clean and simple cardmaker, though in recent years, my cards have definitely become less clean and less simple (is "messy and complicated" an official cardmaking style yet?). Bright and happy colours are always my favourites, and I simply cannot resist making a good rainbow card whenever the opportunity strikes.
Connect with Me
If you would like to see more of my daily creative adventures, I share my crafty projects mostly on my blog, on YouTube, and on Instagram:
Blog: https://handmade-by-michelle.blogspot.com/
YouTube: https://www.youtube.com/@michelle_lupton
Instagram: https://www.instagram.com/michelle_lupton/

Water Smooshing with Press Plates, Stamping, and Layering Stencils
For my featured Designer of the Month project, I wanted to create rich visual texture in the background using a combination of water smooshing and a letterpress plate. However, my main goal was to keep the cardstock panel relatively flat so I could still stamp and stencil straight onto it without any uneven ridges or warping.
Products Used

Step 1: Creating the Water Smooshed Background
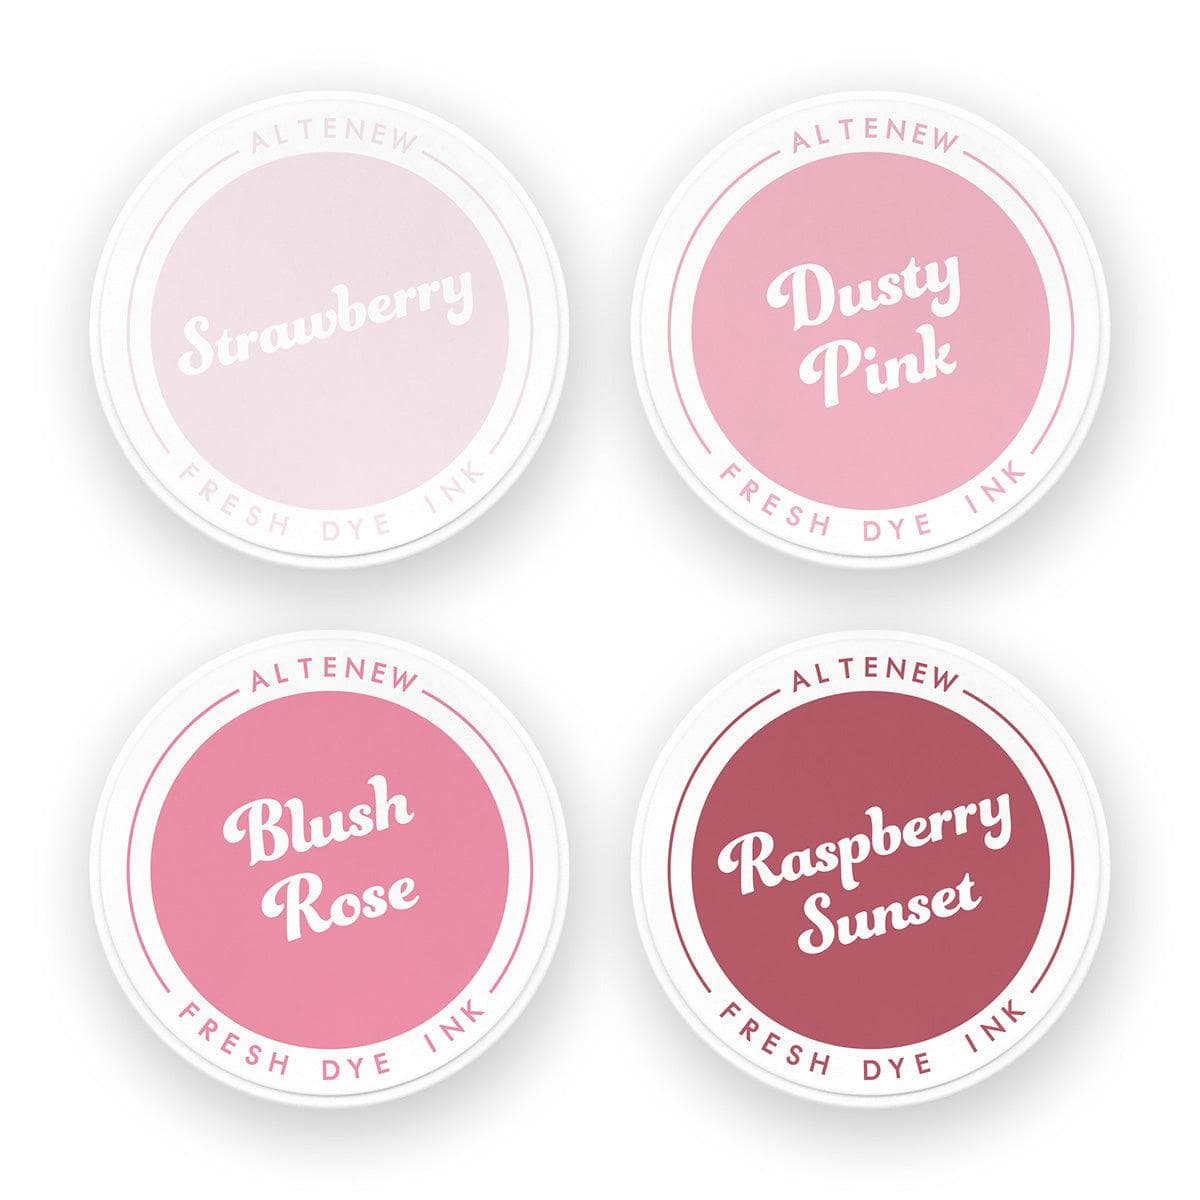
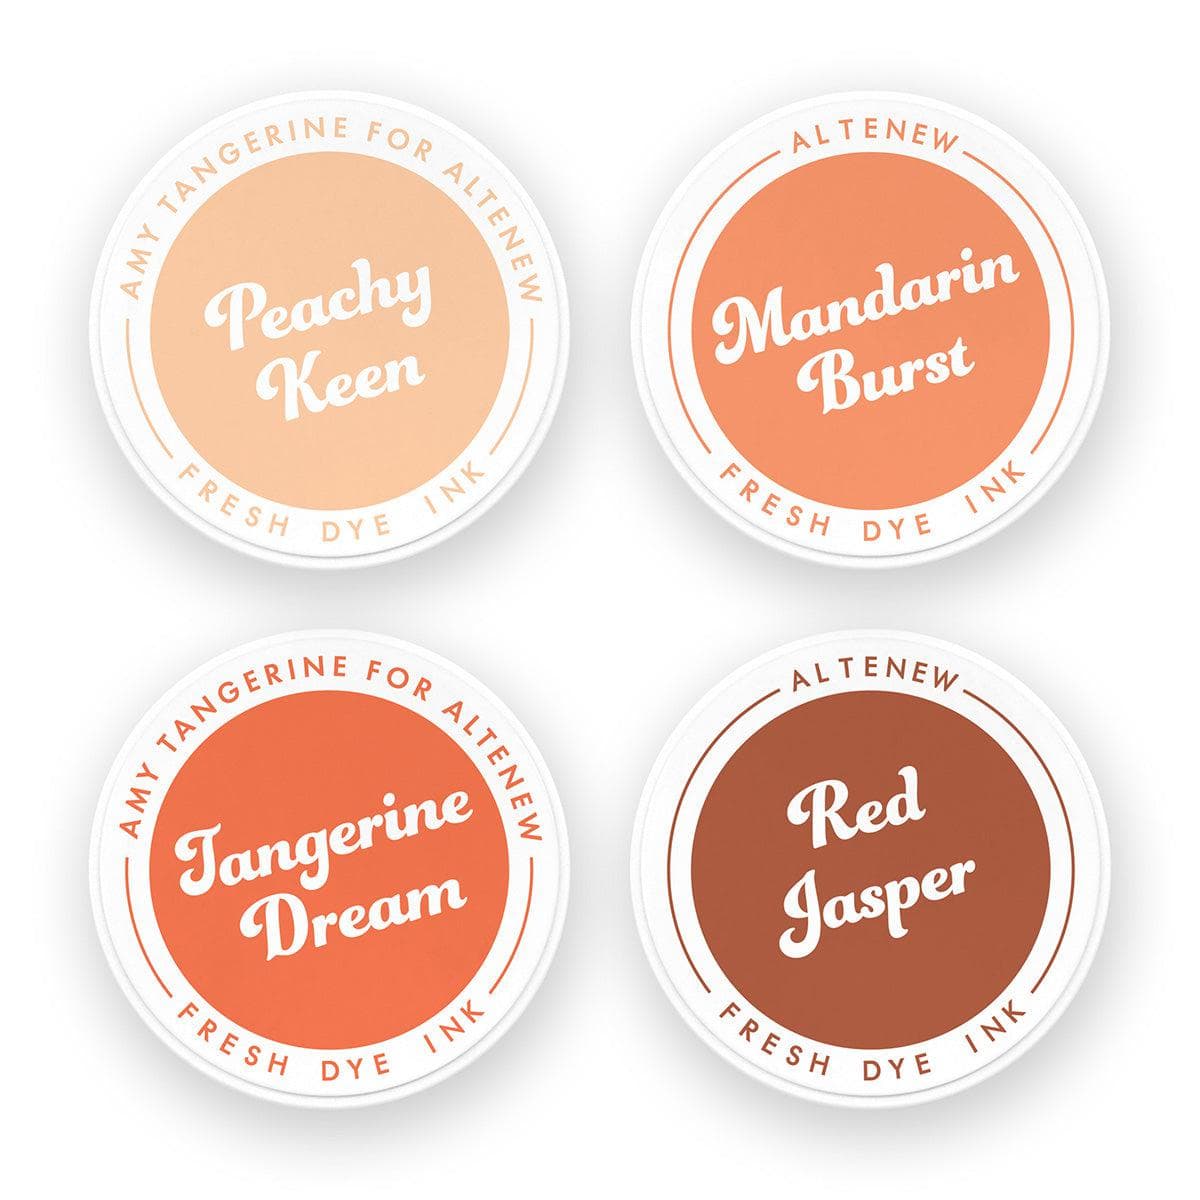
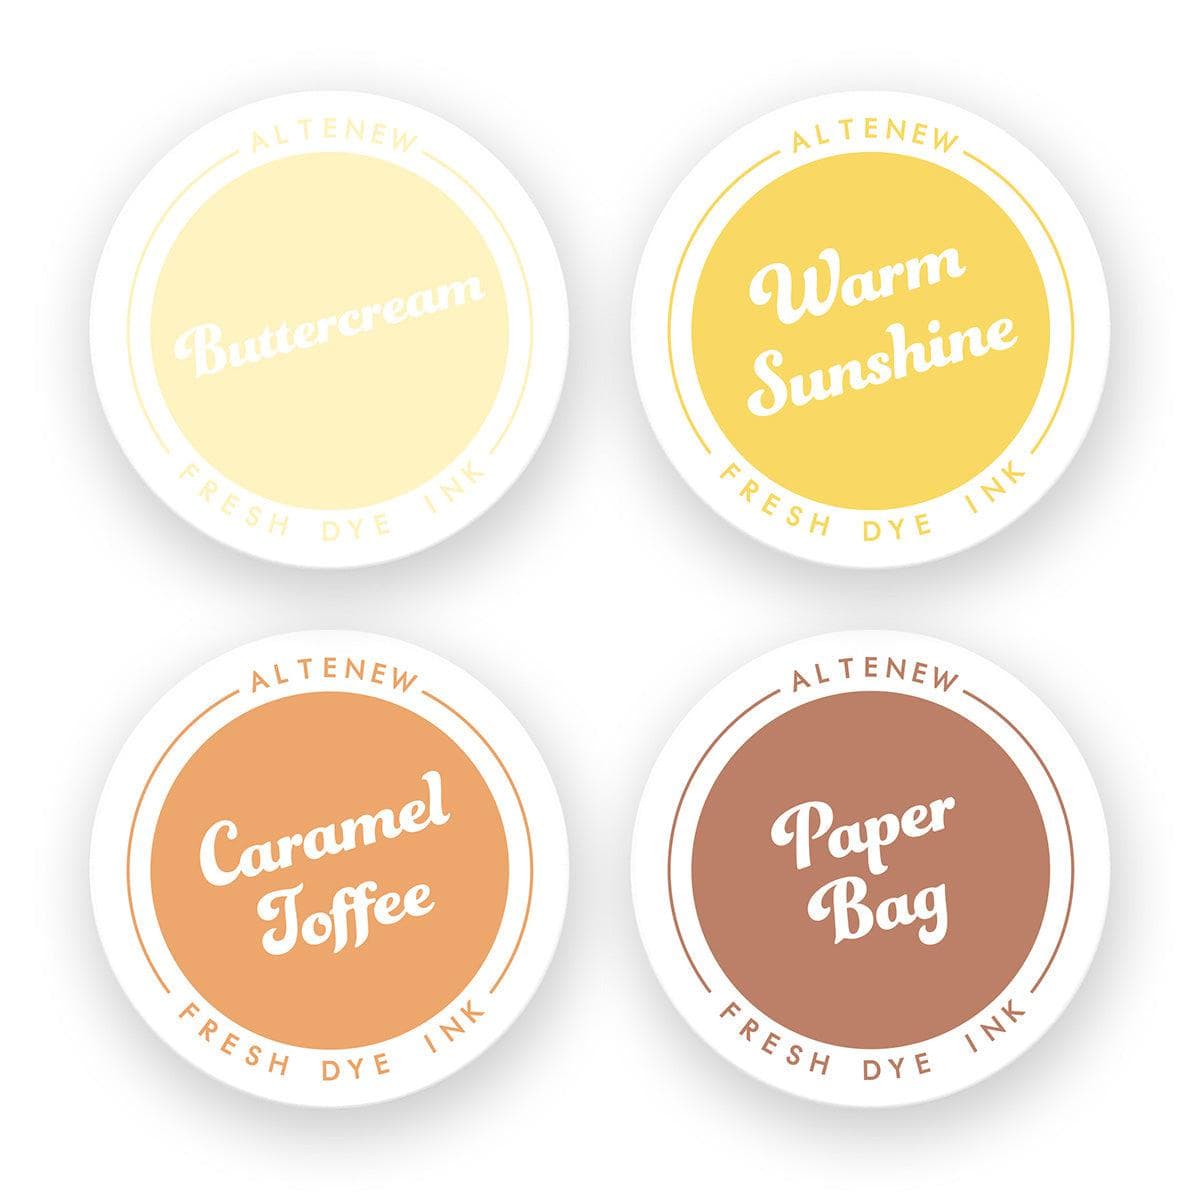
To begin the card, I smooshed Buttercream, Peachy Keen, and Blush Rose Fresh Dye Inks directly onto my glass work surface. I then spritzed the ink puddles with clean water using a spray bottle before placing a panel of smooth Bristol cardstock face-down into the wet ink.
To get a nice, organic blended look, I gently moved my card panel around in the ink, lifted it up, and pounced it back into the droplets a few times until I was happy with the overall coverage. I decided I needed a bit more intensity of color, so I smooshed fresh ink onto my mat and repeated the pouncing process before completely drying the panel with my heat tool. A quick tip: I made sure not to move the panel around too much in the ink, because over-blending would have turned the entire background into one uniform peachy-pink shade rather than preserving distinct patches of deeper pink and sunny yellow.

Step 2: Adding Subtle Texture with a Press Plate
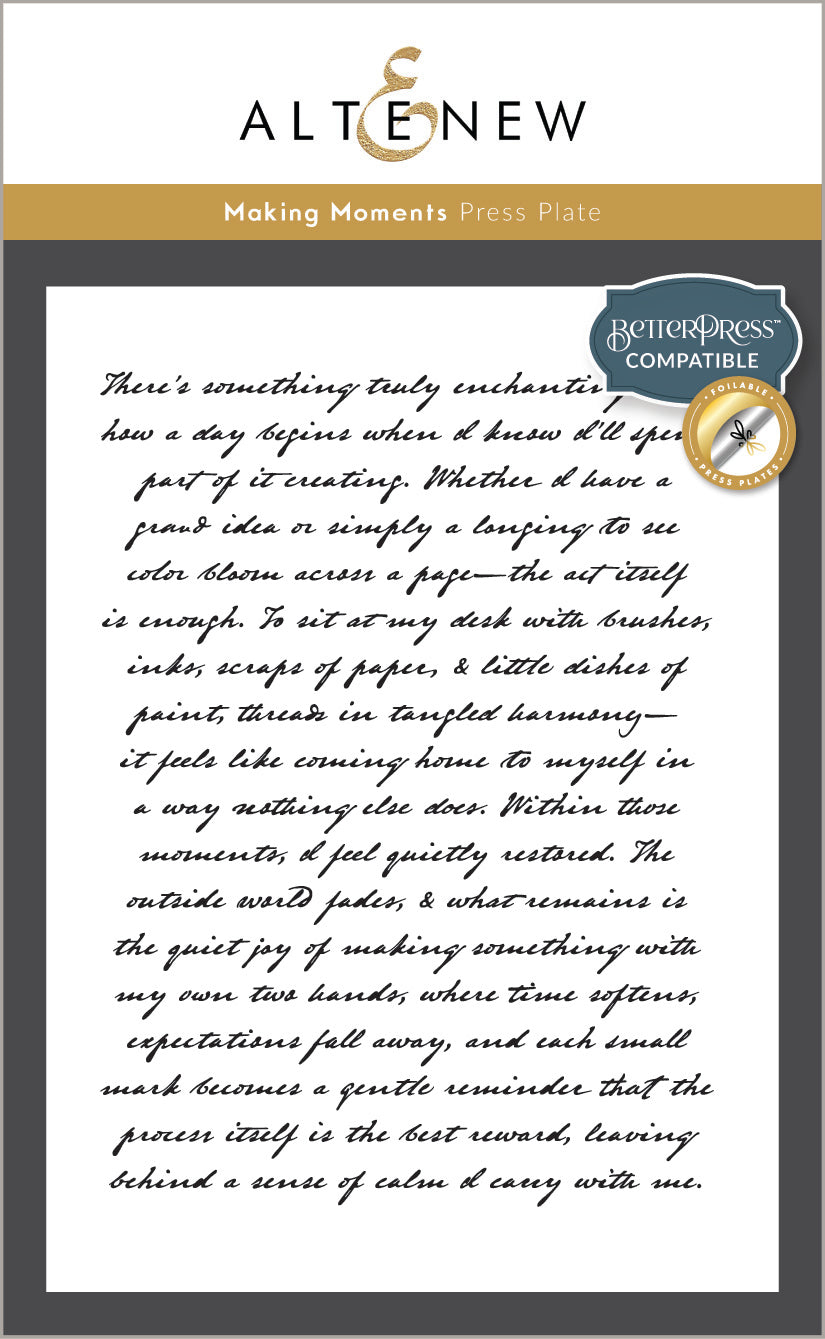
Once the water-smooshed panel was completely dry, I inked up the Making Moments Press Plate with white pigment ink and impressed it directly into my background using my BetterPress system. Because white pigment ink is semi-translucent over dye inks, the resulting impression is very subtle. However, it adds a layer of lovely tactile texture and visual interest to the background without drawing too much attention away from the main focal image.

Step 3: Stamping and Stenciling the Focal Point
The gorgeous floral cluster from the Build-A-Garden: Breezy Petals set is the obvious star of the show on this card. I stamped the outline image over my textured background using embossing ink, sprinkled on white embossing powder, and melted it with my heat tool for a crisp, glossy raised outline.
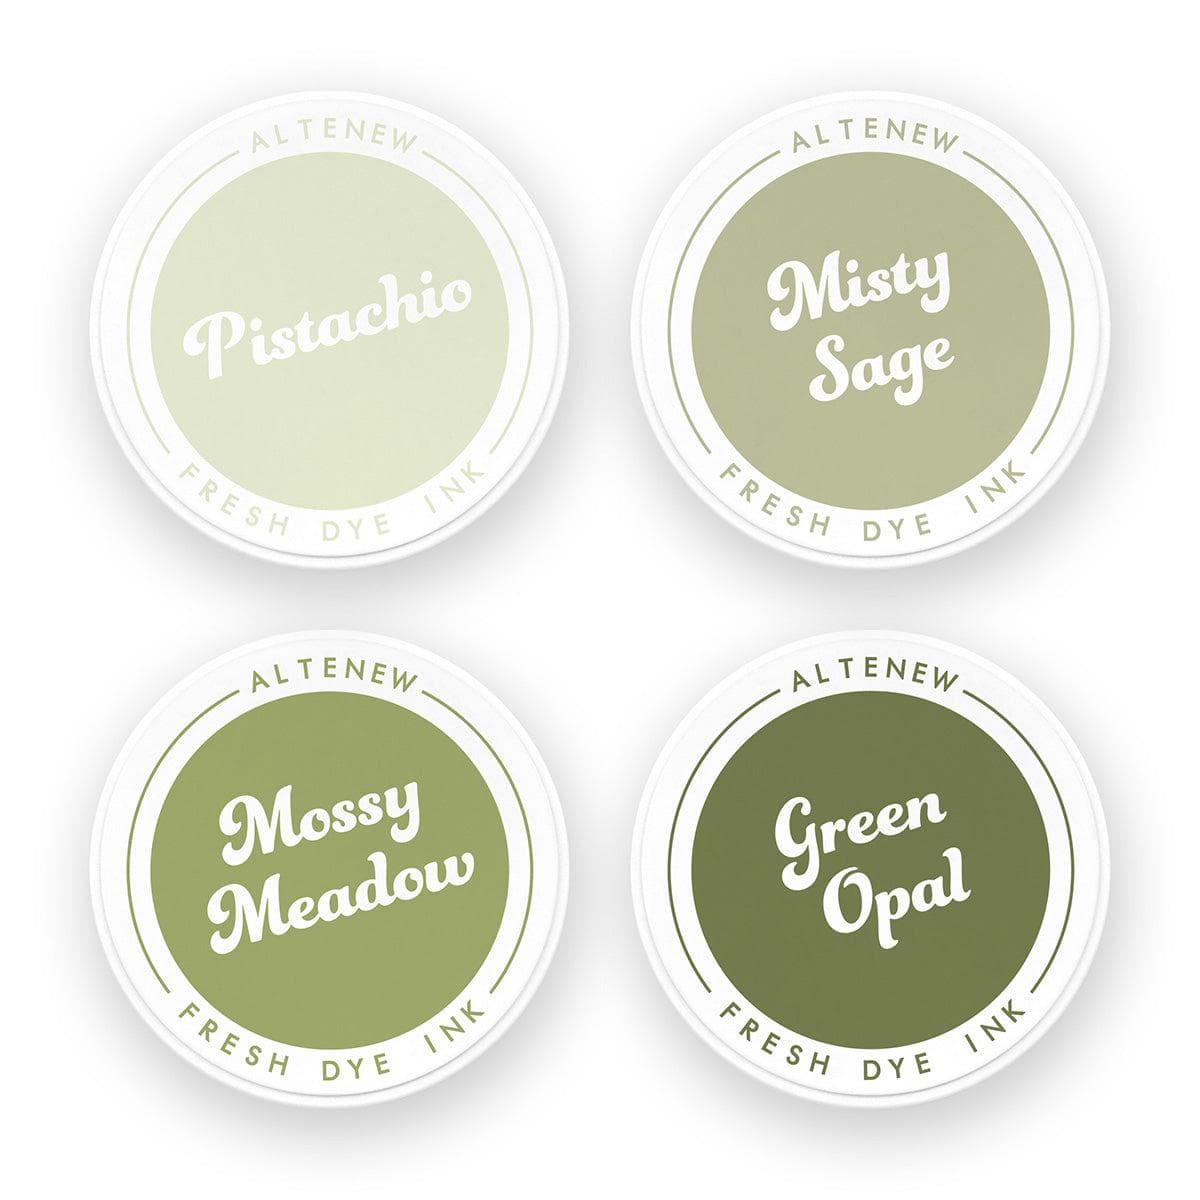
Once the heat embossing was done, I used the coordinating layering stencils to add detail and depth of color to the petals. To create a cohesive look, I ink-blended the flowers using the exact same colors that appeared in the background directly behind each blossom. As a result, each flower features seamless patches of Buttercream, Peachy Keen, and Blush Rose inks (with a touch of Dusty Pink added for good measure and shading). For the foliage, I chose Misty Sage as the green for the leaves, as its muted, earthy tone blends harmoniously with the warm sunset tones in the background.

Step 4: Finishing Touches and Card Assembly
To finish off my creation, I trimmed the finished panel down to 4 by 5 ¼ inches. This creates an elegant, classic white border around the artwork when mounted onto a standard A2 (4 ¼ by 5 ½ inch) white card base. When trimming, I intentionally positioned the cut so that part of the floral cluster extends right off the left edge of the card, leaving some of the comparatively less busy water-smooshed background visible on the right for visual breathing room.
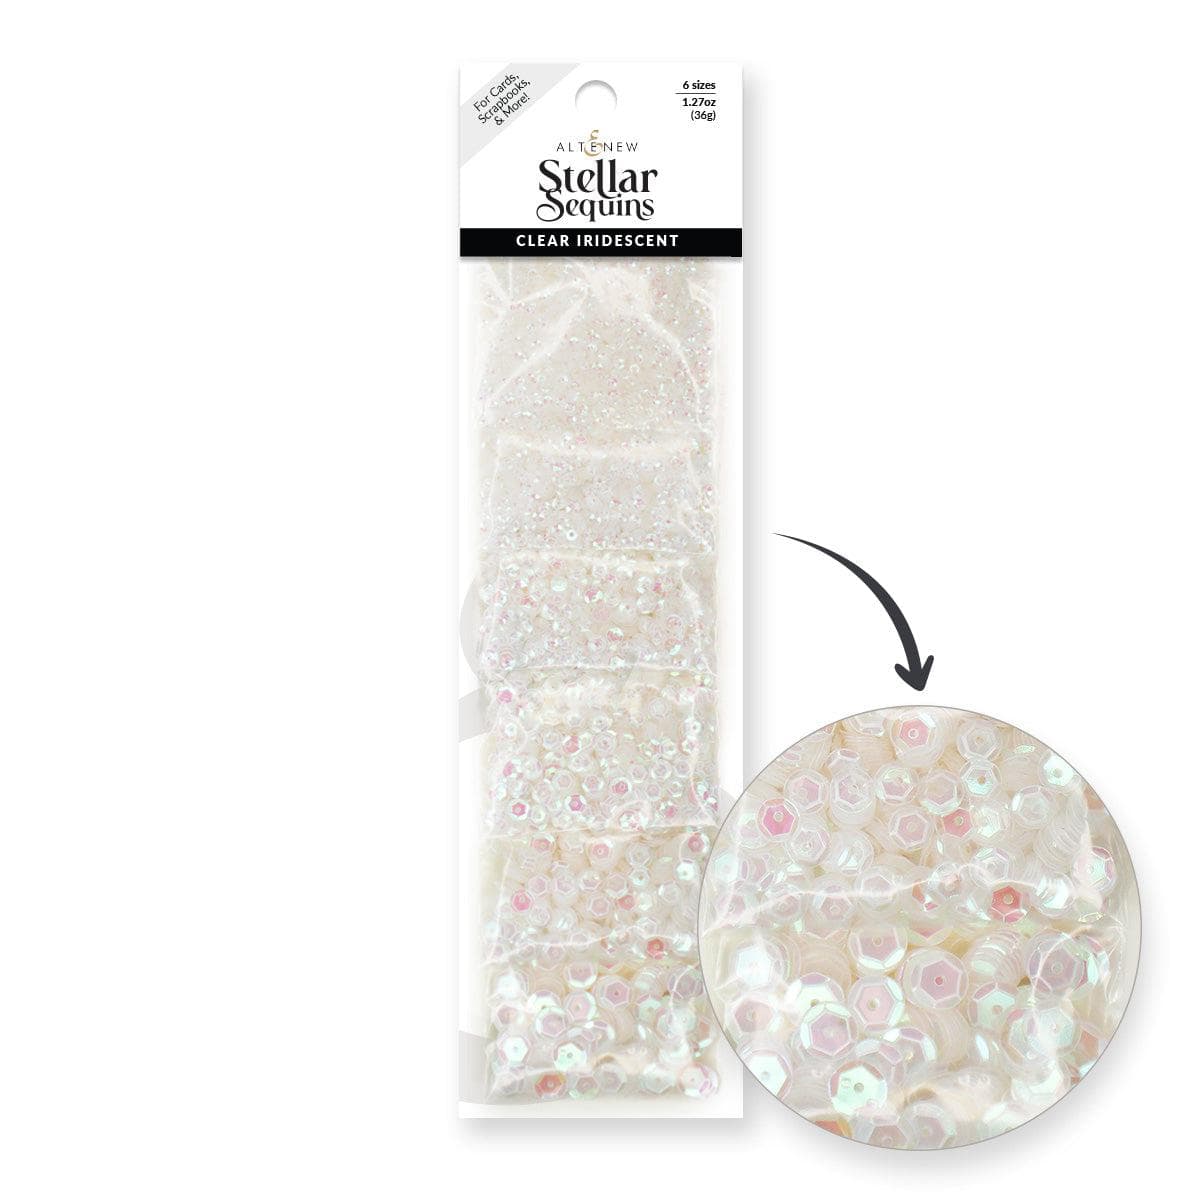
For the greeting, I used the One-Go: Solid Sentiment Strips Press Plate along with its coordinating dies to create the “Sending Big Hugs” sentiment in Blush Rose ink. I adhered the sentiment strip onto a slightly larger white cardstock mat to mimic the crisp white border framing the main card panel. Finally, I decided the focal area needed just a little bit more softness and texture, so I grabbed some white cotton thread from my sewing kit, wound it into a tiny loose nest to adhere behind my sentiment strip, and scattered a few Clear Iridescent Stellar Sequins around the blooms for a subtle touch of sparkle.

Thanks so much for visiting!
Michelle Lupton
Altenew Ambassador & Certified Educator
Supplies
|