Colourful Autumn Leaves with Watercolor Compact Sets
by Agnieszka Malyszek October 6, 2026

Key Takeaways
Vibrant Palette: Use rich yellows, oranges, reds, and greens from Watercolor Compact Sets to capture the lively side of fall.
Versatile Color Blending: Blend watercolor paints directly on die-cut paper for natural shading or pre-mix shades on a palette for exact color matching.
Multi-Medium Detailing: Enhance die-cut foliage by layering alcohol markers over watercolor base layers for added dimension and fine detail.
Batch Crafting: Die-cut and paint excess leaf elements in advance to easily assemble handmade cards and DIY fall wreaths.

Hello, everyone! Aga here, and today I’m sharing a colorful autumn paper crafting project featuring die-cut foliage painted with Altenew’s Watercolor Compact Sets.


As the evenings grow longer, autumn offers the ideal opportunity to slow down and unwind with relaxing watercoloring. Rather than focusing on muted grays and bare trees, I am deeply inspired by the bright, vibrant side of fall—golden yellows, warm oranges, rich reds, and subtle hints of green. Below, I’ll show you how to capture that seasonal warmth by bringing changing leaves to life with portable watercolor paints.

Crafting Vibrant Fall Foliage with Watercolor Compacts
Step 1: Die-Cutting the Autumn Leaf Bases
To begin this project, I prepared my paper elements using three key supplies:
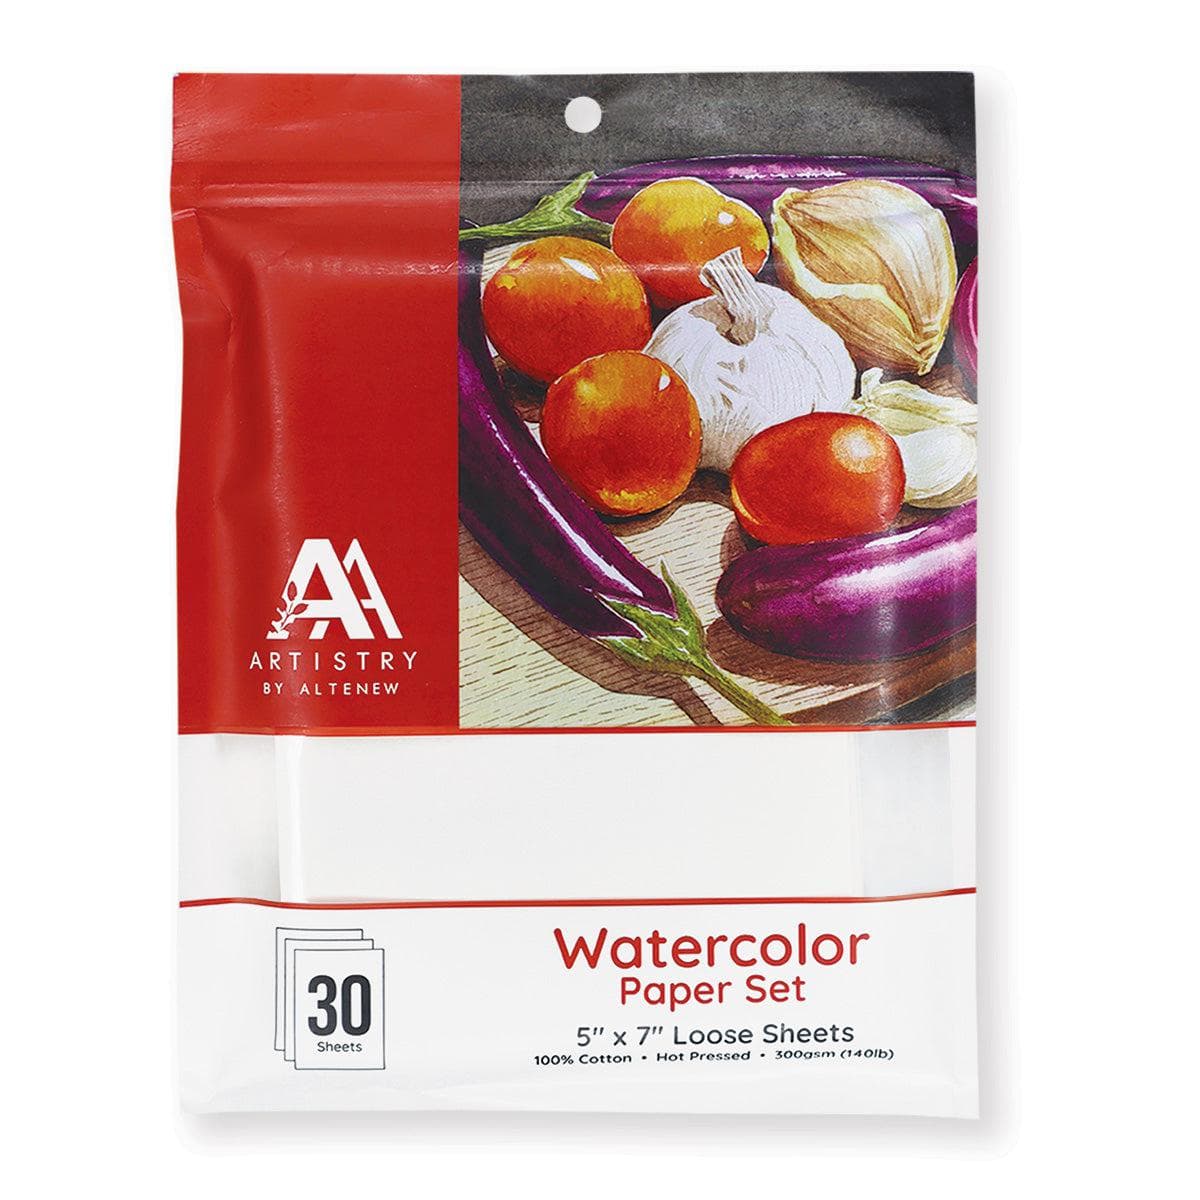
Watercolor Paper Set: Provides textured, absorbent cardstock that holds liquid pigment without warping.
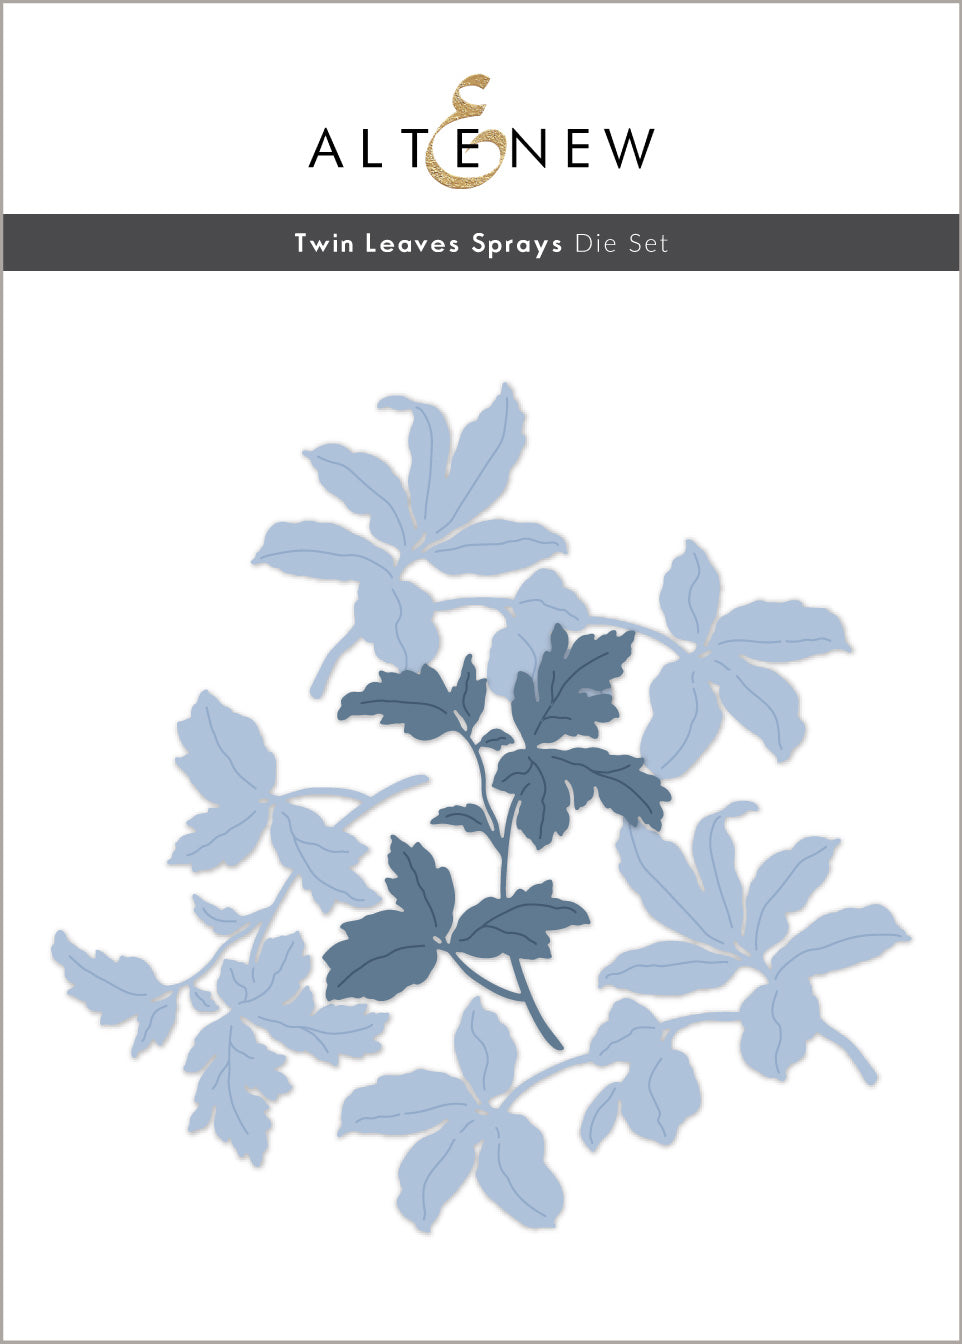
Twin Leaves Sprays Die Set: Creates delicate leaf clusters and flowing stems.
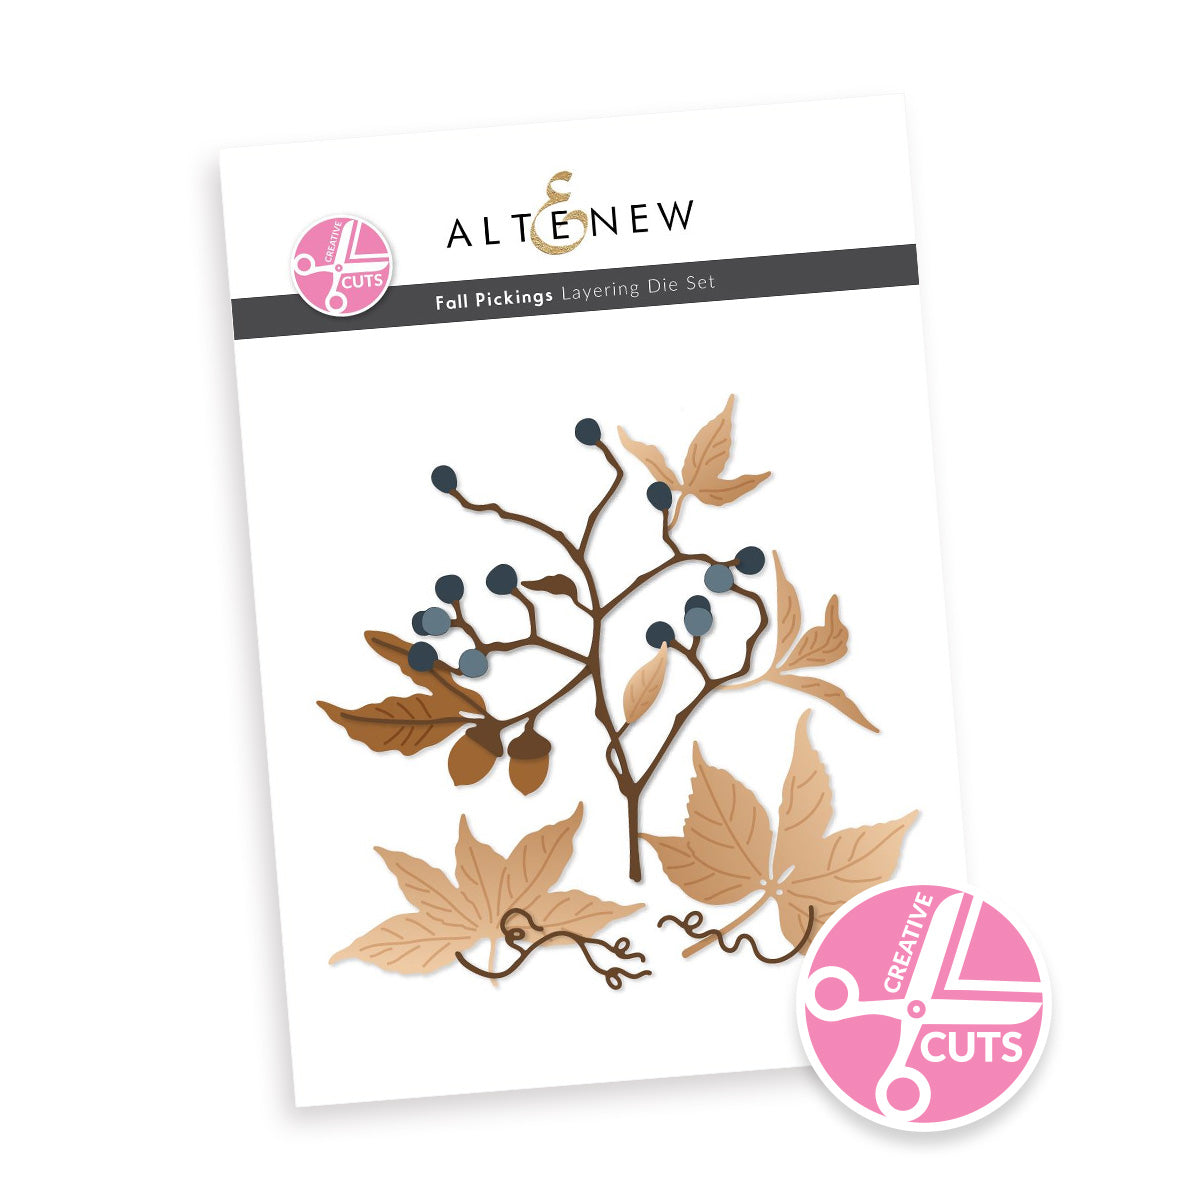
Creative Cuts: Fall Pickings Layering Die Set: Yields detailed focal leaves and acorn sprigs.
Die-cutting all your pieces from heavy-duty watercolor paper before painting allows you to focus purely on color application and smooth blending.

Step 2: Blending Pigments with Watercolor Compact Sets
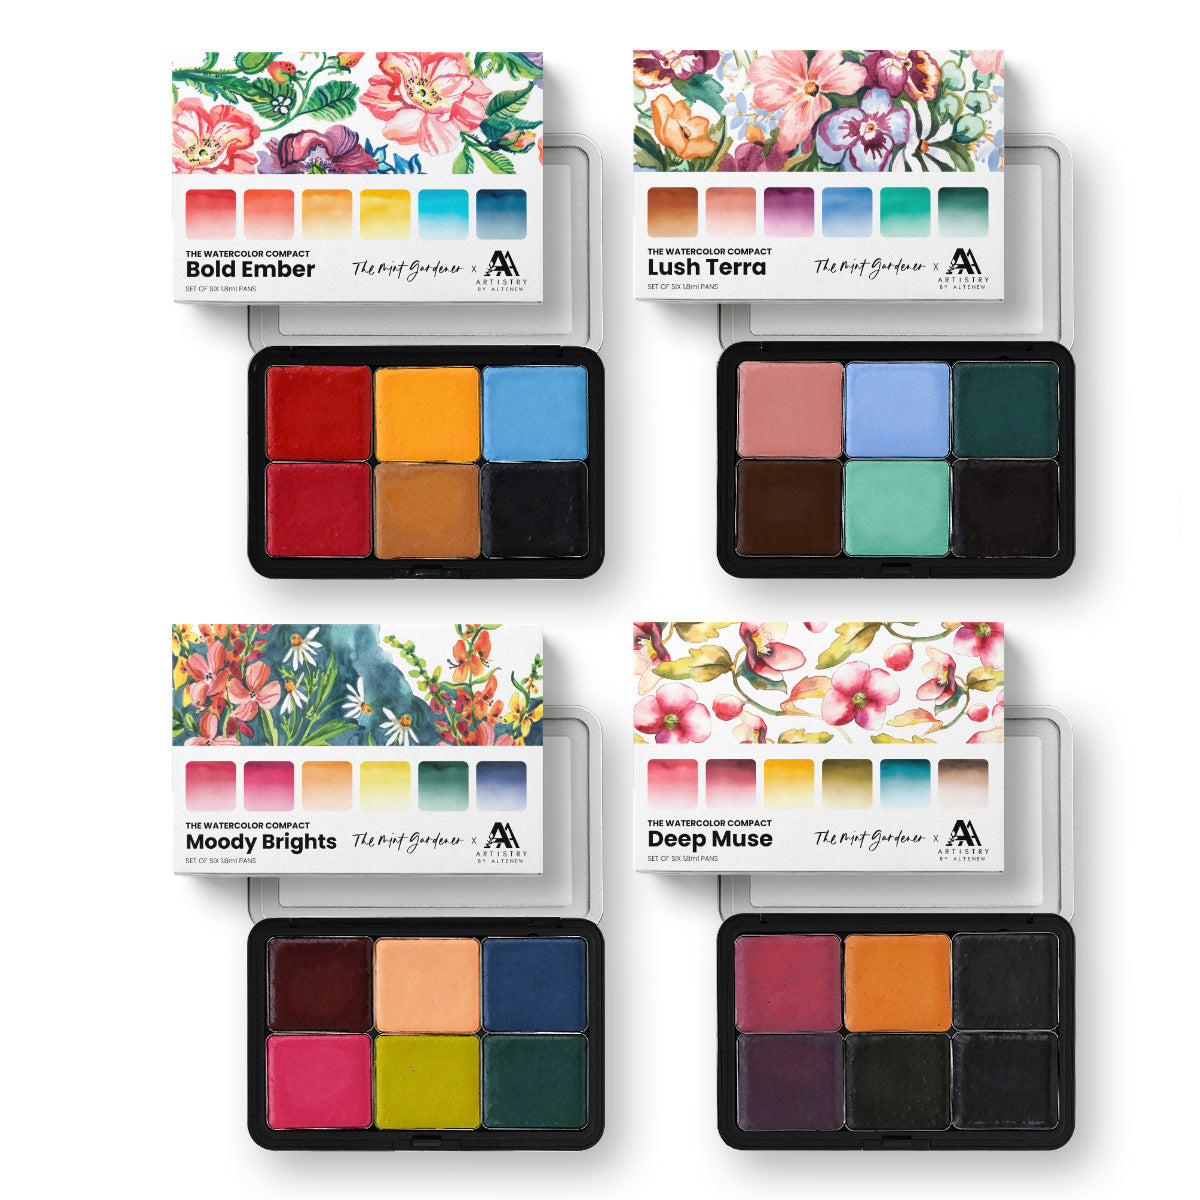
Next, I brought the blank die cuts to life using the full collection of Watercolor Compact Sets. These compact palettes make color blending effortless:
Direct Paper Blending: Apply wet paint straight onto the paper leaf die cut. Drag different shades into one another while the paper is still damp to create organic color shifts.
Custom Palette Mixing: For smaller accents like acorn sprigs, mix custom yellow and green tones on a palette prior to application.
Using Watercolor Compact Sets gives you the flexibility to build high-intensity color directly on the paper or dilute pigments for softer, translucent washes. Because every leaf takes on a slightly unique color balance, the final project gains a realistic, dynamic feel.

Adding Details and Assembling Projects
Step 3: Layering Marker Details and Fine Precision Gluing
To build extra depth on select foliage pieces, I layered green shades from the Cottage Garden Artist Alcohol Markers Set N directly over the dried watercolor base.
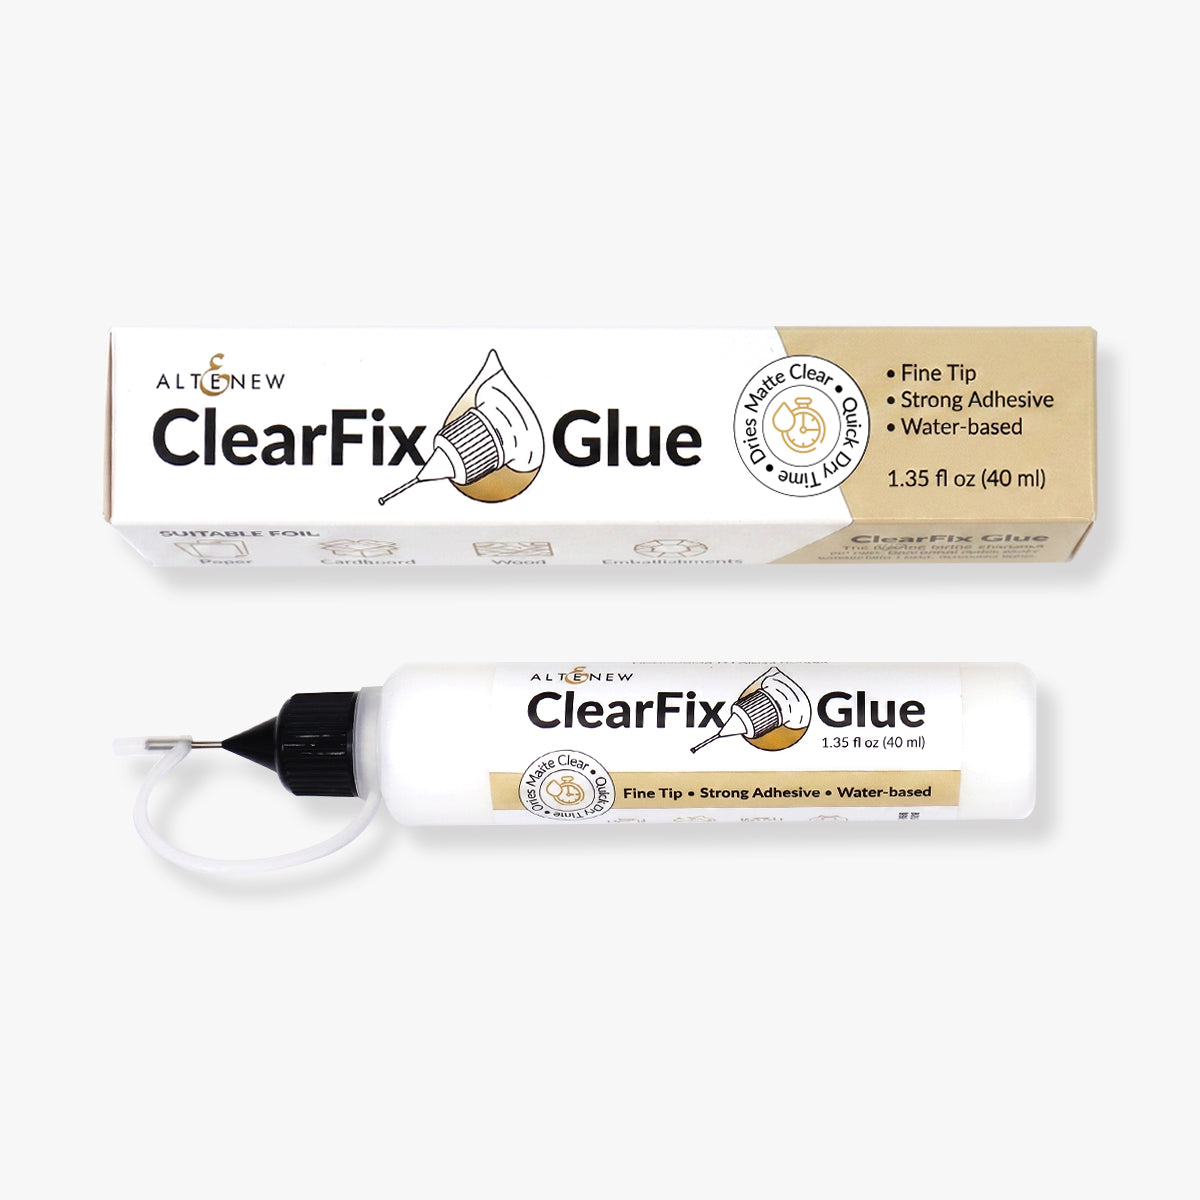
For assembly, I used ClearFix Glue equipped with a fine needle-nose precision tip. This tool ensures clean application on small, intricate die-cut stems without leaving excess adhesive residue.
Crafting Tip: Paint extra leaf die cuts in bulk whenever you craft. Keeping pre-colored foliage in your stash allows you to assemble handmade cards or home decor projects instantly when inspiration hits!

Step 4: Creating a Handmade Fall Card and Wreath
To create the first project, I arranged a selection of painted leaves across a clean card base and finished it with a delicate greeting from the Essential Sentiments Bundle.
Rather than letting the remaining watercolor leaves go to waste, I assembled them into a vibrant autumn wreath project. Hanging a handcrafted paper leaf wreath is a simple way to bring a warm pop of seasonal color to your home or craft room space.

Thank you so much for stopping by today! Try experimenting with Watercolor Compact Sets on your next fall paper craft project to create custom leaves of your own.

Supply list
|