Simple And Brilliant Holiday Crafting with Jolly Ornaments
by Nathalie DeSousa October 20, 2026

Key Takeaways
Maximum Shine & Detail: The Jolly Ornaments Hot Foil Plate and Die Set lets you easily add high-end foil shine and precise detail to any holiday paper craft project.
Waste-Free Crafting: Use the negative leftover foil paper to create accent tags and grid-style layouts without throwing away extra materials.
Versatile Applications: Perfect for scrapbooking, memory-keeping spreads, gift tags, grid layouts, and custom greeting cards.
Easy Customization: Simply adjust your dye ink shades, glitter cardstock, and ribbon accents to match any holiday color palette.
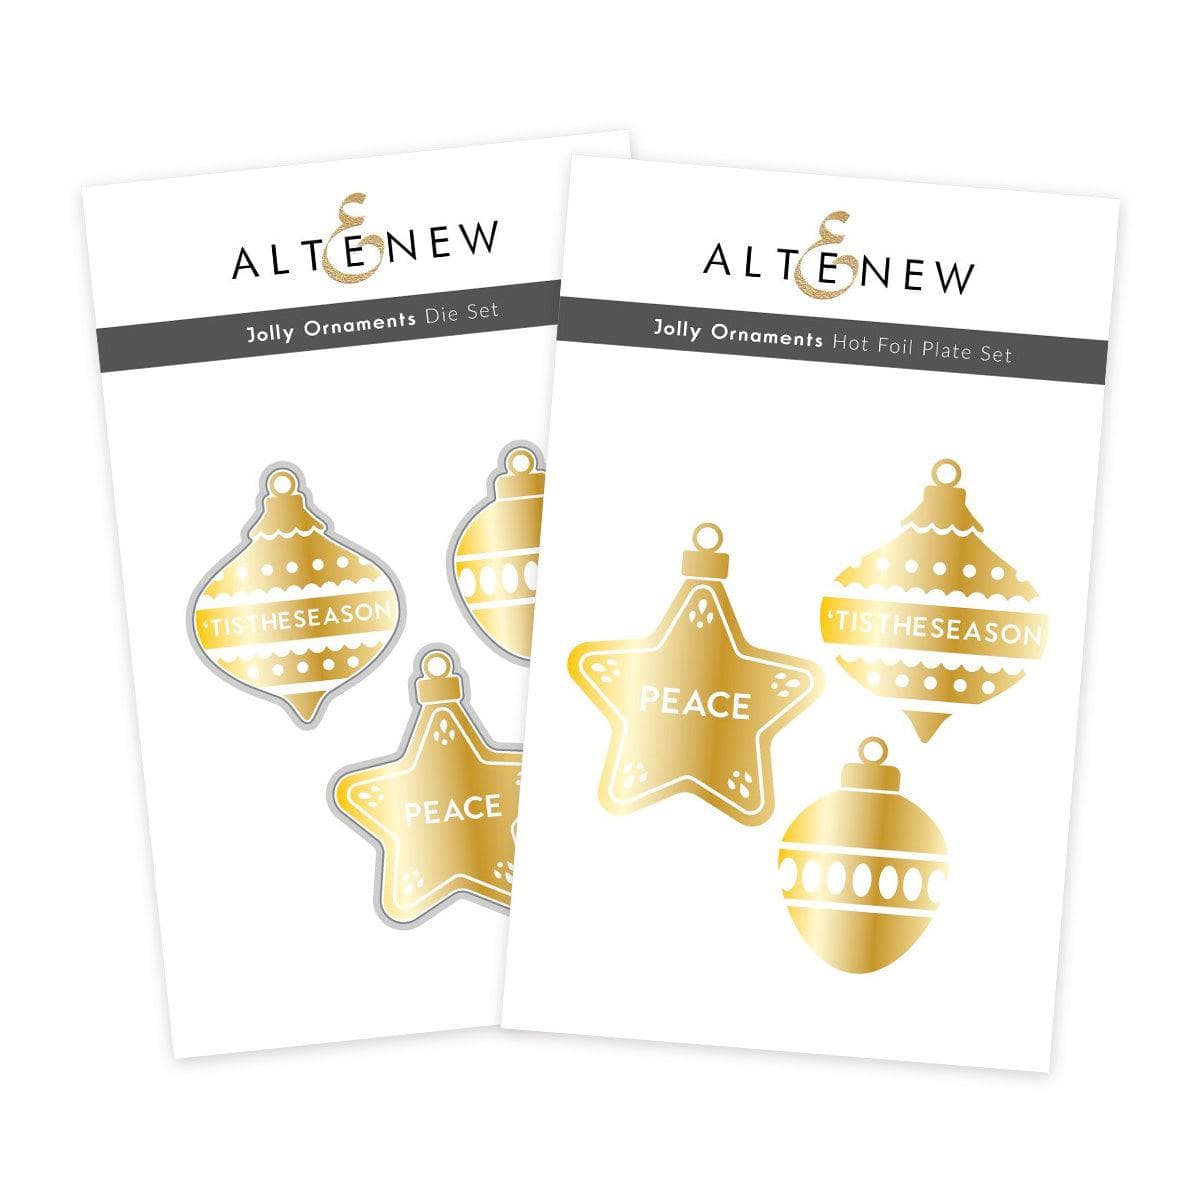
Hello, crafty friends! It is Nathalie here with you today to share a fresh, creative idea for simple and brilliant holiday crafting with Jolly Ornaments Hot Foil Plate and Die set.
Whether you like starting your holiday preparations early or, like me, find yourself finishing up right before the festive season, it is never too early or late to start crafting. The Jolly Ornaments Hot Foil Plate and Die set brings rich detail, elegant shine, and dimension to your handmade projects, regardless of their size. Having the flexibility to customize your paper crafts to fit a specific mood or seasonal color palette makes this set an essential tool in your craft room. All you need is a hot foiling machine, your favorite colored foil, and a bit of cardstock to get started!
Let's dive into today's featured project and step-by-step tutorial.

Highlighting Focal Points with Jolly Ornaments
To kick off our simple and brilliant holiday crafting with Jolly Ornaments project, we will focus on highlighting the elegant shape and ease of customizing these die cuts.
The secret to mastering simple and brilliant holiday crafting with Jolly Ornaments is choosing a cohesive color combination that adds contrast, shine, and a polished, professional finish.

Step-by-Step Tutorial: Creating the Title and Journaling Layout
- Foil the Images: Use the Jolly Ornaments hot foil plates to foil your images directly onto smooth white cardstock.
Reuse Leftover Foil: Take a large foiling plate and create a negative foiled image of the Jolly Ornaments using your leftover foil paper for zero-waste crafting.
Die Cut the Shapes: Align the Jolly Ornaments Die set over your foiled images and cut them out using your die-cutting machine.
Add Perforations: Use a 3/16" hole punch to create a clean perforation at the top center of each die-cut ornament.
Prep the Base Page: Cut your base paper to size (this layout base measures 5" x 8.25"). Thread thin twine through the page about 1/2" from the left edge.
Arrange and Mount Ornaments: Thread the Jolly Ornament die cuts onto the twine to fill the vertical length of the page. Secure each die cut in place with foam adhesive for added dimension, then anchor the twine behind the page.
Add Decorative Bows: Die-cut a bow using the Elegant Bows set and position it at the top of the column, directly above the first ornament.
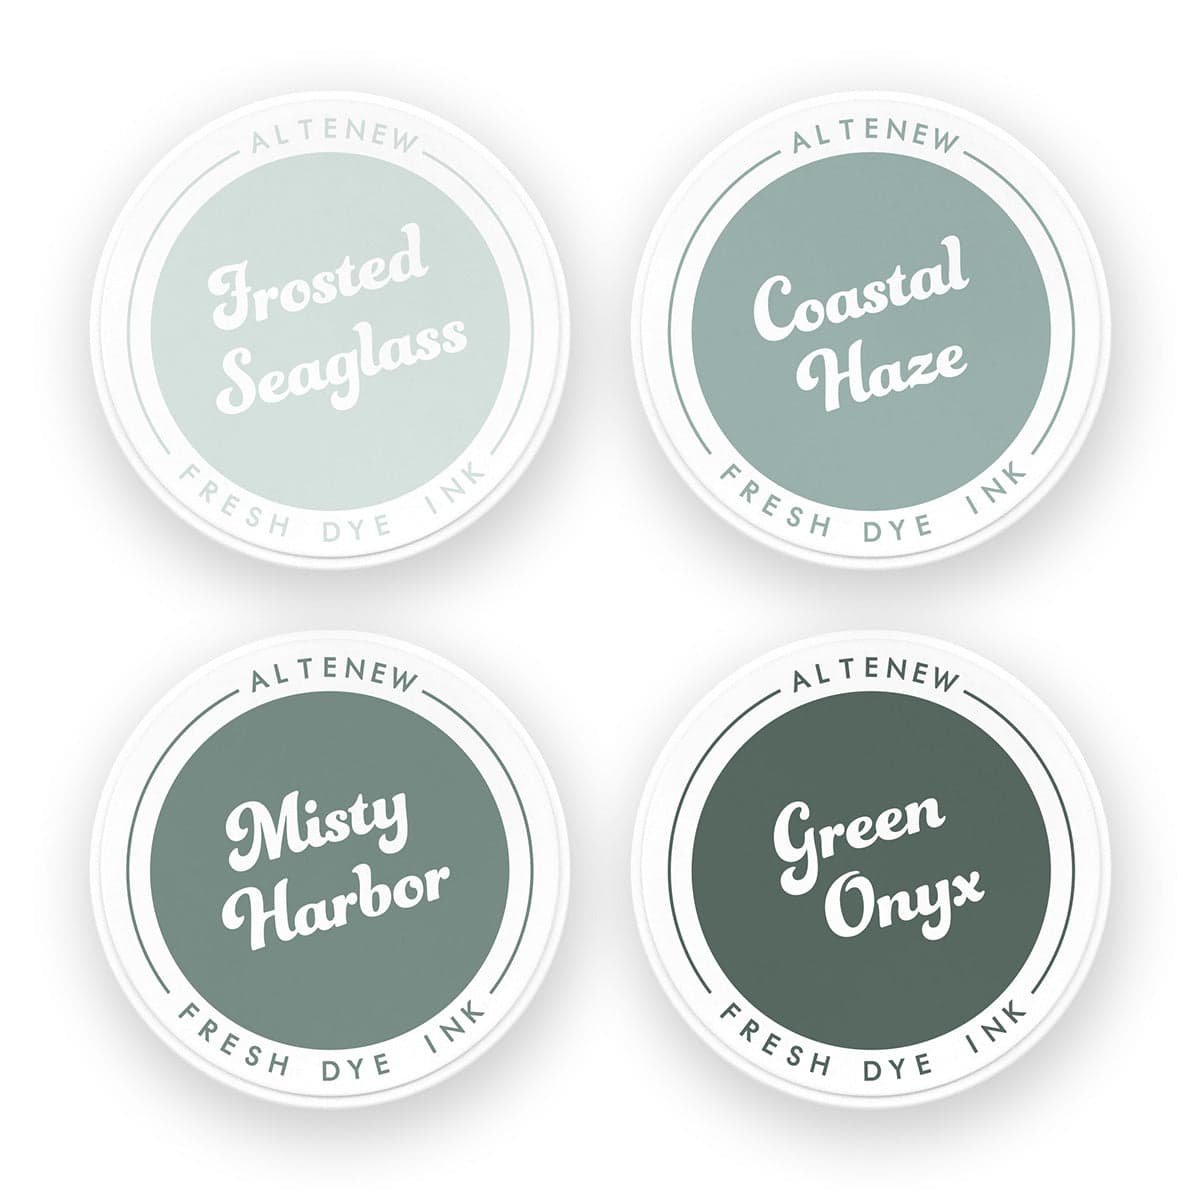
Blend the Sentiment Offset: Cut a sentiment offset piece from white cardstock using the Timeless Sentiments Holiday Edition die set. Using Coastal Haze Fresh Dye Ink, blend a soft layer of color across the die cut and allow it to dry completely.
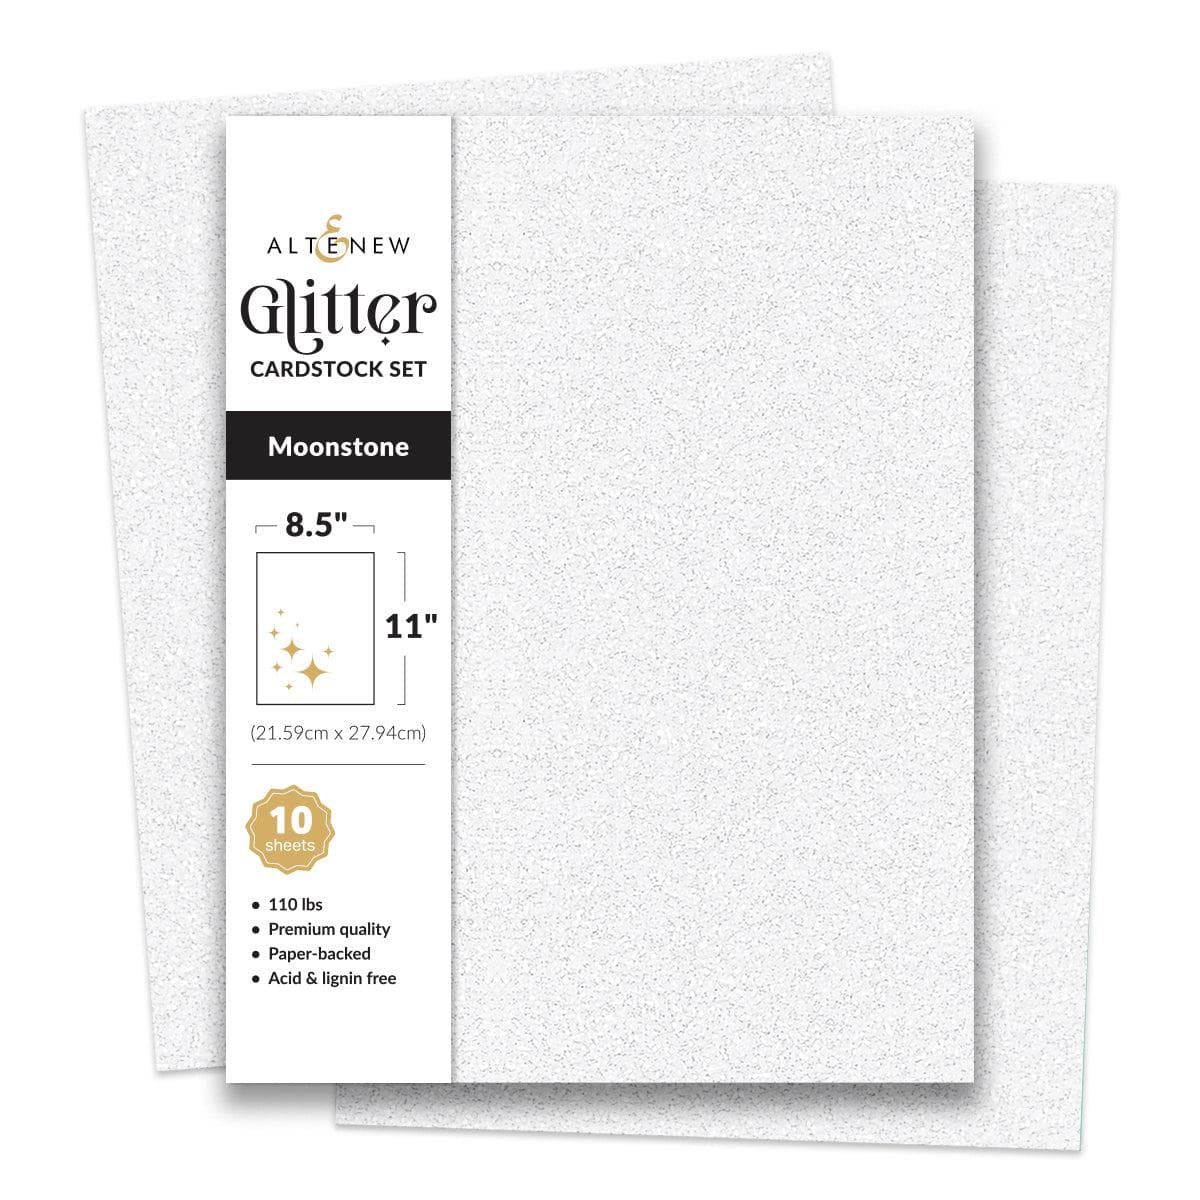
Assemble the Sentiment: Die-cut the sentiment text from Moonstone Glitter Cardstock using the same Timeless Sentiments set. Adhere the glitter sentiment to the ink-blended offset layer, then mount the complete sentiment to the right of your ornament column.

Did You Know?
Crafty Tip: You can double your foiled die cuts without using extra foil sheets! The "negative" or leftover foil left on your carrier sheet after foiling can be pressed onto a solid hot foil plate or smooth cardstock. This creates a stunning reverse-foiled image that works perfectly for background elements, tags, and accent layers.

Bringing Holiday Memory Keeping to Life
The compact size and clean silhouette of the Jolly Ornaments lend themselves to a wide variety of cardmaking and scrapbooking uses. Adapting classic cardmaking techniques to your memory-keeping spreads is a fantastic, creative way to extend the life and versatility of your craft supplies.

You can easily adapt simple and brilliant holiday crafting with Jolly Ornaments to suit any style of memory keeping, including tactile grid layouts and pocket page protectors.
Foil and Cut Your Shapes: Foil your Jolly Ornaments on smooth white cardstock and die-cut them out as described above.
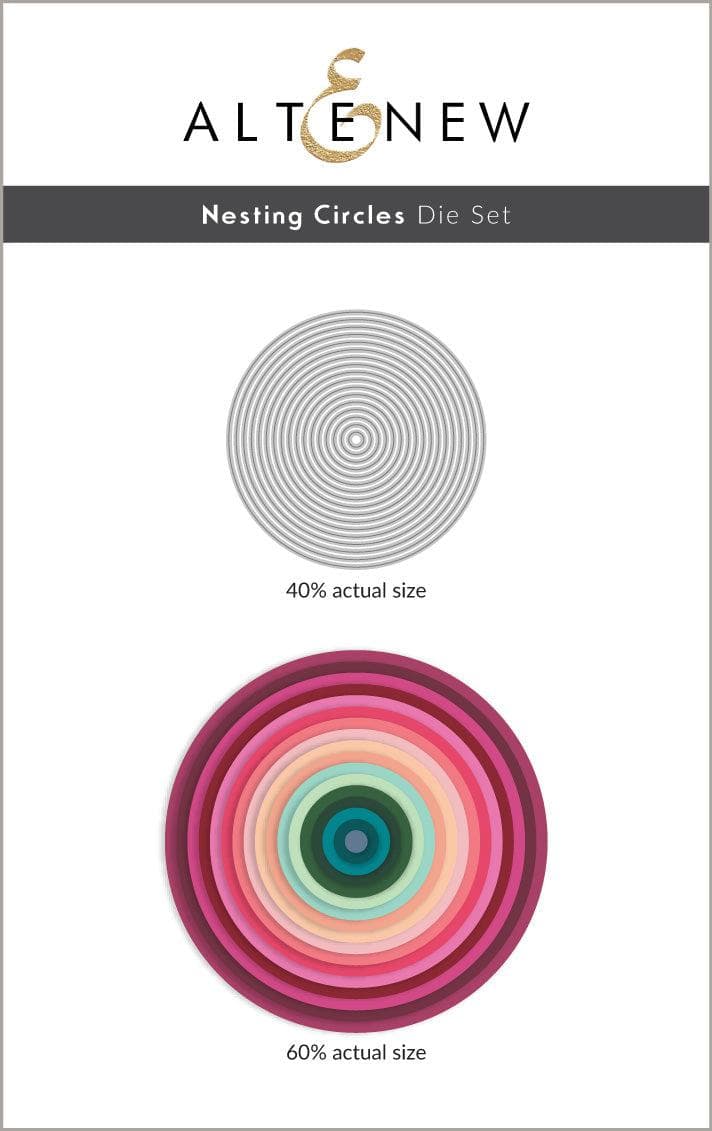
Create Reverse Tags: Use the Nesting Circles die set to cut out your leftover negative foiled paper, adding a hole punch perforation to transform the circle into a custom metallic tag.
Assemble Pocket Cards: Insert your base cardstock and photos into a pocket page protector so they form a balanced grid layout across your spread.
Hang the Ornaments: Thread twine through your die-cut Jolly Ornaments and layer them so they appear to hang directly over the top of the pocket protector. Secure the pieces using foam adhesive dots.
Add Texture and Ink: Die-cut a bow from white cardstock using the Elegant Bows set. Color the embossed bow using Misty Harbor Fresh Dye Ink for subtle contrast.
Finish with Layers: Layer the small circle foiled tag onto one of the Jolly Ornament die cuts, then attach the ink-blended bow using foam adhesive.
Add a Sentiment: Stamp or adhere a custom subtitle or sentiment directly onto your circular foiled tag to finish the page.

Start Your Holiday Crafting Today!
I hope this tutorial inspires you to try simple and brilliant holiday crafting with Jolly Ornaments in your own craft space! The versatility, shine, and speed of this hot foil plate and die set will make your cards, gift tags, and scrapbook layouts come together effortlessly.
Be sure to tag us and share what you are creating with your Jolly Ornaments set—we love seeing your handmade projects!
SUPPLY LIST
|