2 Fun, Easy Ways to Use Coordinating Dies
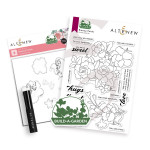
Hello Altenew friends! Hannelie back on the blog today sharing two cards using the Build a Garden Breezy Petals and Add on Die Set.
The two floral clusters in this set offer endless possibilities for creating a variety of looks. The add-on coordinating dies expand those options even further, allowing your creativity to flow freely. I especially love how the coloring stencils make it so easy to achieve professional-looking results with minimal effort!

Today, I’ll walk you through how I made two bold and bright cards using the add-on dies in two different ways. For the first card, I used the die to create negative space on an added layer, beautifully framing the smaller image.
For the second card, I used the die to cut out the larger image and popped it up over a partially stenciled background. I repeated the same colors from the focal point in the background to create a cohesive design.
Let’s get started with our cards!
To Make the ”Love You” Card You Will Need :
- White Cardstock
- The smaller image and coordinating add on die from the Build a Garden Breezy Petals and Add on Die Set
- Obsidian Black Ink
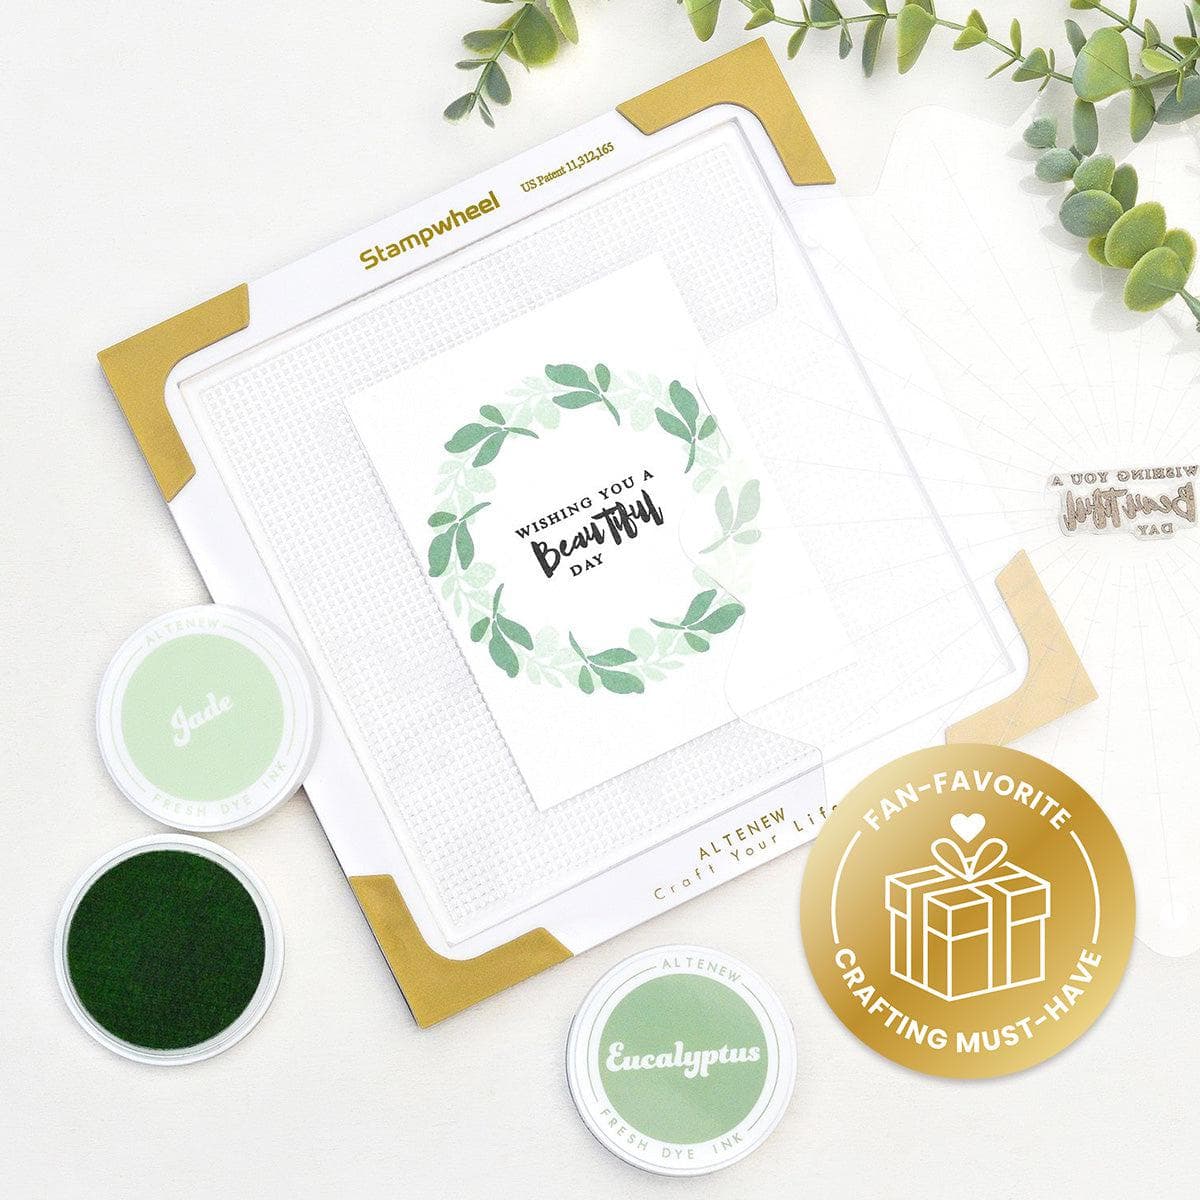
- Stampwheel
- Die-cutting machine
- Hydrangea, Ultraviolet & Andromeda Fresh Dye Ink from the Enchanted Garden Ink Cube Set
- Parrot and Moss Fresh Dye Ink from the Tropical Forest Ink Cube Set
- Ink blending tools : Large & Mini
- Enchanted Gold Pigment Ink for the flower center
- Nebula Gem Sparkles
- Instant Dimension Foam Tape
Step-by-Step Instructions to Make the “Love You” Card:
- Trim and fold the white cardstock to create an A2-sized card.
- Trim another piece of cardstock to create a panel just smaller than the card base.
- Use the smaller die of the set to cut out an aperture in the smaller cardstock panel. **TIP**: Keep the cut out flower to use on an future project!
- Place the folded card base on the sticky mat of the Stampwheel.
- Position the smaller card panel on the card base to determine the exact position where the flower will be stamped.
- Place the stamp on the card base, positioned neatly inside the aperture.
- Close the clear flip plate of the Stampwheel to pick up the stamp.
- Remove the upper card panel.
- Stamp the image on the card base using Obsidian Black Ink.
- Use the coordinating stencil set to color the image.
- Remove the card base from the Stampwheel.
- Place the smaller card panel on the sticky mat of the Stampwheel and stamp the sentiment.
- Use Instant dimension foam tape to adhere the card panel onto the card base.
- Embellish the card using Gem Sparkles.

To Make the “Sending Hugs” Card You Will Need:
- White Cardstock
- The Larger image and coordinating add on die from the Build a Garden Breezy Petals and Add on Die Set
- Obsidian Black Ink
- Stampwheel
- Die-cutting machine
- Hydrangea, Ultraviolet & Andromeda Fresh Dye Ink from the Enchanted Garden Ink Cube Set
- Parrot and Moss Fresh Dye Ink from the Tropical Forest Ink Cube Set
- Ink Blending tools : Mini
- Fresh Lemon, Maple Yellow & Honey Drizzle Fresh Dye Ink from the Pocketful of Sunshine Ink Cube Set
- Orange Cream and Sicilian Amber Fresh Dye Ink for the flower centers.
- Watercolor Stripe Stencil
- Citrine Gem Sparkles
- Instant Dimension Foam Tape
Step-by-Step Instructions to Make the “Sending Hugs” Card:
- Trim and fold the white cardstock to create an A2-sized card.
- Use the Stampwheel to stamp the larger floral image on another piece of cardstock.
- Use the coordinating die to cut out the image.
- Use the coordinating stencil to color the image.
- Place the card base on a sticky mat and use the Watercolor Stripe stencil to create a partially stenciled background, leaving some white space for balance. **Tip**: Rotate the stencil to create diagonal stripes for a dynamic design that draws the eye toward the focal point.
- Use Instant Dimension foam tape to adhere the floral image to the card base.
- Stamp the sentiment and use the coordinating die to cut it out. Adhere the sentiment to the card using Instant Dimension Foam Tape.
- Embellish the card using Citrine Gem Sparkles

The Magic of Coordinating Dies
In today’s cards, I explored two different ways to use add-on dies. For the first card, I used the die to create negative space on an additional layer, beautifully framing the smaller image and create interest on a super clean and simple design.
For the second card, I cut out the larger image and popped it up over a partially stenciled background, repeating the same colors from the focal point to achieve a cohesive design. These two approaches highlight how versatile dies can be, offering various ways to customize and elevate your projects.

I hope you feel inspired to experiment with different ways to use dies to add dimension and interest to your cards!
Are you exited to try something new? I would love to read your ideas in the comments below.
Thanks for joining me today, happy crafting!
SUPPLY LIST :
|