Adding Impact to Your Memory Keeping Planner (With Video Tutorial) | Creativity Unlocked

Hi there! It's Nathalie with you today to share a new idea on adding impact to your memory keeping planner featuring the new Craft Your Life Project Kit: Chocolate Flowers. This new set is so beautiful, versatile, and full of possibilities. I am going to show you how this set can easily bring a diverse look to your projects in this new post for our Creativity Unlocked series.
 This post is also part of our Creativity Unlocked series, where we highlight a new product from each month's collection or a fan favorite from past collections!

How to Add Impact to Memory Keeping Planners
Let's take a look at the project, and dive into adding impact to your memory keeping using this beautiful set.

Add that WOW Factor to Your Memory Keeping Planner – Video Tutorial
Let's start with a video showcasing how this came together. You can watch the video here, or in HD in Altenew YouTube Channel:

Now let's take a closer look at the details of this memory keeping planner:
-
Start with a simple color palette

A great way of adding impact to your memory keeping planner is to limit your color palette, that means select a small number of colors for your project. For my layout, I am using tones from the Cherry Blossom Fresh Dye Ink, and Jade Dreams Fresh Dye Inks to bring the layout together. These two colors along with white contrast and complement seamlessly thus bringing a lot of impact to the spread.
2. Add texture in different ways

The versatility of the new Craft Your Life Project Kit: Chocolate Flowers is all in the combinations you can create with the pieces included in the kit.
First, it is all about the beautiful look of the Zero Waste Chocolate Flowers Die. I am using the negative piece to create the background of my page. Since I am starting with the back of a previous spread, it was imperative for me to cover the back of the spread with a second layer of the panel. This already brings texture and interest to the background.

I am making use of the Chocolate Flowers 3D Embossing folder to create the background of the photo side of the spread and also to create a focal point on the previous part of the spread. I added rich tones of pink to the embossed area below the picture. This enhances the detail in the embossing folder, and in the dimension of the page.
3. Keep the embellishments simple

For my spread, I am making sure that each of the elements of the Craft Your Life Project Kit: Chocolate Flowers to bring the two sides of the spread together. Besides repeating the embossed look on both sides of the spread, I am choosing to keep the coloring of my flowers simple. I am coloring the leaves with shades of green from the Jade Dreams Fresh Dye Inks, while I am only coloring the center of the flowers with shades of pink from the Cherry Blossom Fresh Dye Inks.
4. Add layers to add interest

Layering is probably the key to make this an impactful layout. If you take a look at the title page, you will notice that I am adding levels to my spread. I started with the negative die cut, then added a small vellum layer (Ornate Nesting Die Set), then an embossed circle, to finish with the florals. While the picture spread showcases a bit of stamping (Craft Your Life Project Kit Chocolate Flowers) on the background of the spread. This small stamping serves as the first layer on the page, and the anchor for the rest of the layers built upon it.
5. It's all in the small details

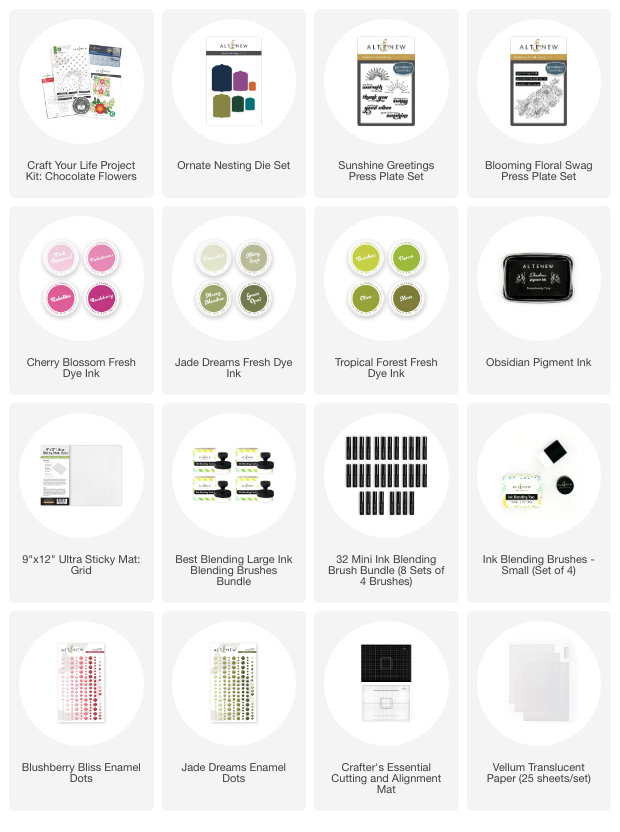
Small details such a sentiment strips ( Blossoming Floral Swag Press Plate), a title sentiment ( Sunshine Greetings), and enamel dots (Blushberry Bliss, and Jade Dreams enamel dots) add the last pop of color and interest to the spread.
By combining all these simple concepts and the beautiful Craft Your Life Project Kit: Chocolate Flowers I was able to bring this spread all together, and I hope it inspires you for a project of your own.
XO!
——————— SUPPLY LIST ——————–