Clean and Simple Cards with Altenew Gradient Washi Tape and Embellishments
by Mindy Eggen October 31, 2026

Key Takeaways
Effortless Backgrounds: Wide gradient washi tape creates a modern, seamless color-blocked card background in seconds.
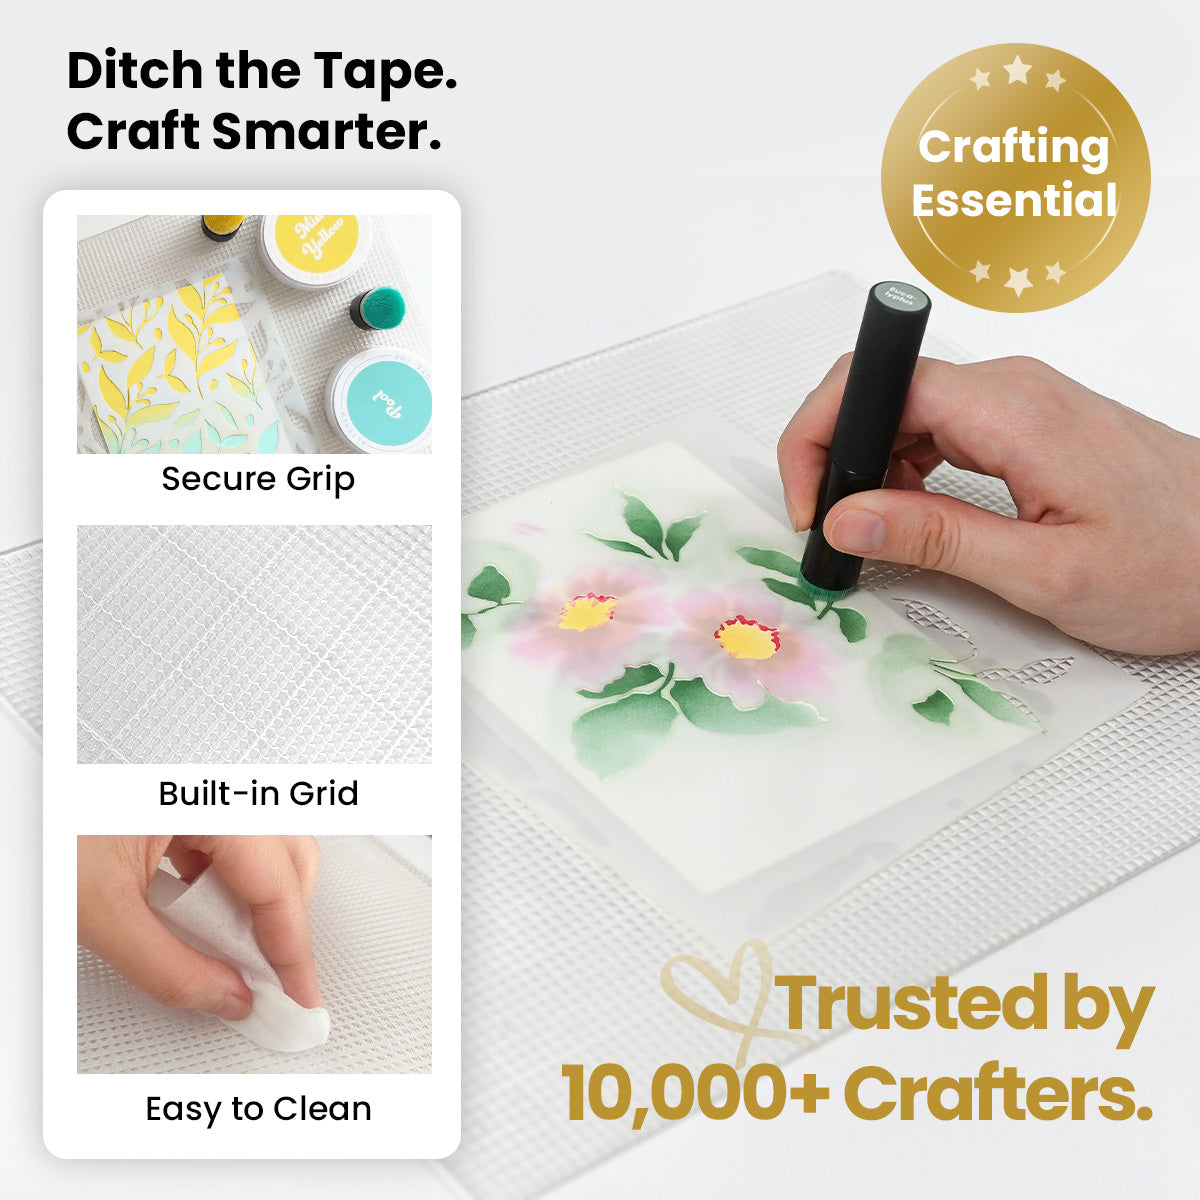
Worksurface Stability: A sticky mat or crafting sticky tile holds delicate cardstock and die-cut pieces securely during precise ink blending.
Smart Stash Integration: Pair coordinating embellishments like Gem Sparkles with existing stamps, dies, and pre-made sentiments to save time.
Dual-Purpose Supplies: Scrap pieces of washi tape double as low-tack adhesives to secure metal dies during die cutting.
Sometimes the smallest details make the biggest impact on a handmade card! Hi everyone, it's Mindy! Today I'm sharing two clean and simple card designs featuring Altenew's Mix and Match Embellishment Sampler Bundle in Red. With a little creative thinking, a few die cuts, and some coordinating embellishments, you can create stunning handmade cards without spending hours on a single project.
For this episode of Inking It Up with Mindy on the Altenew YouTube channel, I’m demonstrating how to combine products you already have in your stash—like favorite stamps, dies, and cardstock—with the coordinating accents in this bundle to create two quick, elegant designs.

Mix and Match Your Embellishments with Washi Tape
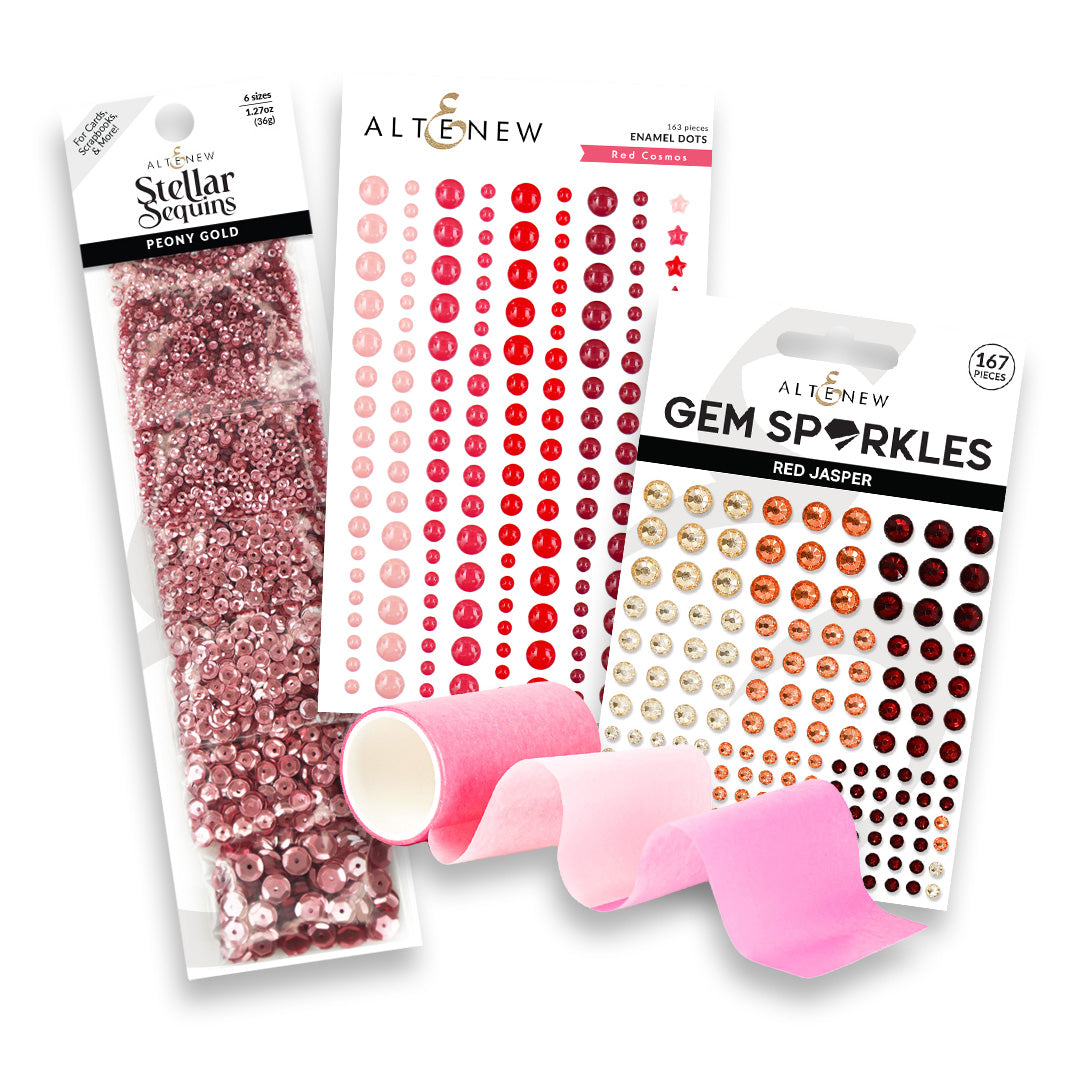
The Mix and Match Embellishment Sampler Bundle in Red includes four coordinating products: Gem Sparkles, Enamel Dots, Stellar Sequins, and Gradient Washi Tape.
What I love about these sampler bundles is how effortless they make project coordination. You can use the embellishments individually across different paper crafting and scrapbooking projects, or combine several of them for a balanced, cohesive look. They are also a wonderful way to breathe new life into older stamps and dies sitting in your craft room.
For today's cards, I decided to let the gradient washi tape take center stage by using it to build vibrant, seamless backgrounds for both designs.
Creating a Colorful Background with Gradient Washi Tape
The Gradient Washi Tape measures approximately 2 3/4 inches wide, featuring two distinct tonal shades on a single roll. This makes it an ideal supply for producing an eye-catching, modern card front with minimal work.
I started with white cardstock panels cut to standard A2 size (4 1/4 inches by 5 1/2 inches). I positioned the washi tape so the subtle ombre transition into the next shade lands near the top third of each card. This setup creates an elegant, color-blocked appearance while keeping the overall aesthetic clean and modern.

Tips for Applying Wide Washi Tape Without Bubbles
When applying wider decorative washi tape, patience is key:
Anchor one edge: Line up the tape on one end of your cardstock and let it fall naturally across the paper rather than pressing everything down flat at once.
Smooth from the center: Work your way across the cardstock panel, using your fingers or a bone folder to smooth away air bubbles as you go.
Commit before sticking: High-quality washi tape adheres very well to fibrous cardstock. Lifting and repositioning wide tape can tear your base paper, so place it gently before applying firm pressure.
To keep my paper perfectly stationary, I placed it on my Altenew Stampwheel fitted with a sticky mat. A flat crafting mat or a small sticky mat works equally well here—the surface grips the cardstock securely while the integrated grid lines guide your alignment so your tape is straight every single time.
Once the washi tape was adhered, I trimmed away the excess overhang with crafting scissors and folded the narrow edge borders behind the panel. If you prefer, trim everything completely flush with a paper trimmer.
Bonus Tip: Never discard leftover washi tape strips! Aside from scrapbooking accents, these scrap strips serve as excellent low-tack adhesives to secure metal dies directly to cardstock during die cutting, preventing shifts inside your machine.

Adding Soft Color with Die Cutting and Ink Blending
With the vibrant washi tape backgrounds completed, I wanted a gentle floral focal point that wouldn't compete with the bold gradient colors.
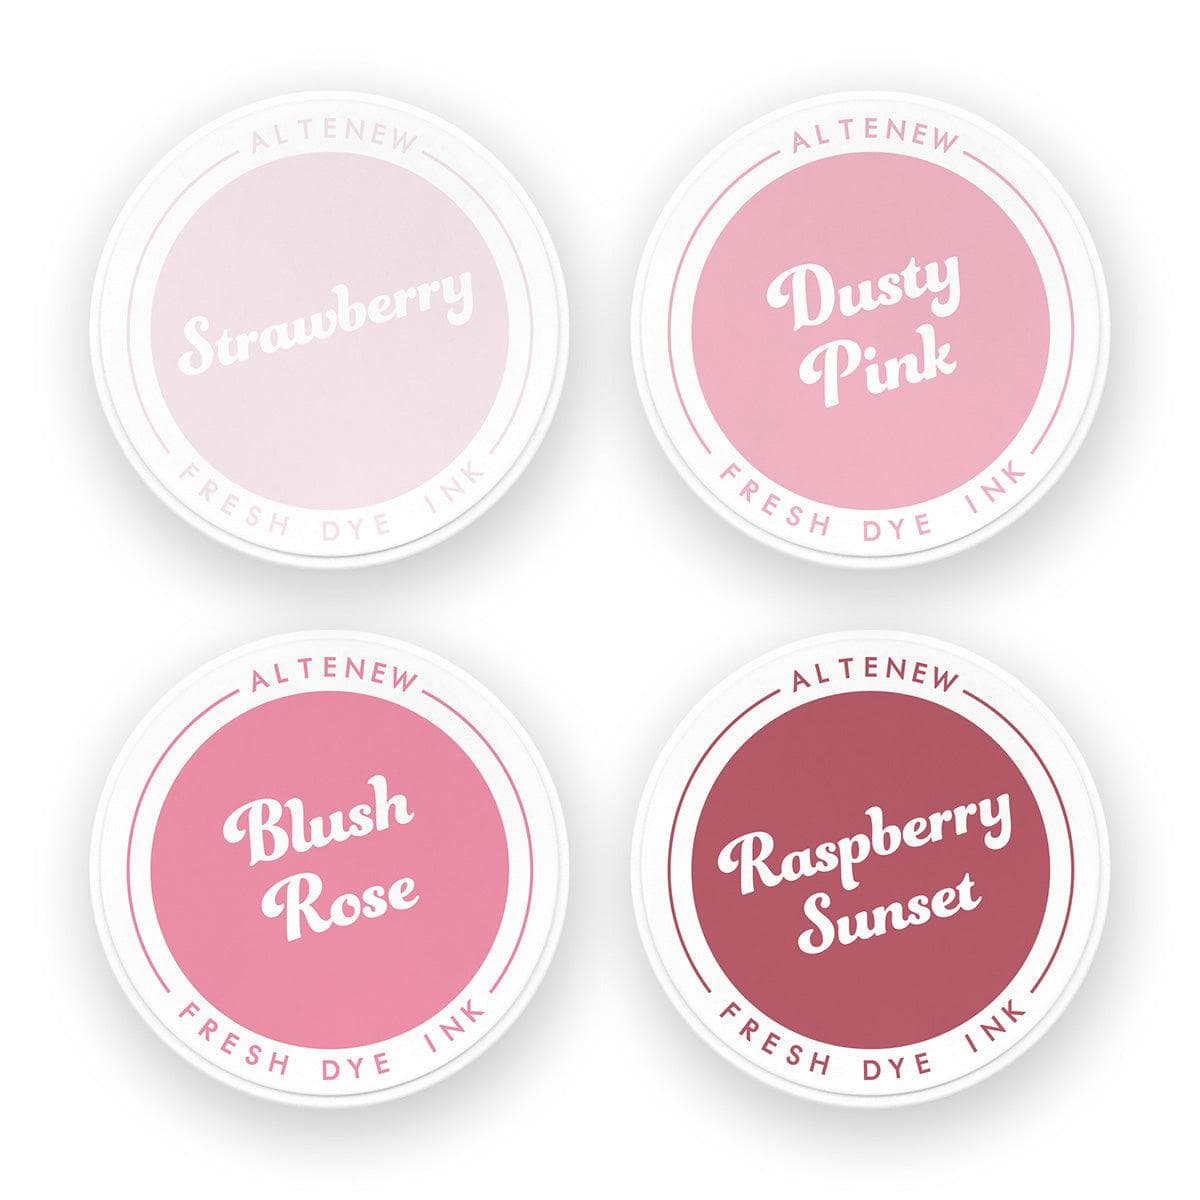
I reached into my collection for a timeless classic: the Pink Star Tulip Layering Die Set. I ran the floral dies through my die cutting machine using crisp white cardstock, then added delicate shading with Strawberry and Dusty Pink fresh dye inks from the Blushberry Bliss collection.
I applied the ink near the layering keyhole and blended softly toward the edges of the petals. Keeping the ink blending very subtle allows the clean white cardstock to peek through, creating an airy, porcelain finish. For the foliage, I used Minty Mint ink from the Green Meadows collection with a light blending brush.
A crafting sticky mat (or an all-purpose sticky mat) is an absolute game-changer during this step. Smaller die cuts tend to slide across smooth desk surfaces, but securing the pieces directly onto a sticky mat keeps them immovable while blending without getting ink on your fingers.
Using the keyhole alignment guide included on the packaging, assembling the layered tulip stems and blossoms was simple and straightforward.

Assembling Clean and Simple Handmade Cards
To adhere the leaves, I applied dot runner adhesive to the back of each flower base. I laid out the die-cut leaves on my work surface in the desired arrangement and pressed the flower face-down directly over them. This technique bonds the foliage instantly without the mess of gluing each tiny leaf individually.
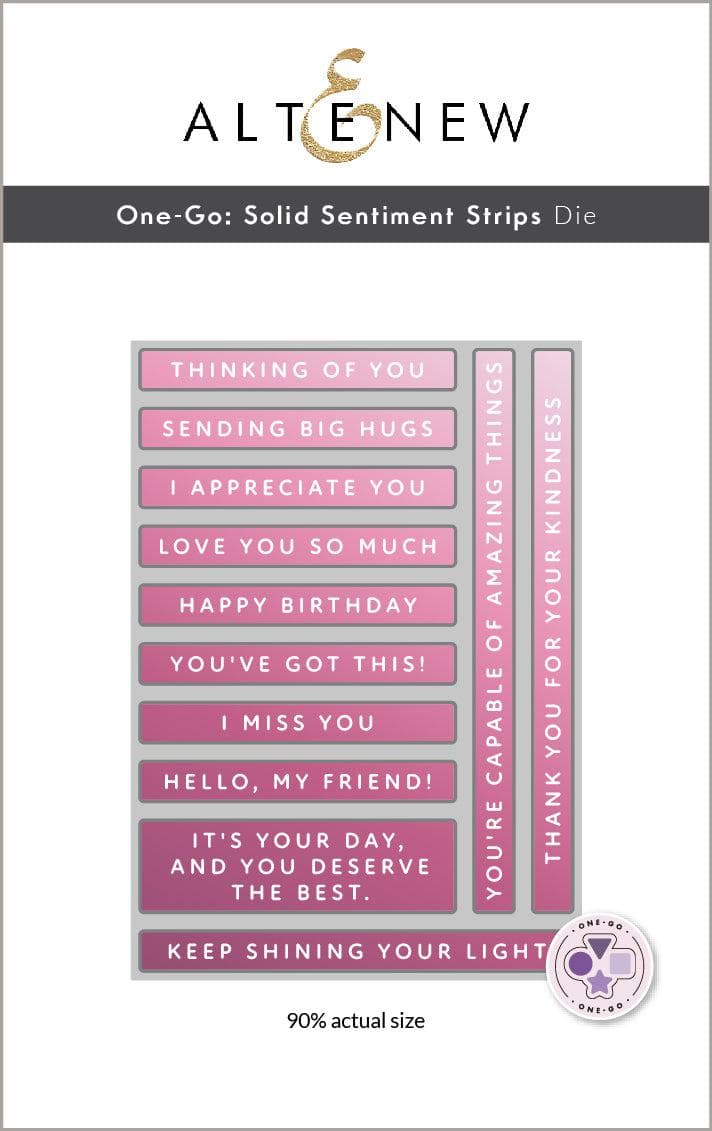
For the sentiments, I featured the One-Go Solid Sentiment Strips 3 Press Plate. Having a small dish of pre-cut sentiments from prior crafting sessions saves immense time when putting together last-minute cards!
I attached foam adhesives behind the floral stems for dimensional depth and positioned the sentiments across the bottom third of each card, overlapping the stems slightly. The clean white sentiment strips stand out sharply against the rich gradient washi tape backdrop.

Finishing Touches with Gem Sparkles
To finish, I turned back to the embellishment bundle to pick the final accent. While sequins and enamel dots are fun options, I selected the Gem Sparkles. The faceted shimmer offered the perfect subtle complement to the soft ink blending without overwhelming the clean design.
Using the pick-up tip of my crafting tool, I lifted individual gems from their backing sheet and nestled them around the stamped sentiment. Because these embellishments come pre-backed with adhesives, you can apply them instantly without messy liquid glue. A cluster of three to five gems delivers just the right amount of balance and polish.
Did You Know? Fascinating Facts About Washi Tape & Paper Crafting
The Heritage of Washi: Authentic washi (和紙) translates literally to "Japanese paper." Traditional washi paper dates back over 1,300 years and is crafted from the renewable inner bark fibers of the Gampi tree, Mitsumata shrub, or Paper Mulberry (Kozo).
From Industrial Masking to Global Crafting: Modern decorative washi tape was born in 2006 when a group of Japanese graphic designers approached Kamoi Kakoshi (an industrial adhesive masking tape manufacturer) showing how they decorated journals using utilitarian masking tapes, leading to the creation of the decorative tapes we enjoy today.

Simple Supplies, Beautiful Results
These two clean and simple cards highlight just how versatile a roll of gradient washi tape can be. It effortlessly handles the background composition, leaving you free to feature soft floral die cuts, crisp sentiment stamps, and sparkling gem adhesives.
By combining curated embellishment sets with everyday craft room staples like dies, inks, and a trusty sticky mat, you can make cohesive, professional-looking cards in minutes.
Be sure to check out the full step-by-step video over on the Altenew YouTube channel to watch these cards come together and pick up more paper crafting tips.
Happy crafting!


Ready to bring extra sparkle and dimension to your own handmade creations? For a limited time, you can grab the featured Mix and Match Embellishments Sampler Bundle - Red at an exclusive 30% discount! Shop here: https://oltonew.shop/products/mix-and-match-embellishments-sampler-bundle-red
Don't wait to restock your craft stash—this 48-hour flash sale ends on November 1 while supplies last!
SUPPLIES
|