Watercolor Die-Cut Flowers with a Dramatic Background
by Erum Tasneem November 2, 2026

Key Takeaways
Dual Coloring Techniques: Watercolor brush markers allow for vibrant direct application on dry cardstock or softer, fluid gradients using wet-on-wet blending.
Effortless Pigment Lifting: Highlights can be restored without special tools by simply dampening petals with a wet brush and blotting with a tissue.
Tool-Free Dimension: You can curl, pinch, and cup paper petals using only your fingers—slightly damp cardstock makes shaping even easier.
Dramatic Cardstock Transformation: Light cardstock easily transforms into a moody, deep backdrop by layering ink blending before and after using a 3D embossing folder.
Balanced Composition: Pairing rich, dark floral focal points with softer foliage and an asymmetrical layout prevents visual overcrowding.

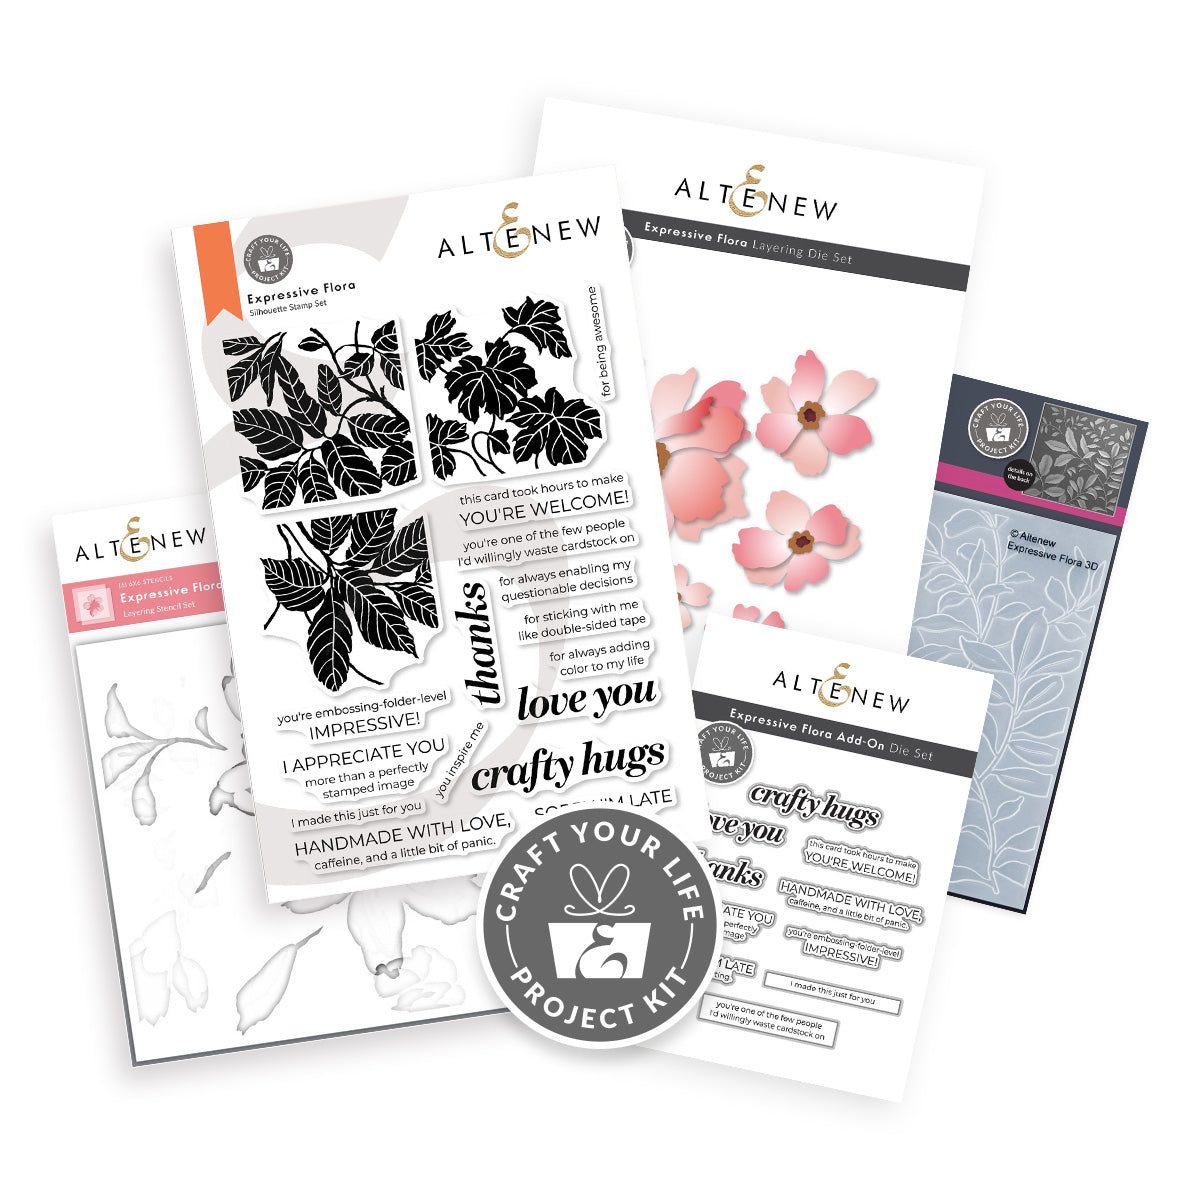
There's something about combining vibrant flowers with a dark, textured background that makes a card stand out! For today's project, I'm using the Craft Your Life Project Kit: Expressive Flora to create dimensional watercolor die-cut flowers in beautiful shades of magenta, paired with soft green foliage and a rich coastal green background.
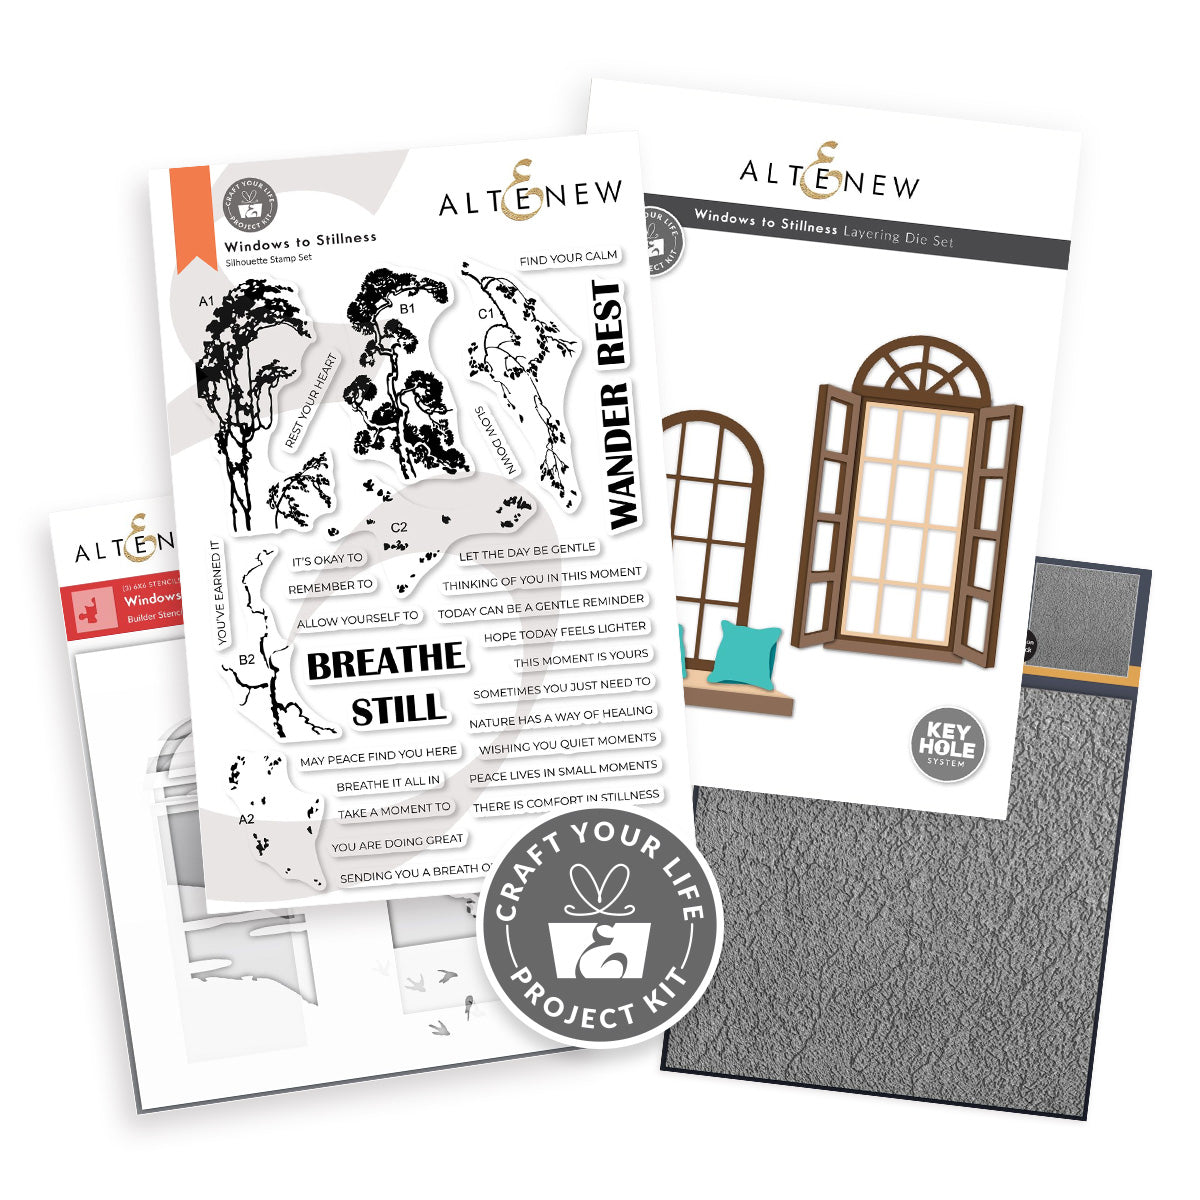
I'll be sharing different ways to apply watercolor pigments, create highlights by lifting color, and add dimension to die-cut flowers without necessarily using a shaping tool. We'll also transform light-colored cardstock using ink blending and the Windows to Stillness 3D Embossing Folder.

VIDEO: Dramatic Watercolor Flowers
Watch the video tutorial below or CLICK HERE to learn more about this cardmaking technique! Or read step-by-step instructions after the video.
Step 1: Color the Die-Cut Flowers with Watercolor Brush Markers
Start by die cutting the largest flower from the Craft Your Life Project Kit: Expressive Flora using watercolor cardstock.
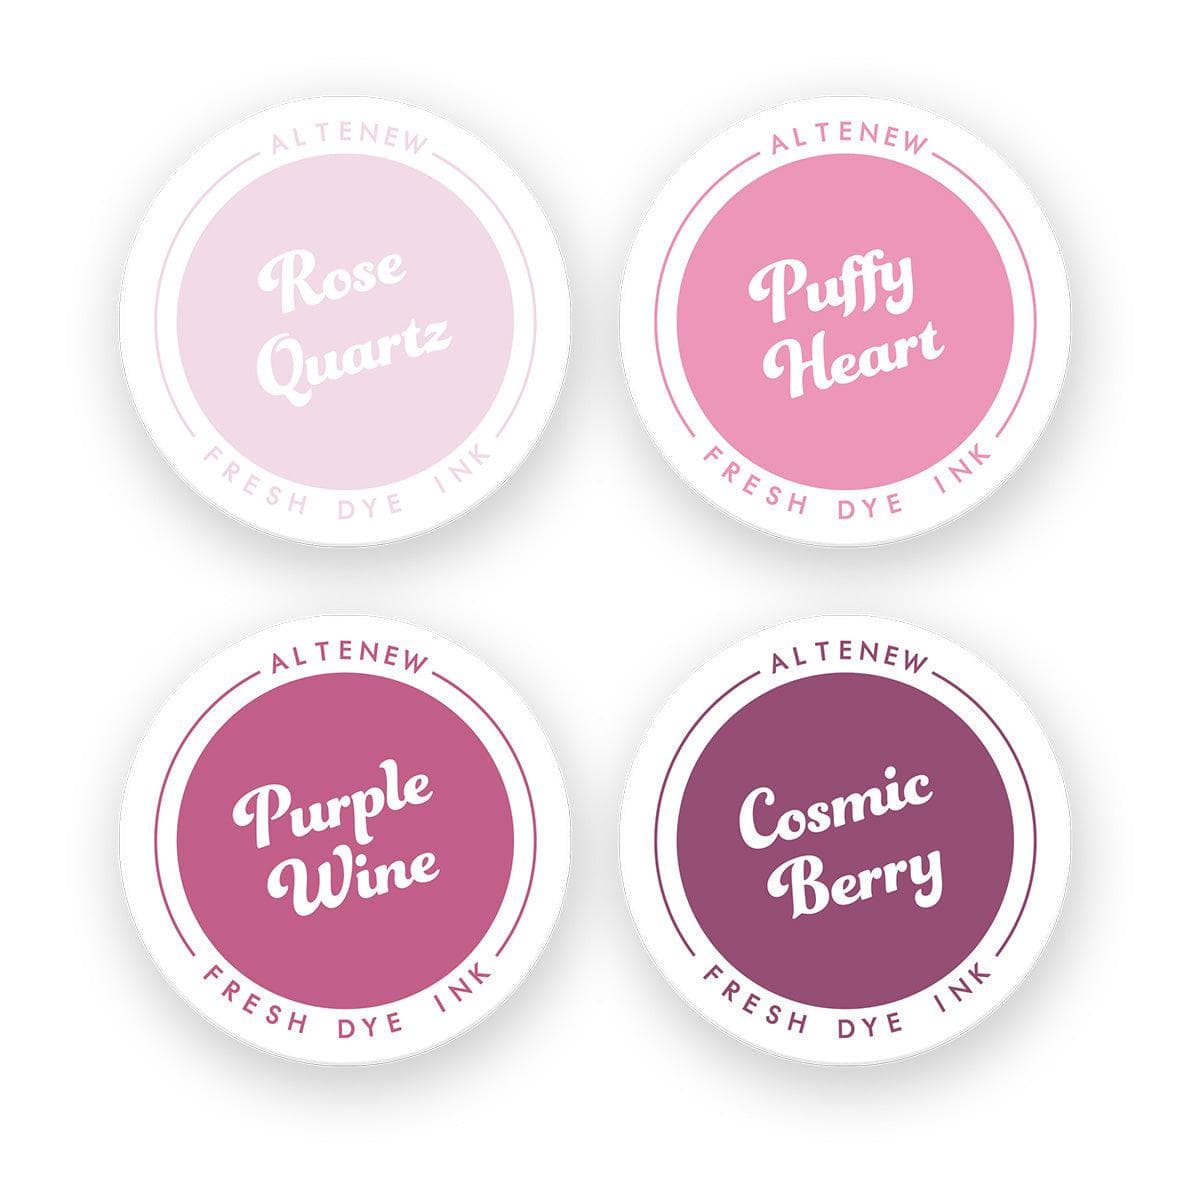
For the petals, use the Purple Wine Watercolor Brush Marker.
There are two ways to color your die cuts:
Direct application: Apply the watercolor pigment directly to dry cardstock for a more concentrated, vibrant appearance.
Wet-on-wet application: Apply water to the petals first, then introduce the pigment. This allows the color to spread more freely, creating soft blooms and natural variations.
Both techniques work beautifully. Applying water first produces a softer, slightly diluted effect, while direct application creates more intense color.
Remember that watercolor pigments may change in appearance as they dry. You can always apply another layer if you want to deepen the color.
Tip: If you plan to use a petal-shaping tool, slightly damp cardstock is easier to manipulate. You can also carefully dampen the back of the die cuts later, avoiding excessive moisture that might reactivate the pigment.

Step 2: Deepen the Petal Colors and Add Texture
Use Cosmic Berry Fresh Dye Ink to deepen the color of the petals, concentrating the darker ink toward the centers of the layers that will sit underneath the others.
This creates depth and contrast when the flower layers are assembled.
Temporarily stack the layers to check how the colors work together and make adjustments if necessary.
Once the flowers are dry, add a few watercolor splatters for additional texture.
Splatters create a more organic appearance, but they're completely optional. Leaving the petals without splatters can produce a beautiful, smooth, velvety finish.

Step 3: Shape the Flower Petals and Create Watercolor Highlights
Use your thumb and forefinger to gently pinch, twist, and curl the petals. Vary their direction to create a more natural appearance.
Although this technique won't produce exactly the same results as a petal-shaping tool, it helps prevent the flowers from looking flat.
If any of the petals appear too dark, you can also lift some of the watercolor pigment.
Apply a little water to the area using a damp paintbrush.
Allow the water to sit for a few seconds.
Gently blot the area with a tissue to remove some of the reactivated pigment.
This creates lighter areas and beautiful highlights within the petals.
The amount of pigment you can lift will depend on the watercolor and cardstock you're using.
Step 4: Color the Flower Centers
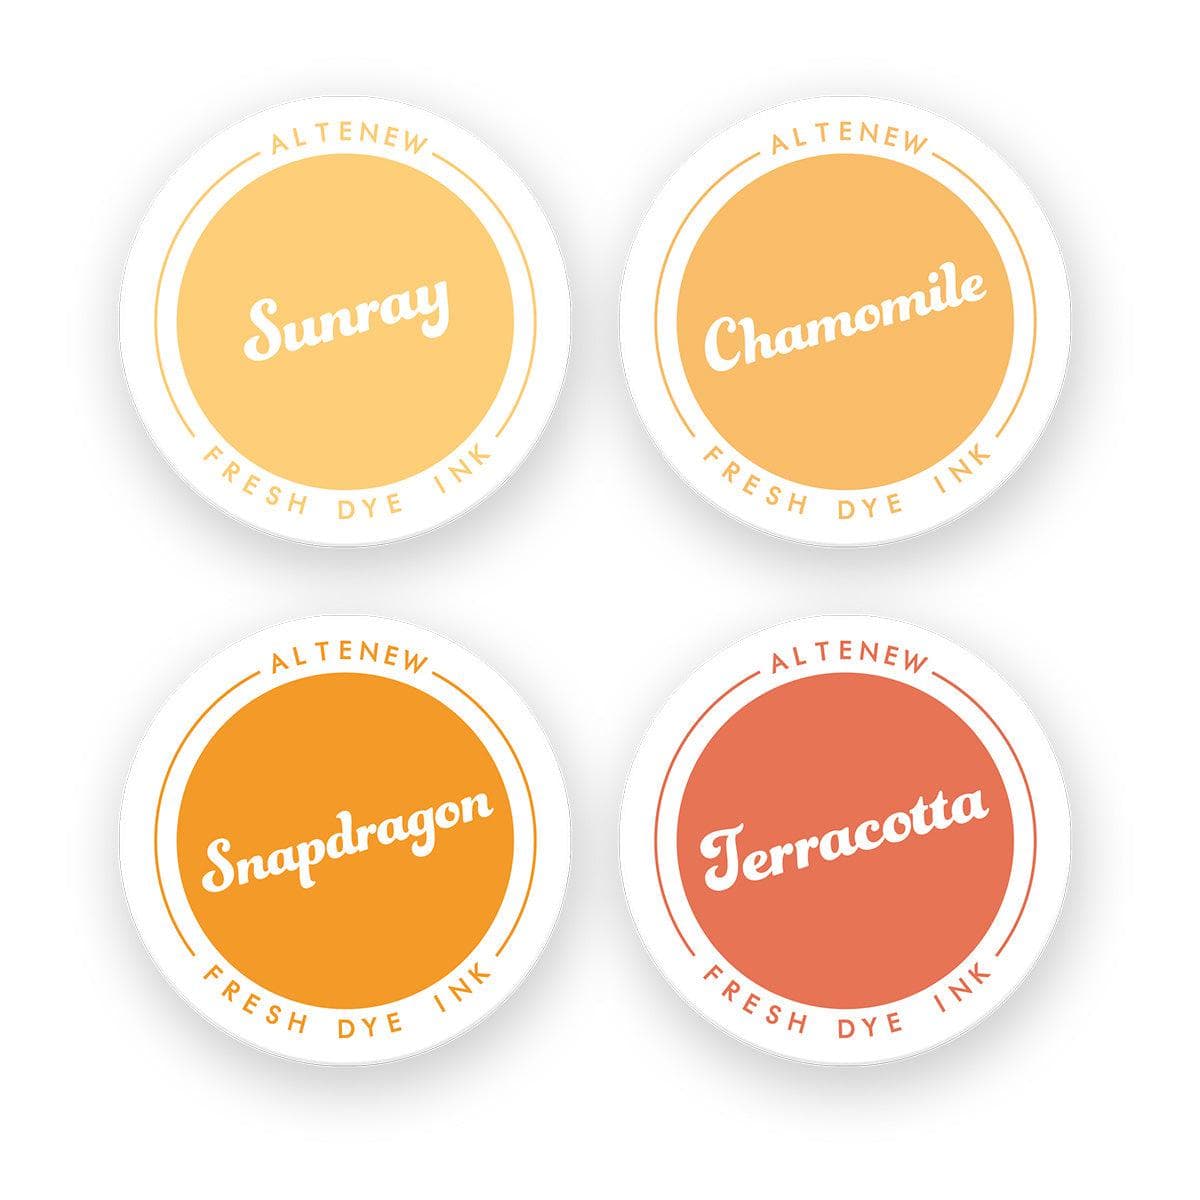
For the flower centers, apply Chamomile Fresh Dye Ink to the main center pieces.
Use Terracotta Fresh Dye Ink on the ring-shaped pieces that form the topmost layer.
These warm shades create a lovely contrast against the vibrant magenta petals.

Step 5: Create a Dramatic Embossed Background
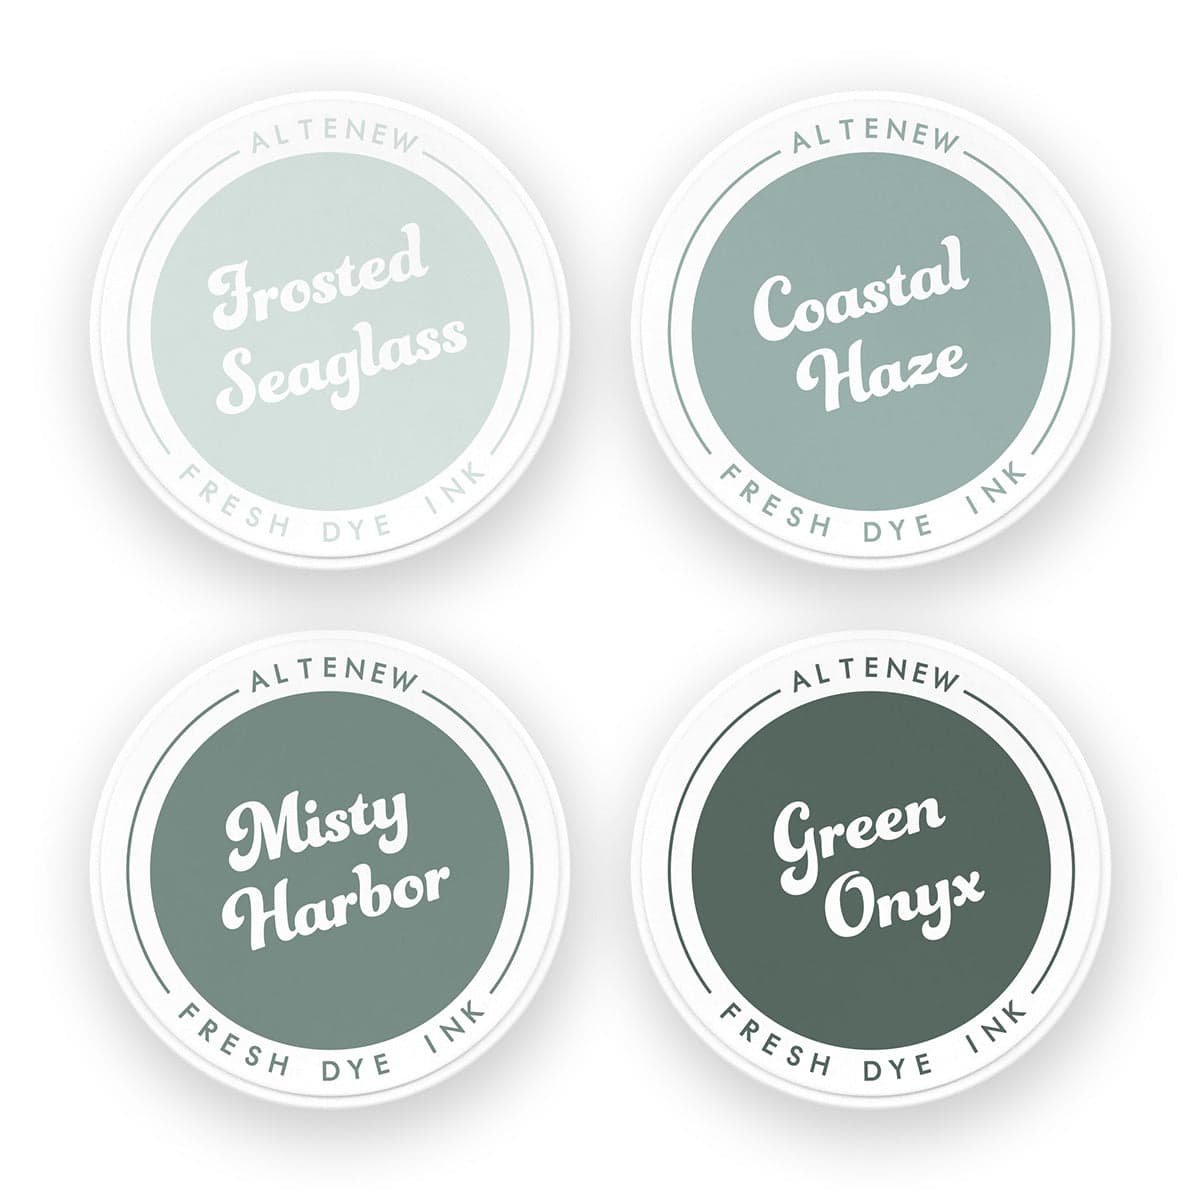
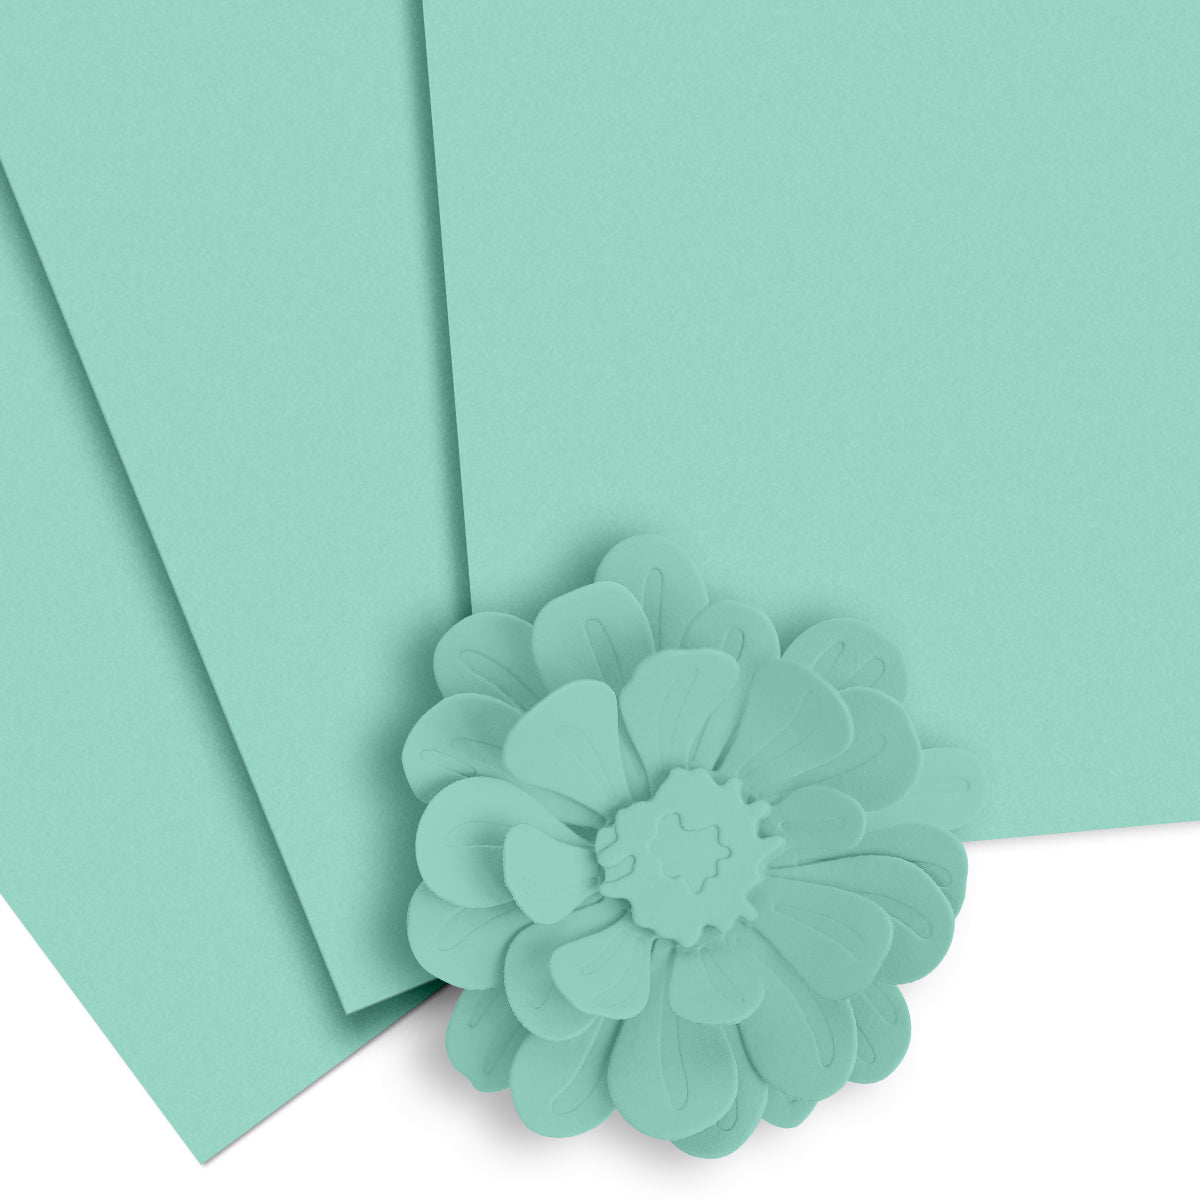
Start with a panel of Dew Drops Cardstock and roughly apply Misty Harbor Fresh Dye Ink.
There's no need to achieve perfectly smooth ink blending. Allowing small areas of the original cardstock to show through will create additional variation and texture.
Next, emboss the panel using the Windows to Stillness 3D Embossing Folder.
To deepen the background, apply another generous layer of Misty Harbor, allowing the ink to emphasize the embossed details.
Concentrate some of the ink along the raised areas to make the texture more pronounced.
Then introduce Green Onyx Fresh Dye Ink around the edges, blending some of the darker color inward.
This creates a dramatic border while maintaining the beautiful embossed pattern.
The result is a rich coastal green background with plenty of depth and texture, created from a much lighter cardstock panel!
Tip: If you prefer a smoother appearance, use a blending brush to soften the darker areas and create more even transitions.

Step 6: Ink Blend the Leaves in Soft Coastal Greens
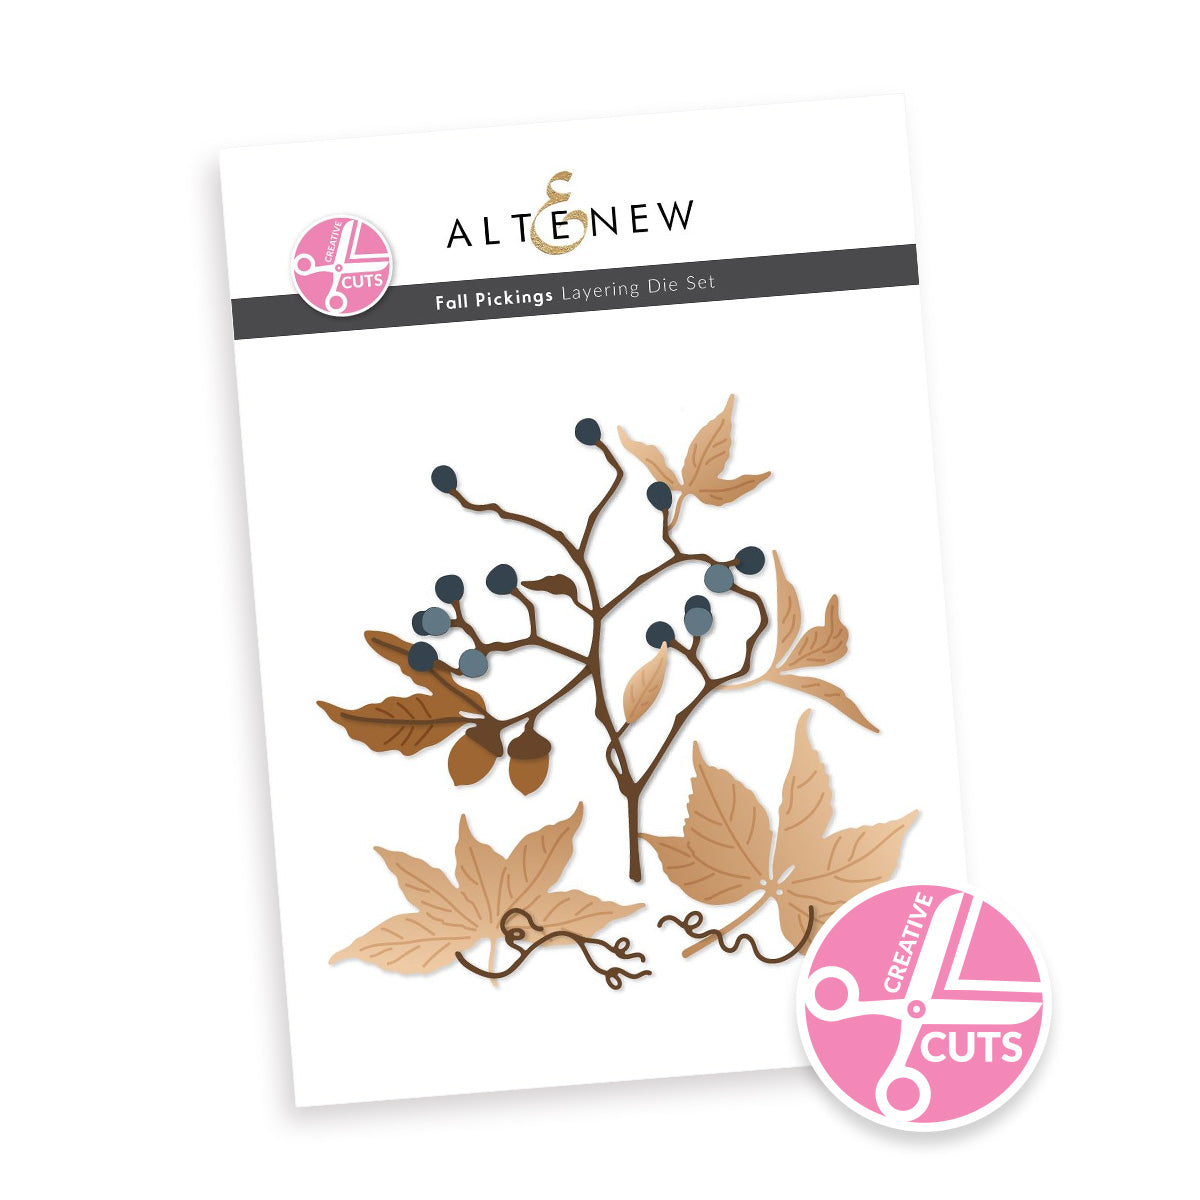
Die cut the leaves using the Creative Cuts: Fall Pickings Layering Die Set.
Since the background is already quite dark, keep the foliage noticeably lighter to maintain contrast.
Start by applying Frosted Sea Glass Fresh Dye Ink to the leaves, concentrating the color toward their bases and keeping the tips as light as possible.
Next, introduce Coastal Haze Fresh Dye Ink to create subtle shading.
Avoid adding too much dark ink. The lighter foliage will stand out beautifully against the rich background without competing with the vibrant flowers.
Allow the ink to dry before deciding whether the leaves need any additional shading.
If necessary, use the residual Coastal Haze ink on your blending brush to deepen selected areas slightly.

Step 7: Add Dimension and Splatters to the Die Cuts
Gently press the flower centers and cup the petals to give them a dimensional appearance.
Pinch the leaves slightly to introduce movement and texture.
Arrange the flowers and leaves together on your work surface and add a few water splatters.
For additional color, use Misty Harbor Fresh Dye Ink to create subtle splatters on the foliage.
You can also use Green Onyx Fresh Dye Ink if you prefer darker splatters.
For finer splatters, use less water and pigment and hold your paintbrush slightly farther away from the die cuts.
Keep the splatters minimal so they complement rather than overwhelm the textured elements.

Step 8: Arrange the Flowers and Balance the Composition
Before adhering the flowers, experiment with their placement.
Sometimes a centered flower arrangement works beautifully, while other designs benefit from an off-center composition.
For this card, I chose to position the flowers toward one side because of their large size and intense colors.
With so much visual weight in the flowers and dark background, leaving some open space was especially important.
The lighter foliage plays an equally important role. It provides contrast, breaks up the darker colors, and helps balance the overall design.
By keeping the flowers off-center and allowing the upper portion of the background to remain relatively open, the arrangement feels balanced without becoming overcrowded.
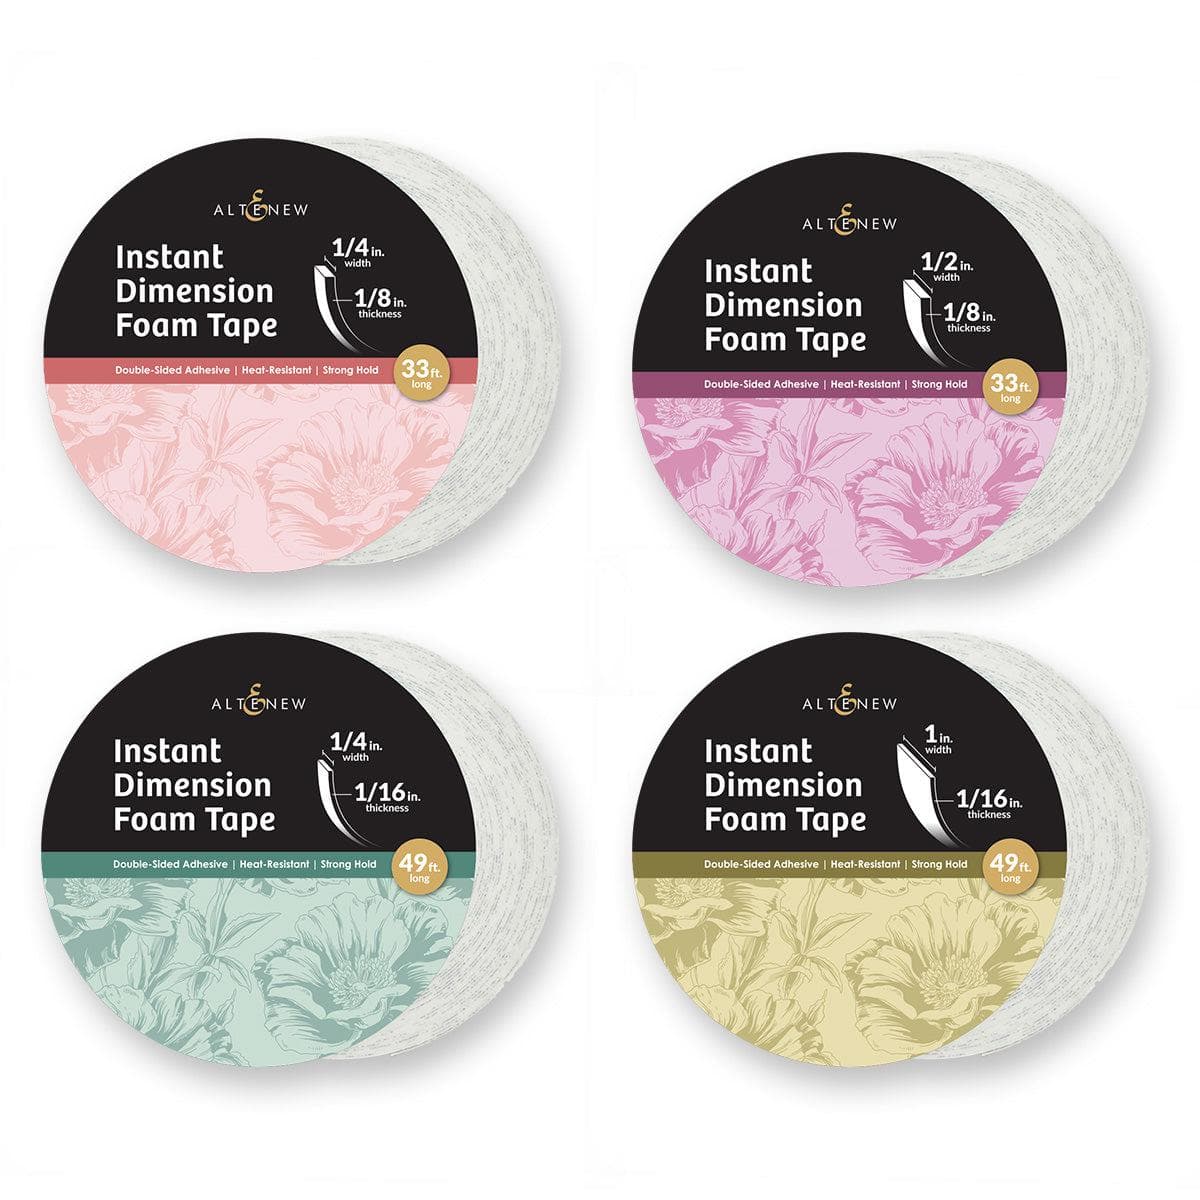
Once you're happy with the placement, adhere the flowers using Instant Dimension Foam Tape.
Gently pinch the leaves for additional dimension before securing them with liquid adhesive.
You can also use foam tape for the foliage if you prefer a more raised appearance.
Position the sentiment strip beneath the flowers to complete the arrangement.
Step 9: Add the Finishing Touches
Once the flower arrangement is in place, add a few white splatters using Titanium White Gouache.
Keep them minimal, allowing the white accents to brighten the darker background without overwhelming the design.
Let everything dry completely.

I love how these vibrant watercolor die-cut flowers stand out against the deep coastal green background!
The combination of watercolor highlights, dimensional petals, soft foliage, and embossed texture creates a dramatic design without requiring an overly complicated arrangement.
One of the most important elements of this card is the balance between the intense colors and the open space. Keeping the foliage lighter and positioning the large flowers off-center allows each element to stand out.
I hope this project inspires you to experiment with watercolor pigments, ink blending, and dimensional die cuts in your own cardmaking.
Thanks so much for stopping by! Happy crafting!
SUPPLY LIST
|