Customize Your Memory Keeping with Craft Your Life Project Kit: Bold & Beautiful (With Process Video!)
Hi there! It's Nathalie with you today with a new idea to help you customize your memory keeping with the new Craft Your Life Project Kit: Bold & Beautiful in this new Creativity Unlocked post.
There is always so much versatility in the design of each Craft Your Life Project Kit, so it is easy to obtain different looks and finishes from the combination of the kit's components. I loved working with the stamp, stencil, and die set for this new idea for your memory documenting.

I wanted to give you three simple ideas in one single 6×8 album spread that will inspire you to create all kinds of crafting projects in a small amount of time. Let's get started.
1 – Combine Stamps and Dies

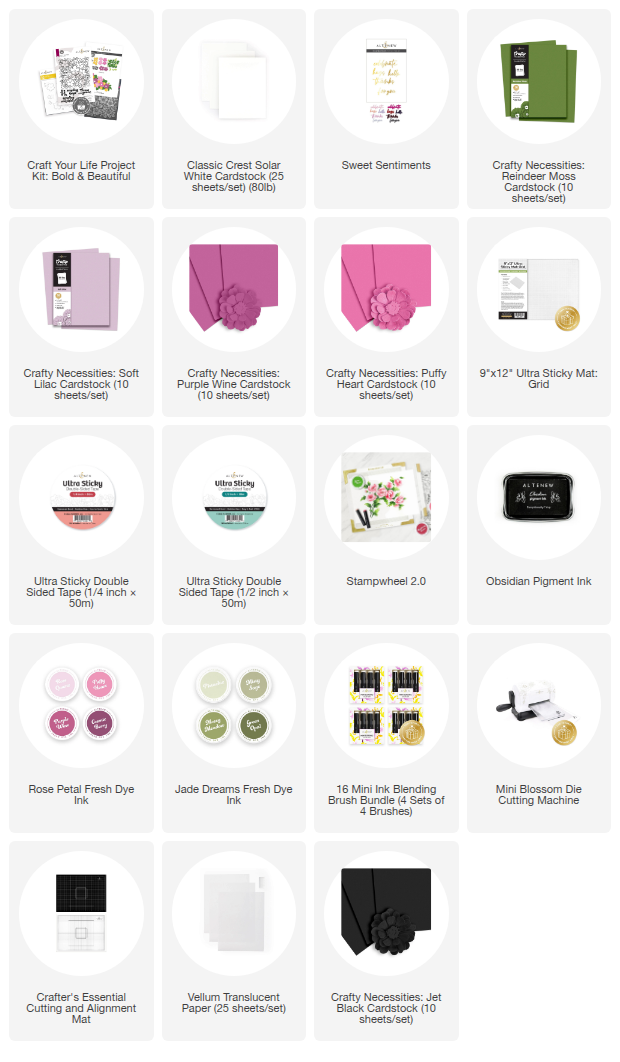
The starting point for my project is the main color in the layout. So, one way to customize your memory keeping is to create a simple palette that will highlights that color while keeping the rest of the layout neutral. To make the two sides of the spread cohesive, I am using Obsidian Pigment ink to stamp the background of the entire spread with the Craft Your Life Project Kit: Bold and Beautiful Stamp.
For the photo side, I am using my Stampwheel 2.0 to help me create an extended background – only partial images were stamped to the top and bottom of the page-. Then I carefully trimmed around the left and right edges of the stamped area so that they bring a bit more interest to the background, and break out from a simple rectangular shape.

Once I set my photos on the spread – into interactive elements- I then used the Craft Your Life Project Kit: Bold & Beautiful die set to cut a few of the die cut floral pieces. I chose Crafty Necessities Cardstock in Soft Lilac, Puffy Heart, and Purple Wine to cut the the flowers then used Cosmic Berry Fresh Dye ink to add an extra pop of color to center of the flowers. I am using Crafty Necessities Reindeer Moss Cardstock to cut all the leaves. I am combining these two pieces into floral clusters at the corners of the photos. It is the contrast between the background and the colored die cuts that creates impact on this side of the page.
Combine Stamp and Stencil

Another idea to help you customize your memory keeping and other projects is to combine the stamp and stencil set. Once again I stamped the complete Craft Your Life Project Kit: Bold & Beautiful twice onto white cardstock. I also fussy cut around the edges of the stamped image so that they continue the look of the picture side of the spread. However, I am adding color to the page by coloring just a part of the floral with the kit's stencil.

My choice for this side of the page was to trim one of the stamped images in half, and color it using the tones in the Rose Petal Fresh Dye Ink set and Jade Dreams Dye Ink set. I scored the colored image at about a 1/4″ and created a fold which is glued to the back of the black and white stamped image. This fold creates a layered look to the spread, and in my case a great space to add another interactive element. It also presented the perfect spot for title/sentiment placing. I decided to add texture in this spot by using the Sweet Sentiments Die Set to create the die cut using Crafty Necessities Jet Black cardstock.
Focus On The Stamp Only

The design in the Craft Your Life Project Kit: Bold & Beautiful is modern, detailed, and beautiful, it can easily work on its own to create a clean and simple detail or project. I am using the last stamped panel to help me create the journaling card for this spread. I am continuing with the detailed border look of the stamped images, but this time I am using them as an embellishment for the card. I glued a piece of the panel to the top of the card and trimmed the excess, and also added a small strip of the stamped image to the bottom of the card. The key was to use colored cardstock as the base of the card so that the details pop a bit more.
Add an Interactive As A Bonus

With so much detail already added throughout the spread with the simple black stamping in the background, I am opting for bring the focus of my spread to the photos – die cut clusters-, title – stenciled pocket-, that meant finding a simple way to keep the rest of the spread clean and simple. The idea of pockets -i.e. interactive elements- is the perfect way to keep it all in place cohesively. I am using vellum for the pictures and transforming one of the stamped images into a pocket for my journaling. This elements not only keep the page focused and clean, but also bring a tactile element to the project.

I hope this new idea on how to customize your memory keeping with the new Craft Your Life Project Kit: Bold & Beautiful provides inspiration for your next crafty project. I cannot wait to see what you create,
XO!
———————– SUPPLY LIST ———————-