Faux or Real Shaker Card? Let's Do Both!
Key Takeaways
What is a Real Shaker Card? A dimensional card featuring an acetate window lined with foam tape to create a sealed pocket filled with loose, moving elements like sequins.
What is a Faux Shaker Card? A flat alternative that mimics a shaker card's movement and sparkle by layering a die-cut window over dimensional glitter paste instead of loose sequins.
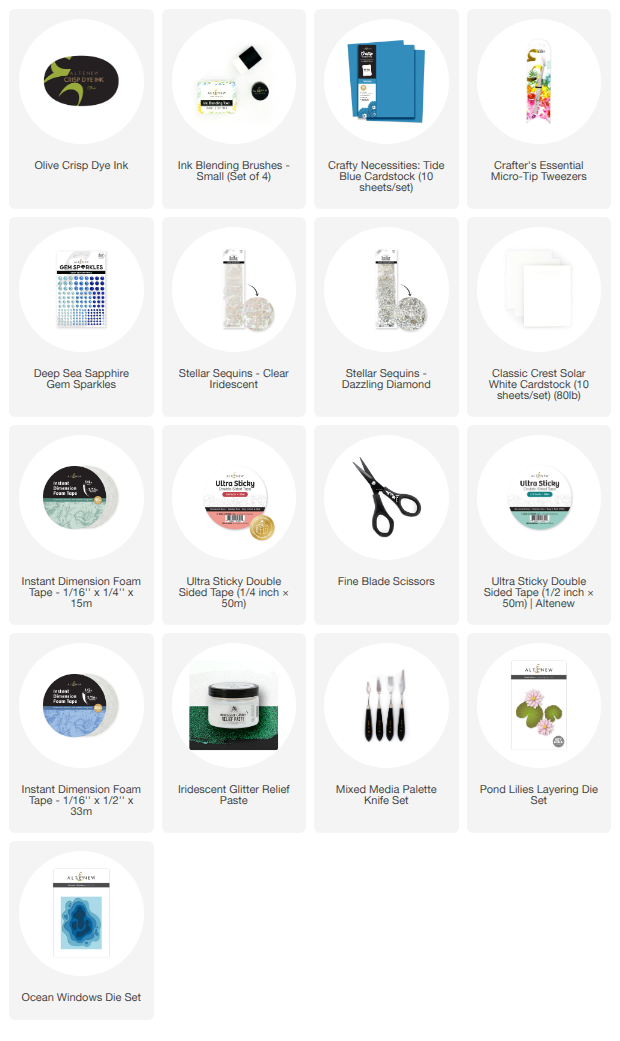
Essential Shaker Card Supplies: Altenew Pond Lilies Layering Dies, Ocean Window Die Set, Tide Blue Crafty Necessities Cardstock, Iridescent Glitter Relief Paste, acetate sheets, Instant Dimension Foam Tape, and Stellar Sequins.
Ink Blending Technique for Die Cuts: Build depth and contrast on white cardstock leaves by blending Altenew Olive and Moss Fresh Dye Inks outward from a single focal point, drying between layers.
Glitter Paste Assembly Tip: Let Iridescent Glitter Relief Paste dry completely before assembly to ensure foam tape adheres properly and to prevent the card panel from warping.
Finishing Touches & Embellishments: Finish both card styles with metallic sentiment die-cuts (like Brushed Metallic Gold Cardstock) and Deep Sea Sapphire Gem Sparkles placed directly on the acetate for extra texture.
Hi Altenew fans and friends! I hope you are in the mood for some fun crafting today, because I have two fun cards to share today and I'm really quite pleased with how they turned out! Especially as shaker cards are not my forte, but the products I used for the cards were just screaming shaker card!
Shaker Card Components
I started by using the Pond Lillies Layering Dies, and I made quite a few. Because why not, and I needed loads of flowers and pond leaves. I knew I wanted to make two shaker cards. I did use white card stock for these as I really liked the look of white pond lilies. I did add a little bit of color to the middle of the flowers.

For the leaves I have added some Olive Fresh Dye Ink. I wanted some highlights, so I started in one spot and then ink blended outwards from there. On some of them I also added a touch of Moss Fresh Dye Ink to add more contrast. If you don't want to use multiple ink pads you can build up the color, just make sure to let the layers dry in between ink blending.

Next up I started working on the shaker card elements. The Ocean Window die cut set is PERFECT for shaker cards, and actually I have so many ideas for this set. I used the second biggest die cut on two panels of white cardstock. These are going to be the window of our shaker cards, both the real one and the faux shaker card.

Faux Shaker Card
To create the water look I decided to use Tide Blue Crafty Necessities Colored Cardstock. It is a gorgeous shade of blue. I cut out two A2 panels of it, and one of them I used some Iridescent Glitter Relief Paste to create the illusion of glittering water. I spread it with a spatula and didn't make it smooth on purpose. This is for the faux shaker card, as we can't add any loose sequins to this one, but it still deserves some sparkle!

Real Shaker Card
For the real shaker card panel, we have to create a 'pocket' for the shaker elements i.e. sequins and sparkle. Flipping the panel over, you need to first add some acetate over the shaker card hole and then create the pocket by lining the sides with Instant Dimension Foam Tape. Inside this pocket we are going to add some Stellar Sequins. I went with Clear Iridescent and Dazzling Diamond, and I went with the three smaller sizes to really add some volume to the shaker card.

The important part about using the panel with the Glitter Relief Paste is to let the paste dry fully before adhering the faux shaker card window. The Instant Dimension Foam Tape will not adhere properly to it if it's not dry. If the panel has warped a little from adding the paste you can leave it under something heavy and flat, but again, make sure it's dry first!
With all the different parts and elements ready, it was time to assemble and decorate our shaker cards. This part is always fun, and these were no exceptions. I puzzled all of my pond lilies and leaves onto the two cards and made sure to leave enough space for some sentiments too.

I have a bunch of already made sentiments, some are die cut, some are stamped, some are heat embossed etc. and I picked out a simple die cut 'hello' in white and Brushed Metallic Gold Cardstock, as well as a heat embossed sentiments from the Tranquil Greetings set.

The leaves, the lilies and the sentients have all been adhered to the cards, and one last little embellishment touch were some bling from the Deep Sea Sapphire Gem Sparkles. Even with the sequins in the shaker card and the glitter paste in the faux one, I think these two deserved a little bit extra sparkle. The Gem Sparkles have been placed both on the acetate and on the solid part of the real shaker card, and on both layers on the faux shaker card. I think this is a nice little touch to do to add more interest as well as more texture.

Well, that is it from me for today, but I really hope you enjoyed this blog post and will get a chance to watch the YouTube video too! It is mostly in real time, most of the parts that involve the shaker card components are talked through in real time with both hits and misses, as well as some tips and tricks on how to recover if things go slightly wrong.

Thank you so much for hanging out with me today and please do let me know if you try either of these techniques, or if you are a seasoned shaker card maker.
I will see you later in the month for another tutorial and general crafting shenanigans!
With love and light, creativity and sparkle from your gal Erica.

Get 45% OFF Classic Alphabet Die Set from June 12, 2026 at 12:01 AM EDT until June 13, 2026 at 11:59 PM EDT. Shop here: https://oltonew.shop/products/classic-alphabet-die-set *Until supplies last*