Elevating Floral Background Designs with Sparkling Details
Key Takeaways
Elevate Designs with Texture: Adding Gold Glitter Relief Paste to flower centers is a simple way to elevate floral background designs with sparkling details and tactile dimension.
Master Easy Layering Techniques: Utilizing a layering stencil set (like the Craft Your Life Project Kit: Frozen Moments) allows cardmakers to easily build up realistic color depth on custom backgrounds.
Coordinate Metallic Accents: Pairing sparkling glitter paste with a matching Brushed Gold Hot Foil sentiment ties the card's visual elements together for a cohesive, elegant finish.
Protect Crafting Tools: Always clean paintbrushes immediately after applying glitter relief paste, as the medium dries rapidly and can ruin brush bristles.
Hello, everyone! Aga here, and today I'm sharing a fun and easy way to add sparkling elements to your stamped or stencilled designs. Whether you're creating custom floral backgrounds or adding decorative details to your projects, a touch of sparkle can bring extra dimension, light, and interest to your work.
It's a simple cardmaking technique that can make your papercraft designs feel more vibrant and eye-catching while highlighting the beautiful details of your stamping and stencilling.
Step-by-Step Tutorial: How to Elevate Floral Background Designs with Sparkling Details

1. Creating a Layered Stencil Floral Background
For today’s card, I started with a panel of white cardstock and used the layering stencil set from the Craft Your Life Project Kit: Frozen Moments to create a lovely ditsy floral background. The layered stencils make it easy to build up color and detail, resulting in a beautifully soft and delicate design.
To achieve the perfect color palette, I combined several shades of crisp dye inks:
For the Flower Base: I used Cloudy Sky and Soft Lilac Fresh Dye Inks for the very first layer of the flowers.
For Floral Depth & Dimension: I added Lavender Fields, Deep Iris, and Andromeda Fresh Dye Inks for the subsequent layers.
For the Foliage: For the leaves, I used Olive, Moss, and Oak Moss Fresh Dye Inks, which complemented the floral tones beautifully and helped bring the background to life.
Pro-Tip for Stencilling: Using ergonomic blending brushes helps achieve a seamless, smooth gradient when transitioning between your lighter base inks and darker detail inks.

2. Adding Sparkling Details and Texture to Your Papercrafts
Once the blending was complete, I trimmed the stencilled panel to fit my card base. Now for the magic step: elevating the floral background designs with sparkling details!
Using a small, fine-tip brush, I added touches of Gold Glitter Relief Paste to the centers of the flowers for shimmering gold accents. This simple step adds a beautiful sparkle and a bit of extra texture to the design, making the ditsy flowers pop.
Important Craft Clean-Up Note: Be sure to clean your brush with warm water as soon as you're finished! Glitter paste dries incredibly quickly and can become very difficult to remove from your bristles once hardened.

3. Assembling the Card Base and Adding the Sentiment
Once the glitter paste had set and dried completely, I adhered the stencilled panel to my card base using a strong double-sided adhesive.
The final step was to add a sentiment. To match the sparkly theme, I opted for another shiny element and chose an elegant, decorative sentiment from the Flowering Hedge Bundle. I foiled it using the Hot Foil Roll - Brushed Gold (Mirror). The reflective gold finish complements the sparkling flower centers beautifully and ties all the elements of the design together seamlessly.

Crafting FAQs: How to Add Sparkle to Handmade Cards
To help you get the best results when elevating your floral background designs, here are a few quick tips for working with glitter pastes and mixed media elements:

What is the best way to apply glitter paste to stencils?
For large areas, a palette knife works best to spread the paste evenly. For targeted, delicate sparkling details—like the flower centers in this project—a small, stiff-bristle paintbrush gives you the ultimate control.
How long does Gold Glitter Relief Paste take to dry?
Depending on how thickly you apply the paste, it typically takes anywhere from 15 to 30 minutes to air dry completely. Avoid using a heat tool too close to the paste, as it can cause the medium to bubble.
Can I use hot foil sentiments without a hot foiling machine?
To use hot foil rolls like the Brushed Gold Mirror foil used here, you will need a compatible hot foil system (like the Glimmer Hot Foil System or GoPress and Foil) along with a standard die-cutting machine to apply the necessary heat and pressure.
I hope this project inspires you to add a little sparkle to your own cardmaking creations.
Thank you so much for stopping by today! Happy crafting!
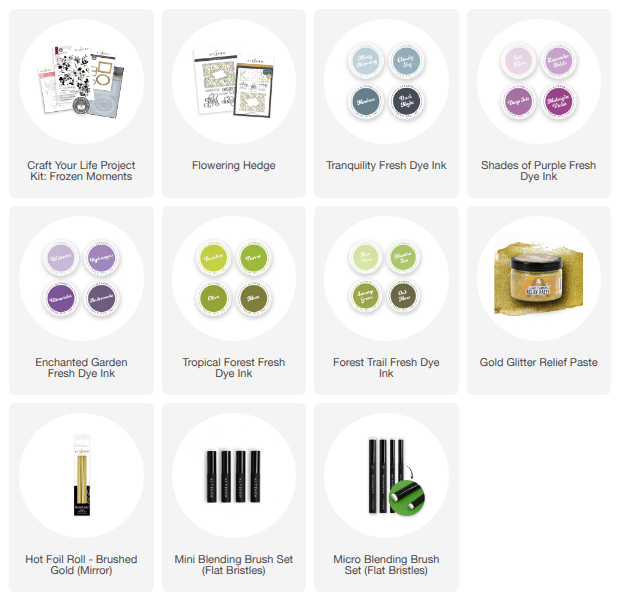
Supply List