Light & Airy Mountain Scene with Stencils, Shimmer Paste, and Layered Die Cutting
by Lea Lawson August 21, 2026

Key Takeaways
- Layered mountain stenciling creates depth and softness when you gradually build color through each stencil in the Mountain Peak set, finishing with shimmer paste for texture and shine.
Masking the sky keeps the mountain edges crisp, and the relief paste helps grip the stencil so it doesn’t shift while ink blending the cotton‑candy sky.
Aerial Cable Car die cutting is perfect for using small cardstock scraps, and the Keyhole System makes layering quick, accurate, and beginner‑friendly.
One‑Go foiled sentiments allow you to foil and die cut ten sentiments at once, making it easy to build a stash of ready‑to‑use greetings.
Combining texture, ink blending, and die cutting results in a dimensional, airy mountain scene with a polished focal point and a clean, efficient workflow.
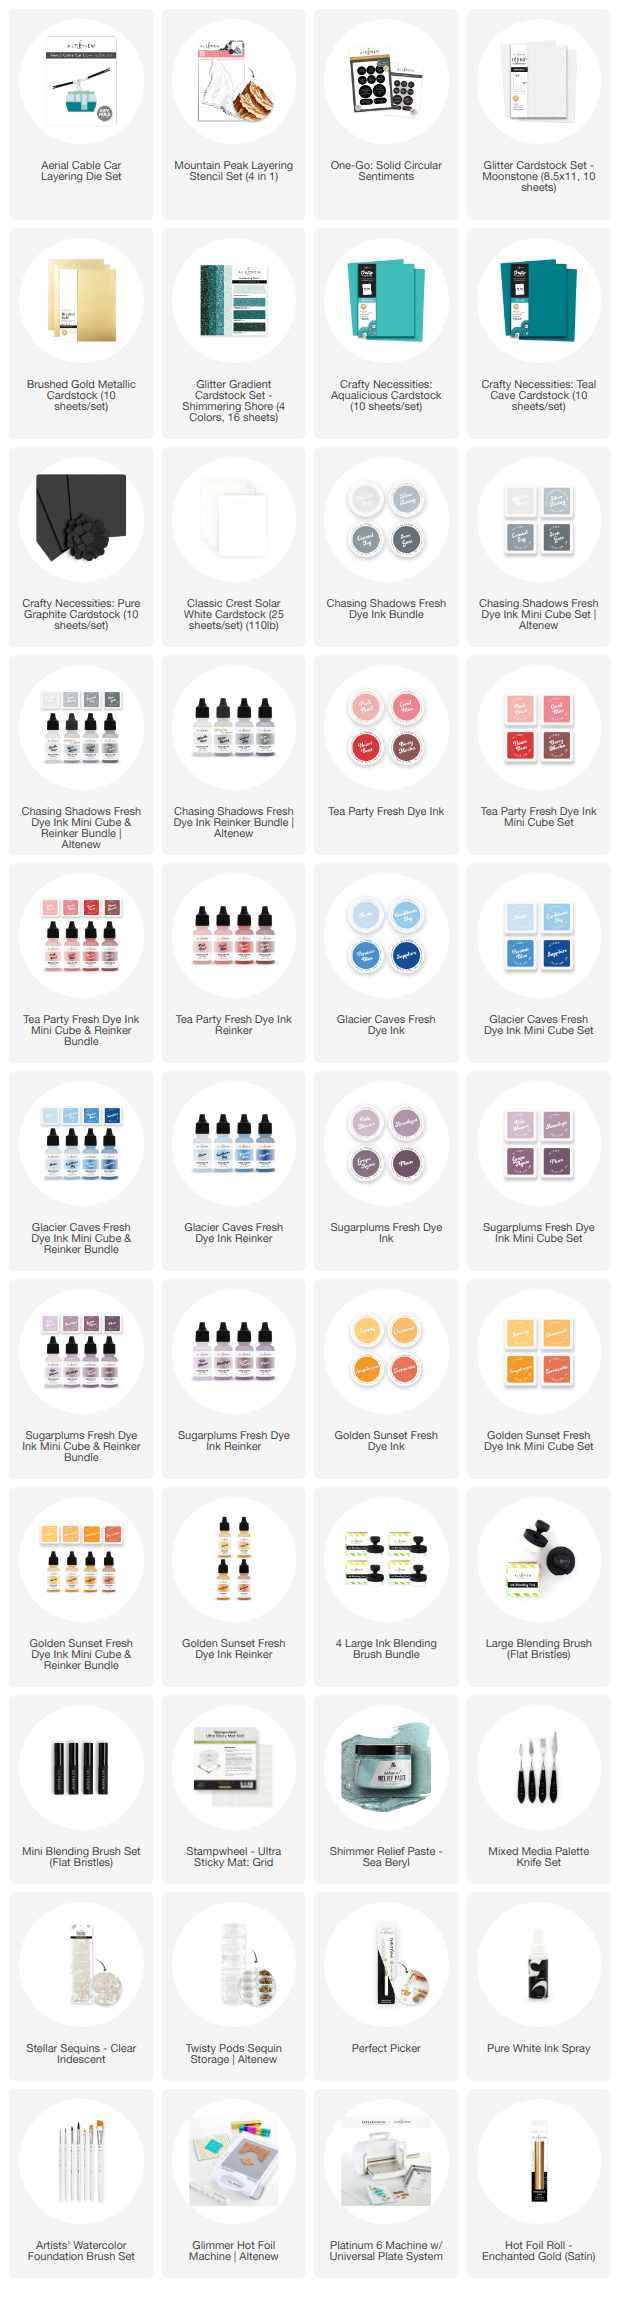
Hello, crafty friends! Lea here today, sharing a bright and uplifting mountain‑themed card that blends soft ink layering, shimmering texture, and detailed die cutting to create a scene full of movement and joy. This project features the Mountain Peak Stencil Set, the Aerial Cable Car Layering Die Set, and the One‑Go: Solid Circular Sentiments Press Plate & Die — three products that work beautifully together to build a dimensional landscape with both crisp detail and airy softness.
If you love ink blending, layered stencils, and intricate die cutting, this card is such a fun way to explore all three techniques in one cohesive design. The mountains come to life through gentle color transitions, the sky glows with a cotton candy gradient, and the cable car adds a playful focal point that feels right at home in the scene. Whether you’re crafting for a friend you miss, creating a travel‑themed card, or simply enjoying the process of building a landscape from scratch, this project offers plenty of inspiration for combining texture, color, and die cutting with intention.

Creating the Layered Mountain Scene with Stencils and Shimmer Relief Paste
The Mountain Peak Stencil Set is the foundation of this card, and it’s such a joy to work with. Each stencil builds a different part of the mountain range, allowing you to create depth, shadow, and highlight with just a few ink colors and thoughtful blending. I started by securing my panel and working through the stencils one layer at a time, gradually building color intensity as I moved from the base layers to the more detailed peaks.
Ink Colors Used:
- Stencil 1: Marble Dust
- Stencil 2: Silver Lining
- Stencil 3: Coastal Fog
One of my favorite ways to approach layered stencils is to begin with lighter tones and slowly introduce deeper shades as the layers progress. This keeps the mountains soft and airy while still giving them structure. The Mountain Peak set makes this process incredibly intuitive — each stencil guides you through the contours of the landscape, helping you place color exactly where it needs to be.
For the final stencil layer, I added a special touch: Sea Beryl Shimmer Relief Paste. This paste adds both texture and shine, giving the mountain peaks a glistening, snow‑kissed finish that catches the light beautifully. It’s subtle but impactful, and it adds a tactile element that contrasts nicely with the smooth ink blending underneath.
A helpful tip when working with relief paste: The paste actually helps grip the stencil as it begins to set, which keeps everything in place while you blend the sky around it later. This makes the masking stencil even more effective and prevents shifting as you work across the panel.

Ink Blending the Cotton Candy Sky with the Masking Stencil
Once the mountains were complete, I placed the Mountain Peak Masking Stencil over the panel to protect the peaks while blending the sky. This stencil is such a game‑changer — it hugs the mountain edges perfectly, allowing you to blend right up against them without worrying about ink bleeding into the textured paste.
I wanted a soft, dreamy sky that felt like cotton candy drifting behind the mountains, so I blended a gradient that moves from Pink Pearl, to Arctic and finishing with Amethyst. The masking stencil stayed firmly in place thanks to the relief paste gripping it slightly, which made the blending process smooth and stress‑free.
This sky is one of my favorite parts of the card — it adds warmth, softness, and contrast to the crisp mountain peaks, and it creates the perfect backdrop for the cable car.

Adding the Aerial Cable Car with Layered Die Cutting
The Aerial Cable Car Layering Die Set is such a charming addition to this scene, and it’s perfect for using up all those little scraps of cardstock and specialty paper you’ve been saving. Because the pieces are small and the layers are simple, this set is ideal for creative die cutting with leftover materials.
I used a mix of teal cardstock, specialty paper, and small scraps to build the cable car, giving it a playful pop of color that stands out against the soft sky. The set uses Altenew’s Keyhole System, which makes layering incredibly quick and easy — each piece aligns perfectly with the next, and the finished cable car looks crisp and polished without any guesswork.
Once assembled, I added the cable line and connector, placing the car slightly off‑center to give the scene movement and a sense of adventure. The contrast between the bold cable car and the soft mountains creates a lovely balance that draws the eye right to the focal point.

Foiling and Die Cutting the One‑Go Sentiments
For the sentiment, I used the One‑Go: Solid Circular Sentiments Press Plate & Die, which is one of my favorite systems at Altenew. I foiled the sentiments in a satin matte gold foil — just enough shine to complement the shimmer paste on the mountains without overpowering the design.
The One‑Go system is all about efficiency, and I absolutely love that I can foil and die cut ten sentiments at once. It’s such a time‑saver, and it means I always have a stash of ready‑to‑use sentiments for future projects. The coordinating one‑piece die makes the die cutting process quick, clean, and perfectly aligned every time.
For this card, I chose a simple “we miss you” sentiment, which fits beautifully with the cable car theme and the sense of distance and connection in the scene.

Bringing the Entire Scene Together
Once all the elements were ready — the blended mountains with cotton candy sky, the shimmering peaks, the layered cable car, and the foiled sentiment — it was time to assemble the card. I adhered the panel to a white card base, added the cable car with a bit of dimension, and placed the sentiment near the lower corner to balance the composition.
The final result is a card that feels both peaceful and uplifting. The layered stencils create depth, the shimmer paste adds texture, the sky brings warmth, and the detailed die cutting adds charm and personality. It’s a beautiful blend of techniques that come together to tell a story — one of connection, distance, and the joy of reaching out to someone you miss.
Check Out The Full Layered Die Cutting Tutorial Here!

Creating this mountain scene was such a rewarding process, and it’s a wonderful example of how layered stencils, thoughtful ink blending, shimmering texture, and detailed die cutting can work together to build a cohesive and expressive design. The Mountain Peak Stencil Set offers endless possibilities for landscapes, the Aerial Cable Car Layering Die Set adds a playful focal point, and the One‑Go Sentiments make finishing touches quick and polished.
I hope this project inspires you to explore new ways to combine stencils, texture, and die cutting in your own crafting. Whether you’re creating a card for someone special or simply enjoying the creative process, these techniques offer so much room for expression, experimentation, and joy.
If you give this card a try, I’d love to see what you create — may your crafting time be peaceful, colorful, and full of sparkle.

Enjoy FREE U.S. Shipping on orders over $49 (no code needed) from August 20, 2026 at 12:01 AM EDT until August 22, 2026 at 11:59 PM EDT. Shop here: https://oltonew.shop/collections/all-the-paper-crafting-supplies-you-need
Die Cutting Mountain Card Supplies