Get More From Your Dies! Creative Ways to Use Positive & Negative Die Cuts
by Therese Calvird November 18, 2026

Key Takeaways
Get More From Your Dies: Discover how to use both the positive and negative die cuts to create two completely different card designs while minimizing waste.
One Die Set, Two Styles: Combine bold cardstock stripes with negative space for a modern look, or create colorful, dimensional florals with embossed texture.
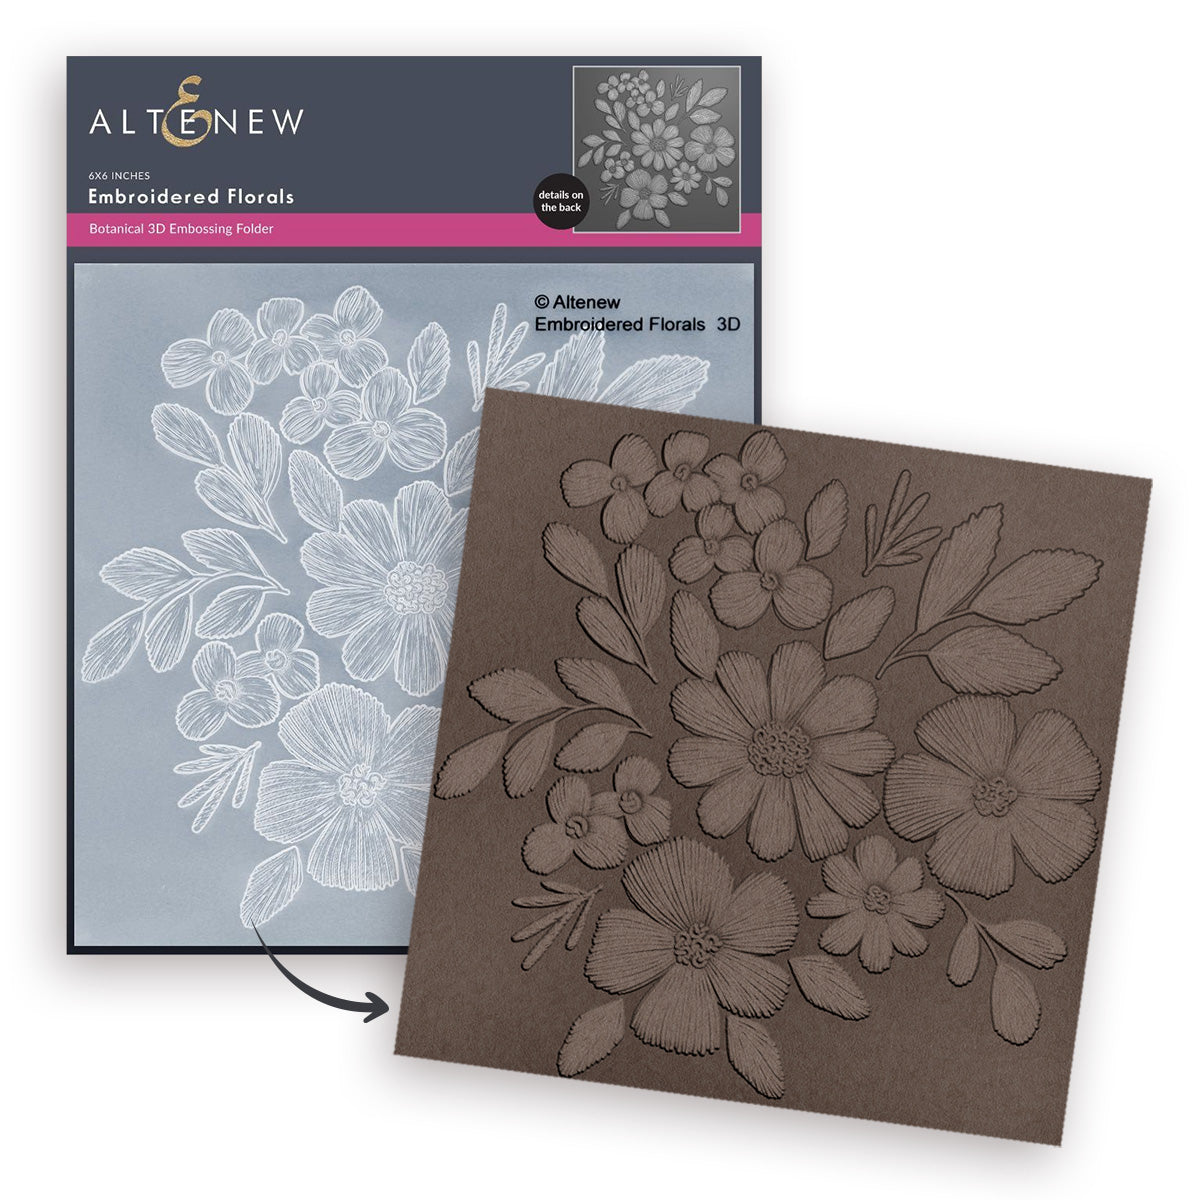
Embossing Folder Versatility: Use a coordinating 3D embossing folder to add beautiful stitched details to individual die cuts as well as textured backgrounds.
Stretch Your Supplies: Experiment with patterned paper, ink blending and different die arrangements to create even more looks using the supplies you already have.
Want to get more creative possibilities from your dies? Sometimes it's simply about looking at your supplies a little differently!
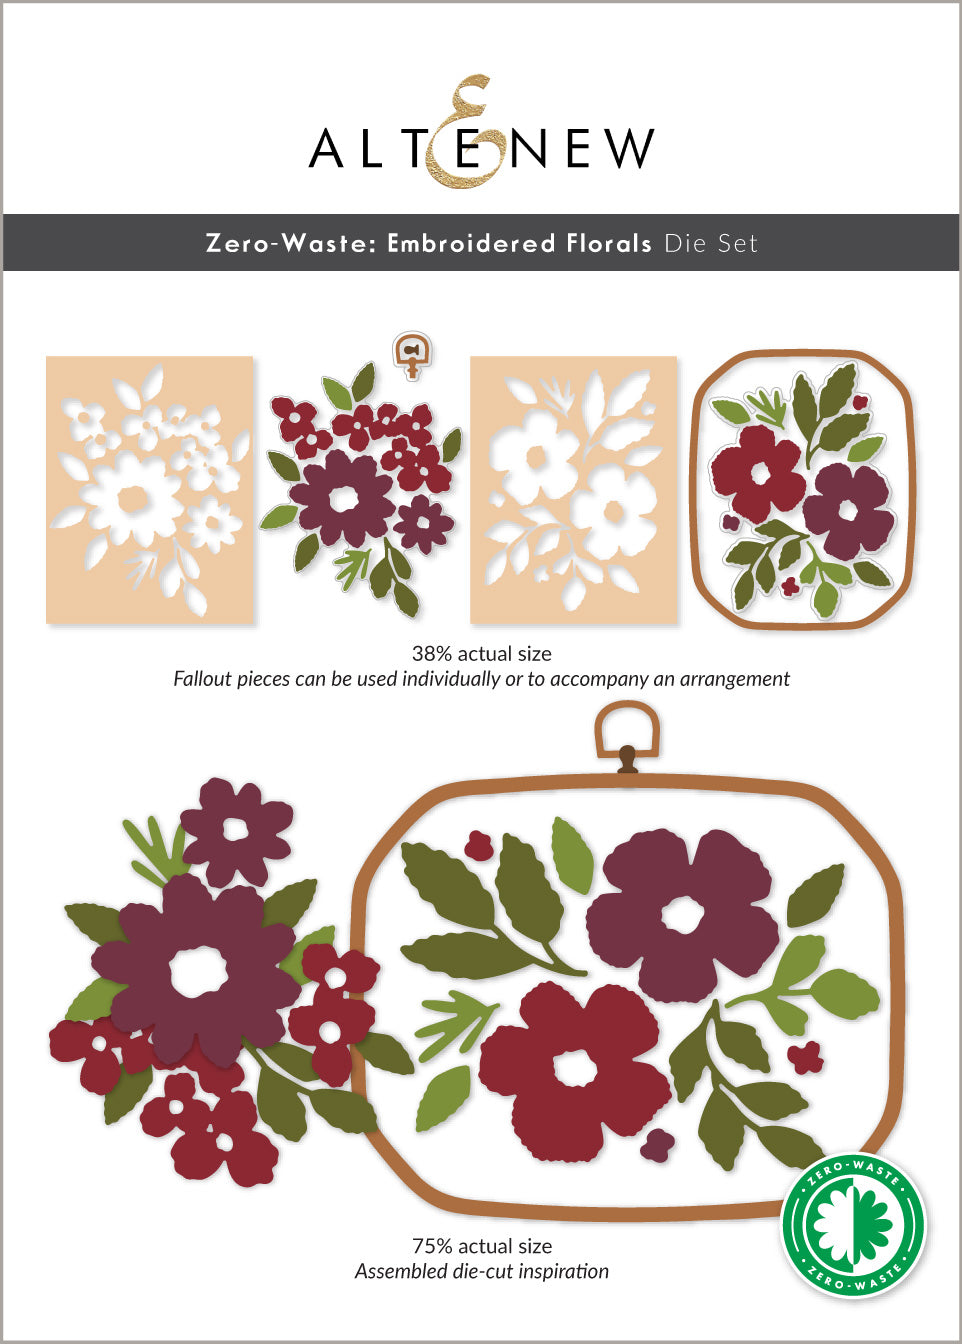
Today, I'm sharing two creative ways to use Altenew's Zero-Waste: Embroidered Florals Die Set and coordinating 3D embossing folder. We'll use both the positive and negative die cuts to create two very different handmade cards - one modern and graphic, the other colorful and textured. And of course, there'll be plenty of dimension along the way!

Card #1: Modern & Graphic Negative Space
Supplies Needed
Crafty Necessities Cardstock: Coral Berry, Ruby Red, Bamboo and Volcano Lake.

For my first card, I combined some bright cardstock stripes with the negative die-cut panel to create a fun, modern design.
Die Cut the Florals: Use the Zero-Waste: Embroidered Florals Die Set to cut the floral design from an A2 panel of white cardstock. Save the individual die-cut pieces for your second card. Die cut into a smaller panel using a Nesting A2 Panels die.
Create the Stripes: Cut varying widths of Coral Berry, Ruby Red, Bamboo and Volcano Lake cardstock. Arrange and adhere these strips onto a smaller panel of cardstock.
Add Dimension: Pop up the negative die-cut panel over the stripes using foam adhesive, then mount the completed panel onto a white card base with even more dimension.
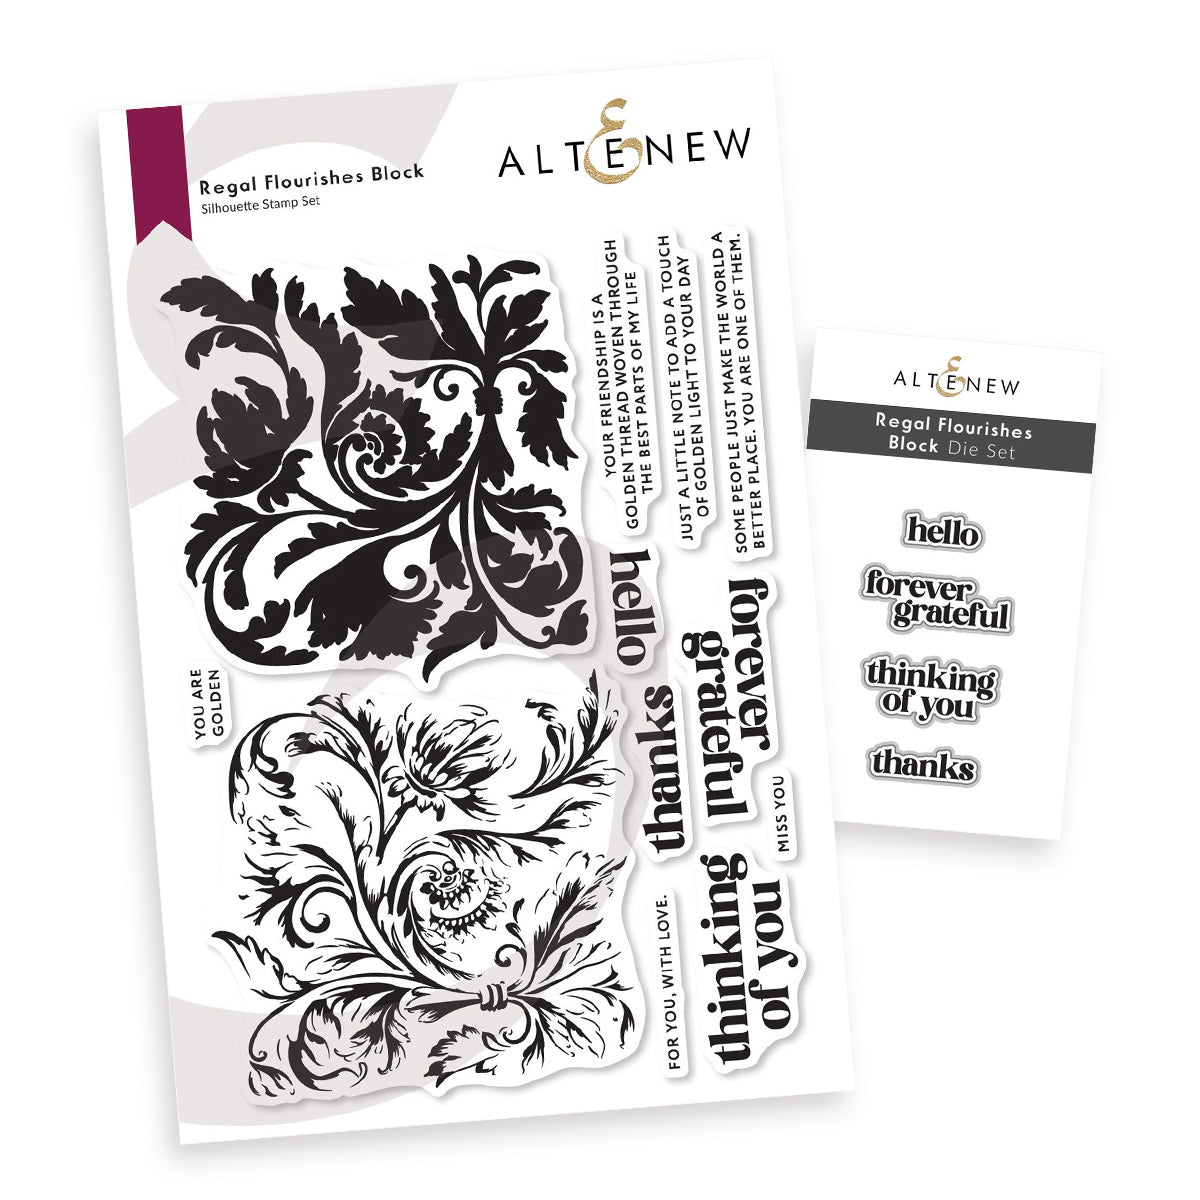
Finish the Card: Stamp a bold sentiment in black ink onto white cardstock, cut it with the coordinating die and pop it up on the card front.

PRO TIP: Change up the look by adding floral patterned paper, an ink-blended background or even a soft watercolor wash behind the negative die-cut openings instead of cardstock stripes!

Card #2: Colorful & Textured
Supplies Needed for the Watercolor Card

Step-by-Step Card Instructions
For my second card, I used the leftover floral die cuts to create a colorful, textured design with plenty of dimension!
Color the Florals: Use the leftover floral die cuts from Card #1. Add ink blending to create bright coral-pink blooms and green foliage.
Add Embossed Texture: Place the floral die cuts into the coordinating 3D embossing folder and emboss to add the beautiful stitched details.
Create the Background: Die cut a rectangle panel from Volcano Lake cardstock, emboss it using the same folder.
Arrange and pop up the flowers and foliage for added dimension. And add white ink splatter.
Assemble the Card: Mount the embossed background panel onto a white card base using foam adhesive.
Finish the Card: Stamp a bold sentiment in black ink onto white cardstock, cut with the coordinating die and adhere to the card front.

PRO TIP: Don't limit your embossing folders to backgrounds! Try embossing individual die cuts to add extra texture and interest. You can even use folders you already have in your stash for a completely different look!

How to Get More Creative With Your Cardmaking Dies?
Sometimes getting more creative with your cardmaking dies is simply about looking at them a little differently! By exploring both the positive and negative die cuts, combining supplies and experimenting with texture, you can create completely different looks using the same products.
For these two cards, I used Altenew's Zero-Waste: Embroidered Florals Die Set and coordinating 3D embossing folder to explore a few fun techniques:
Negative Space: Use the leftover die-cut panel as the main feature instead of throwing it away.
Modern Backgrounds: Add colorful cardstock stripes of varying widths behind the openings for a bold, graphic look.
Embossed Texture: Add beautiful stitched details to individual floral die cuts using a coordinating embossing folder.
Ink Blending: Bring the flowers and foliage to life with added color and shading.
Dimensional Layering: Use foam adhesive to raise die-cut panels, flowers and sentiments for extra depth.
Creative Versatility: Try patterned paper, different color combinations or alternative embossing folders to get even more looks from your supplies.
Watch the Card Video Tutorial
Want to see these step-by-step instructions in action? Watch the full video tutorial below to see how I used both the positive and negative die cuts to create two very different cards!
Getting more from your cardmaking dies can be as simple as looking at them a little differently! Using both the positive and negative die cuts is a fun way to stretch your supplies and create completely different looks.
I hope these cards inspire you to try something new with your dies!
Which style do you prefer: modern stripes or textured florals? Let me know in the comments below!

Save 50% OFF on ALL Altenew Academy Class Passes from November 18, 2026 at 12:01 AM EST until November 19, 2026 at 11:59 PM EST. Shop here: https://oltonew.shop/collections/altenew-academy-online-card-classes *Exclusions apply
Supply List
|