Soft Elegance: Transform Your Cards with Delicate Color and Dimension
by Erum Tasneem February 3, 2025

Hi everyone! Erum here. Welcome to Creative Coloring with Erum. Today, I’m sharing a beautifully layered floral card featuring soft colors, delicate die-cut details, and a dreamy watercolor background. If you love adding depth and dimension to your handmade cards while giving them a dreamy, soft look, this project is perfect for you!
Let’s dive into the step-by-step process so you can recreate this look.

Die Cutting the Floral Elements
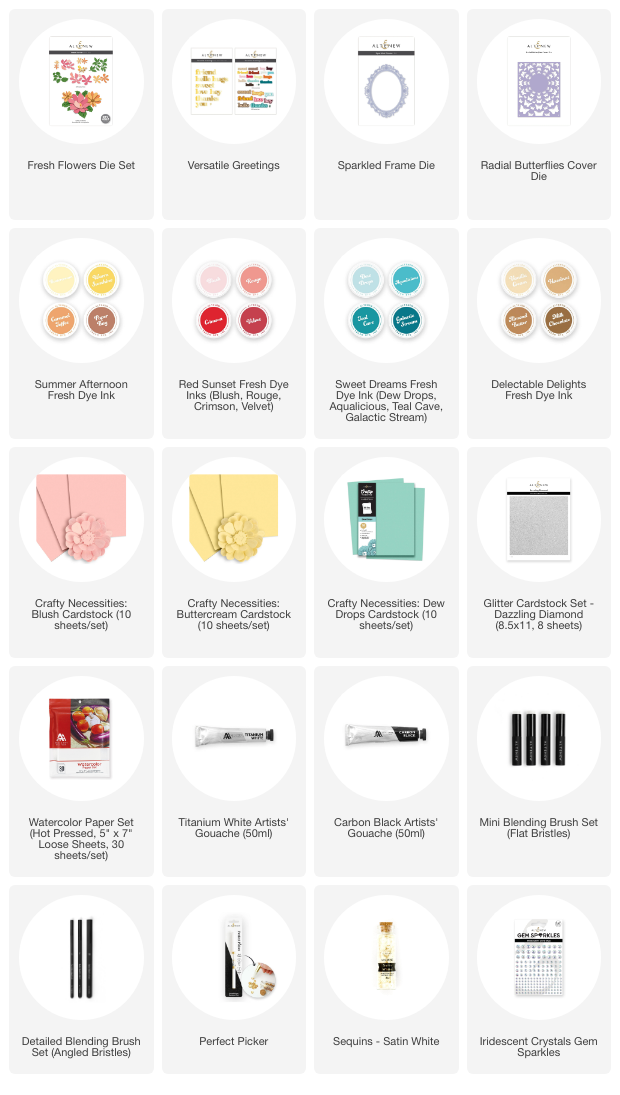
- Die-cut the large flower from the Fresh Flowers Die Set using Blush Cardstock.
- Cut small flowers and centers from Buttercream Cardstock.
- Die-cut the leaves and vine from Dew Drops Cardstock. Tip: Keep the die-cut pieces in the cardstock panel for easy inking.
Adding Color to the Die Cuts
While inking, don't worry about adding inking with a heavy hand. The inks will lighten, maintaining the soft look of the card.
- Yellow Flowers: Apply Warm Sunshine Ink in the center, blending outward with a Mini Blending Brush. Add extra shading to the tips of the largest flower with a Detailed Blending Brush.
- Pink Flower: Apply Rouge Ink to the center, pulling color outward. Add subtle shading to the petal tips for depth.
- Flower centers: Apply Milk Chocolate Fresh Dye Ink.
- Leaves: Blend Aqualicious Ink at the base. For a unique touch, lightly apply Warm Sunshine to create a vibrant color shift.
Shaping the Florals for Dimension
- Curl flower petals inward and outward using the end of the Detailed Blending Brush to create a realistic, organic look.
- Use the Perfect Picker to add midrib lines to the Fresh Flowers leaves for a subtle texture.

Creating the Watercolor Background
- Use Hot Pressed Watercolor Cardstock and cut it to A2 size.
- Wet the panel and randomly drop in Rouge, Warm Sunshine, and Aqualicious dye inks to create a soft, dreamy wash.
- Add ink splatters using diluted dye inks and Carbon Black Gouache for contrast.
- Tip: if your panel is warped, dry it and flatten it using an embossing folder technique I shared in the video.
Framing the Design
- Die-cut the Sparkled Frame from cream cardstock.
- Layer it over a second frame cut from Dazzling Diamonds Cardstock for extra shine.
- To soften the look, adhere vellum behind the frame and turn it into a shaker with Satin White Sequins.

Assembling the Card
- Arrange the florals and vine inside the framed area.
- Add Titanium White Gouache splatters for a final soft touch before adhering the arrangement.
- Die-cut “hugs” from Versatile Greetings Die Set out of Dazzling Diamonds cardstock, with a vellum shadow.
- If the sentiment gets lost in the background, ink it lightly with Rouge for contrast.
Final Touches
- Adhere a few butterflies from the Radial Butterflies Cover Plate.
- Add Iridescent Gem Sparkles for a hint of shimmer.

Video: How to Create a Soft & Elegant Floral Card
You can watch the process video by clicking the photo below or on YouTube by clicking THIS LINK.

This handmade card features soft, layered florals with delicate shading, set against a dreamy watercolor background. The subtle shimmer, vellum details, and framed design add elegance, while tiny butterflies and sparkles complete the look. Whether you prefer a clean and simple style or enjoy stepping up your designs, this tutorial offers ideas for both!
~SUPPLIES~