Create A Stylish Memory Keeping Layout (With Video Tutorial!)
Hi there! It's Nathalie with you today to share a new idea to create a stylish memory keeping layout featuring a few of the products in Altenew's April release. Every month, we are amazed by all the new products featured in each release, and we are quick to choose new favorites. I loved so many of the sets, that I am combining them to create a new spread for my 6×8 Family Album. Let's take a look at the project:

There is something to especial about clean and simple spreads that add extra magic through interactive elements. The idea for this page was to be able to combine all the photos of the day without creating chaos. So, what better way to get it all documented together, than to confine the rather eye stimulating photos behind a stylish insert.

Process Video:
I want you to see how this spread comes together before we check all the small details. I have created a video showcasing the building process. You can watch it here, or in HD in Altenew YouTube channel:

I hope you enjoyed the video and inspires you to create. Now, let's take a closer look at this stylish memory keeping layout
Start With Color Negative Space
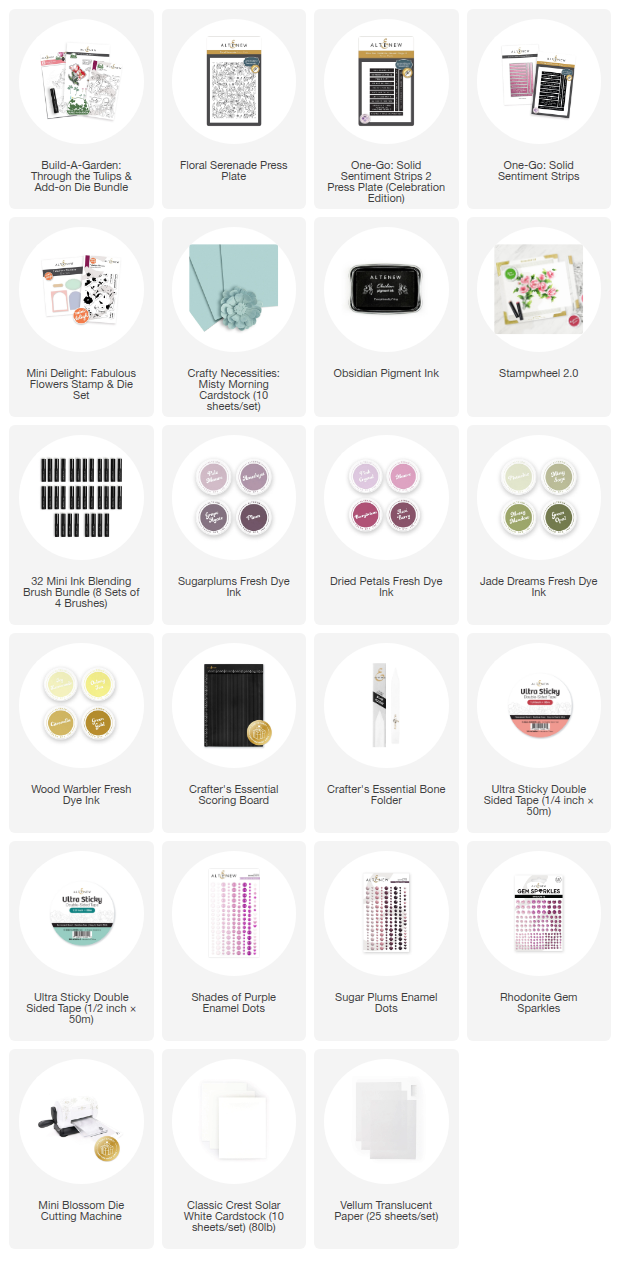
One of the keys to adding style to your memory keeping layouts is to go for a lot of negative space, that means blank space. I am choosing to go for a soft tone of cardstock (Craft Necessities: Misty Morning Cardstock) as the base for my spread. The color helps to boost all the embellishments, texture, and dimension added to the spread better than a white cardstock.
Add Subtle Dimension

In order to differentiate the insert from the background, I am using the new Floral Serenade Press Plate to add a texture to the cardstock. Using the embossing plates of my die cutting machine and the press plate -no ink- I am able to create an embossed surface that distinguishes from the simple background. The white arch die cut from the Mini Delight: Fabulous Flowers is a great way to frame the title and embellishments. The color contrast helps to emphasize the dimension on the cardstock and also make the Build-A-Garden: Through the Tulips flower die cut a focal point.
Tactile Interactive Spread Concept

A stylish memory keeping spread with an interactive element requires a bit of finesse to build. For this page, I am using vellum to construct the accordion-like strip that holds photos. I am once again using the Floral Serenade Press Plate to add interest through stamping to two white cardstock panels. The smaller white panel will serve as separation between the photos, while the larger panel will help to create a seamless way to adhere the twine and element to the background. A simple sentiment is all I needed for the separator panel.

I made the spread cohesive through adding a few more floral die cuts from the Build-A-Garden: Through The Tulips to the inside of the interactive element, as well as to the journaling card on the pocket page part of the spread.

To finish the spread, I added a few enamel dots, and gem sparkles throughout the page. I hope this stylish memory keeping layout inspires you to combine your products in your next crafty project
XO!
————- SUPPLIES ————–