Watercolor & Embossing Folder Technique | Altenew Educators “Frosty Splendor” Video Hop + Giveaway
by Erum Tasneem November 18, 2024


Hi there, everyone! Welcome to Altenew Educators’ video hop! The theme of this hop is “Frosty Splendor”. Our fabulous educators will create winter-themed projects or use a winter color palette. In today’s tutorial, I’ll show you how to turn a watercolor panel into a misty winter forest scene using a 3D Embossing Folder, watercolor, and inking techniques, plus a VIDEO to go with it. Stick around to learn how to transform a “messy” panel into a stunning, textured winter card! But first, check out these amazing projects by our AECP educators:

Misty Winter Forest Scene with Watercolors and Embossing

Emboss the Watercolor Panel
- Place a 5×7 Cold-Pressed Watercolor Cardstock into the Pine Forest 3D Embossing Folder.
When running it through your die-cutting machine, make sure the plate doesn’t press over the embossing folder's edge to prevent indentations on the panel.
Apply the Base Color
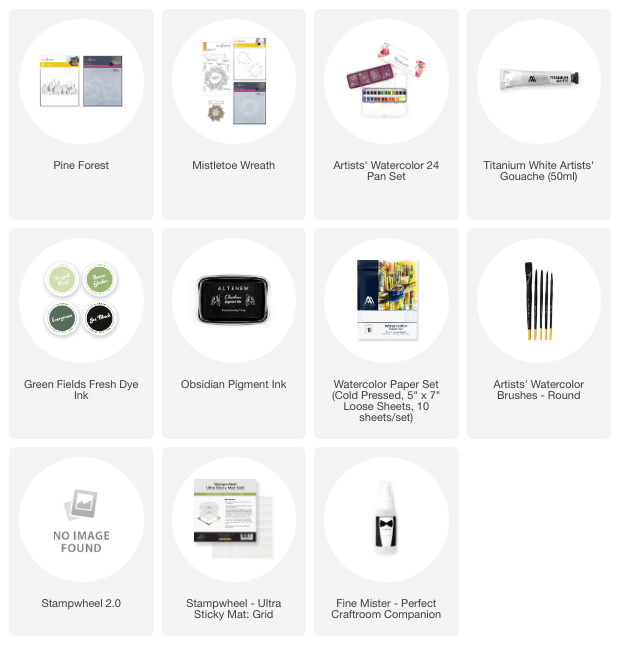
- Mist the Artists' Watercolor 24 Pan Set with water to activate them. You can use the Fine Mister for this.
- Using a Size 4 Round Brush, apply water to the tree area and the sky above it.
- Apply Starry Night watercolor over this area, focusing on a light color wash for the first layer.
- Add more concentrated pigment over the trees for a darker effect, creating depth.
Build Depth in the Sky and Ground
- Using Cool Summer Night watercolor, add pigment around the edges of the sky. Keep the center lighter to achieve a misty effect.
- Drag a diluted blue down towards the bottom, avoiding a stark white contrast.
- Dab Starry Night watercolor into the tree area again to add more dimension.

Add Details to Trees and Ground
- Apply Rock Collection watercolor in a diluted wash at the bottom to create a ground effect, blending slightly into the blue.
- Add hints of Green Meadows watercolor in the trees to introduce a touch of green.
- Avoid over-blending to preserve natural watercolor lines for a rustic, misty effect. If it works in your favor, these will look like mountains or clouds after drying.
Re-Emboss for Enhanced Texture
- Use a heat tool to dry the panel, then run the panel through the die-cut machine again with the embossing folder to restore any lost texture.
Define the Trees with Ink
- Using Jet Black Fresh Dye Ink with a foam blending tool, gently apply ink over the raised trees to highlight their shapes.
- For a darker look, use Obsidian Pigment Ink and heat set.

Add Splatter Effects
- Using Titanium White Gouache, add splatters over the scene to mimic snow.
Optionally, add Sterling Watercolor for metallic splatters from the Metallic Watercolor 14 Pan Set.
Stamp the Sentiment
- Stamp “Sending Joyful Greetings” from the Mistletoe Wreath Stamp Set in Obsidian Pigment Ink to finish the card.
And that’s it! A misty winter scene with depth and texture, perfect for holiday greetings. For additional tips, check out the video by clicking HERE or below on the image, and be sure to follow along on the Altenew Educators video hop for more “Frosty Splendor” inspiration.

Giveaway Prizes
$120 in total prizes! Altenew is giving away a $20 gift certificate to 3 lucky winners and a $15 gift certificate to 4 winners! Please leave a comment on the Altenew video and/or each designer’s YouTube video on the hop list by 11/24/2024 for a chance to win.
Altenew will draw 7 random winners from the comments left on each hop stop and announce the winners on the Altenew Winners Page on 11/25/2024.
Video Hop List
Here's a list of the amazing designers joining today's Harvest Hues video hop with their must-watch video tutorials!
***IMPORTANT! Please leave a comment on each video tutorial on the hop list below – NOT on this post – to be entered into the giveaway.
Altenew
Bridget Casey
Anna Patricia Mahtani
Laurie Patterson
Donna Tuschoff
Walter Zemrock
Teri Wilson
Lana Taber
Aditi Mahajan
Tamara
Candy Thomas
Nancy Souza
Shahina Mohamed Ashraf
Evette Jacobson
Nandini Karmarkar
Aya Elsheshtawy
~Supplies~